Account Security
Harden your own sign-in: authenticator-app two-factor codes backed by recovery codes, a review of your active browser sessions, and linked Google, Microsoft, or Slack sign-in, all managed from your profile.
Updated
Two-factor authentication on ApproveThis is set up from your own Profile page, under the Security tab, and it starts with an enrollment screen that pairs your account with an authenticator app. This section covers that first half: proving it's you with your password and getting the QR code and setup key on screen. Two-factor here is authenticator-app codes only — there is no SMS, email-code, passkey, or hardware-key option — and it's a per-user choice, so an administrator turns it on for their own sign-in, not for the workspace. You'll need an account that has a password set; accounts created purely through Google, Microsoft, or Slack sign-in don't show the Security tab at all.
Who this is for: an Administrator.
On the Security tab, click 'Enable' under Two-Factor Authentication and confirm your password — the QR code and setup key appear, ready to scan with your authenticator app
Getting the QR code on screen is the gate to everything else in two-factor setup: nothing is protected yet, because 2FA only becomes active once you enter the 6-digit code from your authenticator app and confirm it. Worth knowing before you start: once 2FA is live on your account, emailed approval and view links stop logging you in automatically and send you to the normal login page instead.
-
Sign in as the administrator whose sign-in you're hardening.
-
Click Security to open the security settings for your profile.
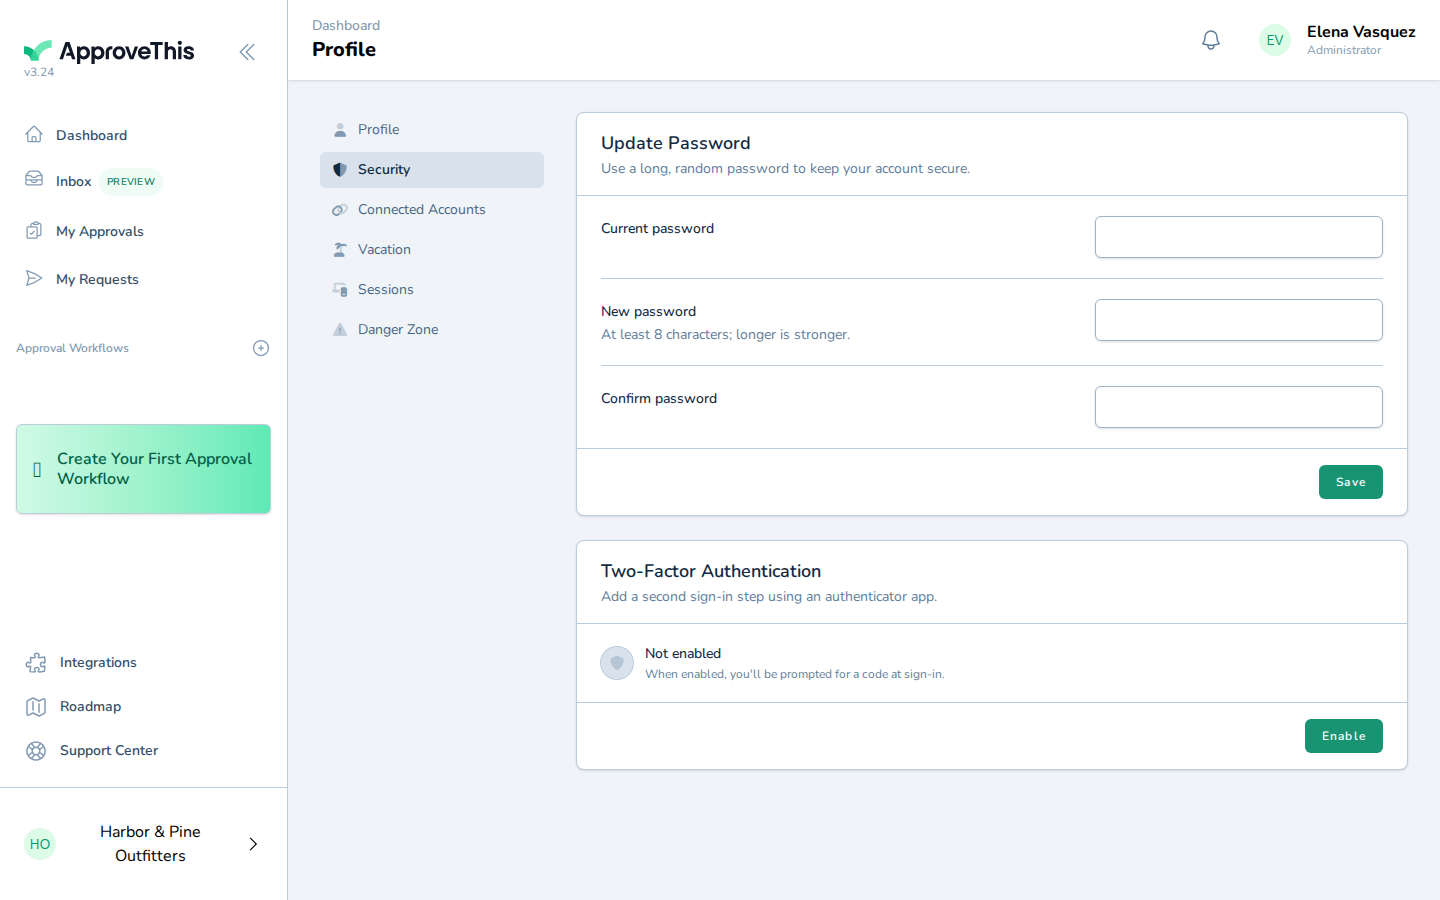
Click Security to open the security settings for your profile. -
Under the Two-Factor Authentication card, click Enable to begin enrollment.
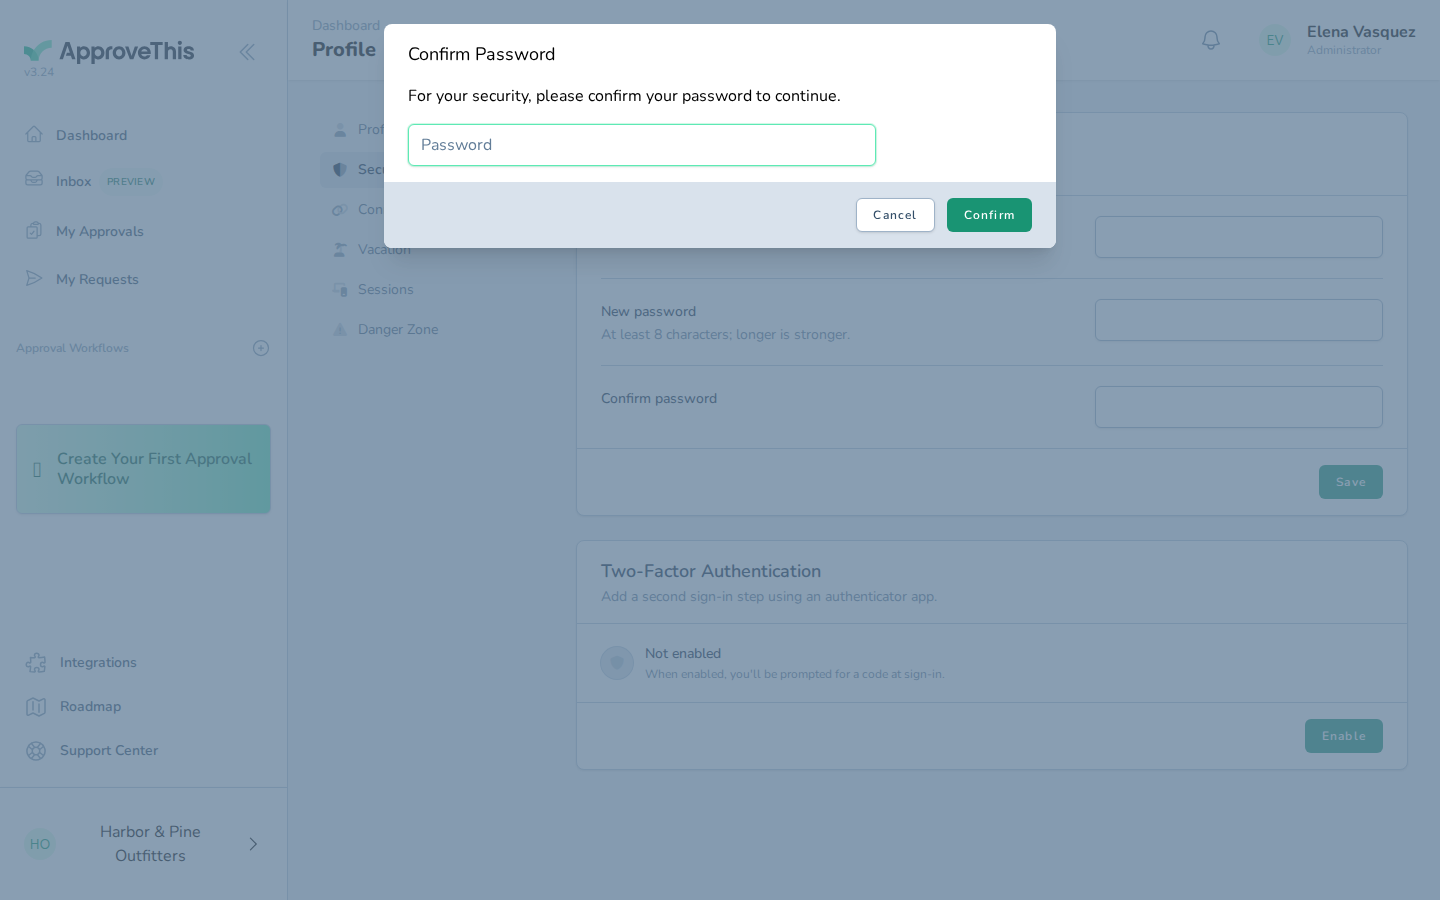
Under the Two-Factor Authentication card, click Enable to begin enrollment. -
Type your own account password into Password — the example uses
docs-password.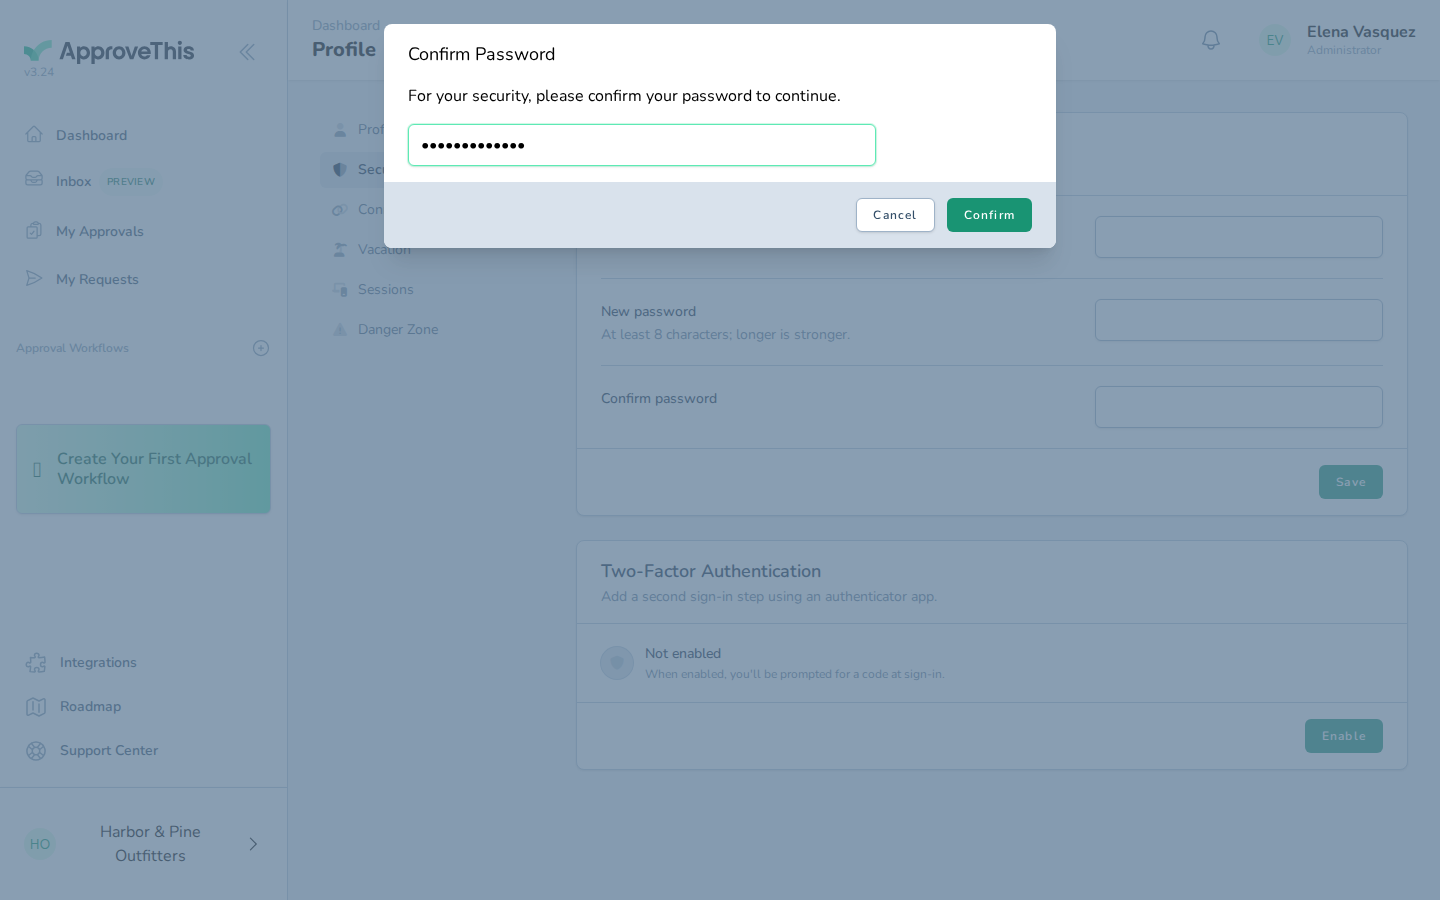
Type your own account password into Password — the example uses docs-password. -
Click Confirm to verify the password and reveal the enrollment details.
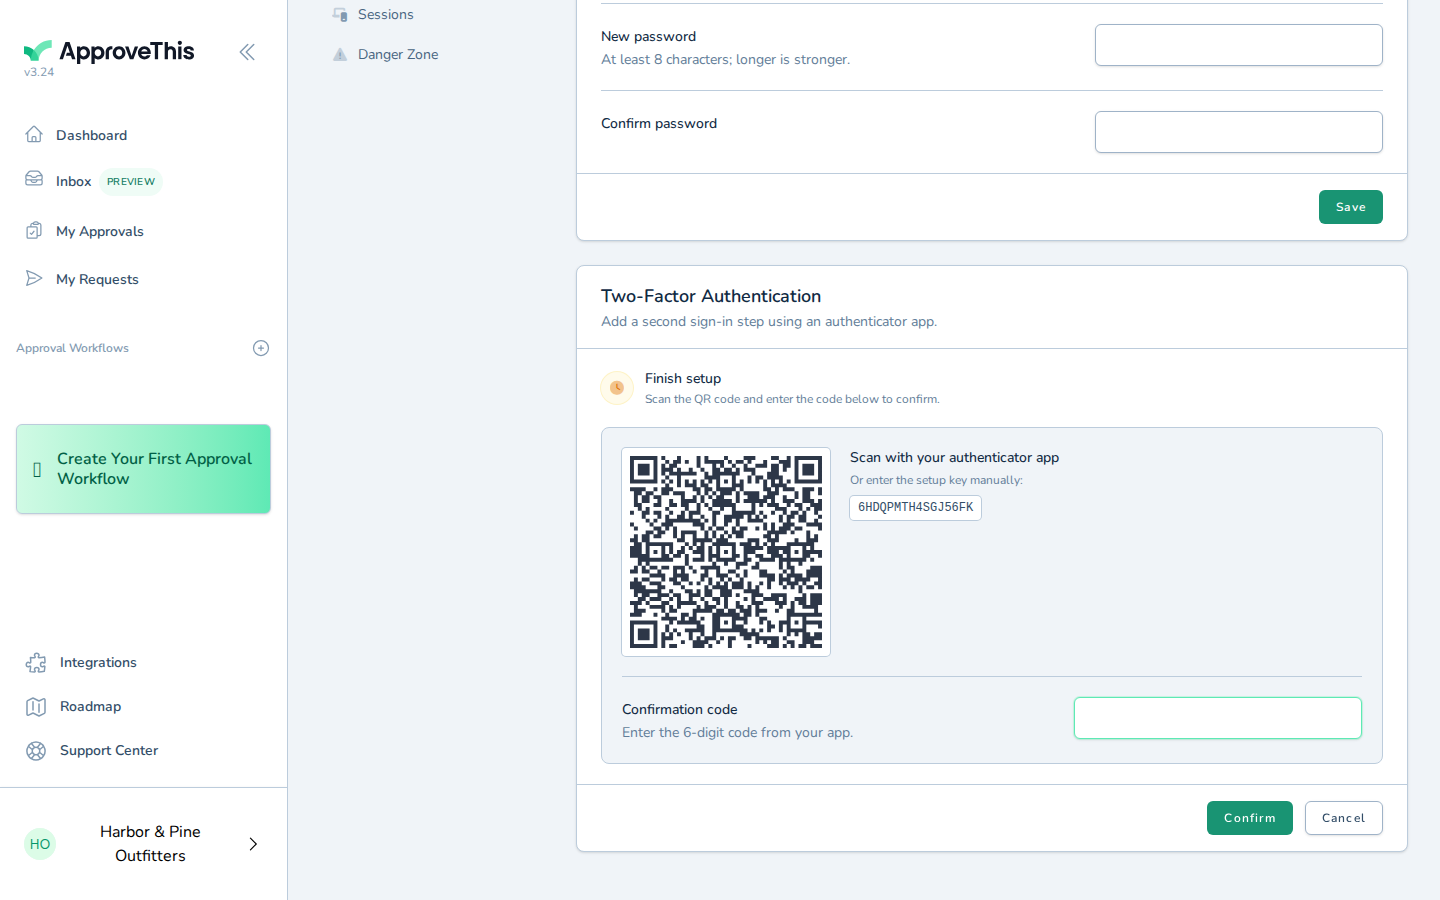
Click Confirm to verify the password and reveal the enrollment details.