Notification Preferences
Choose how you hear about approval activity: Email or In App, separately for every notification type, so the notifications you keep are the ones you actually want.
Updated
Approval activity generates a lot of messages, and not every one of them needs to reach you the same way. The notification settings page lists each notification type on its own row — grouped into requester, approver, and watcher notifications — with a channel selection you control per row. Preferences are yours alone and apply across every workflow you take part in; they can't be varied workflow by workflow. This page is open in the steps below, showing the requester notifications you already receive.
Who this is for: an Administrator.
Turn off email for the 'Approval Received' requester notification: remove its Email chip, then click Save in that section
Email on every requester notification fills an inbox fast, and dropping the Email channel on a single type such as Approval Received narrows what lands there without touching the rest. One caveat worth knowing up front: each type must keep at least one channel, and unticking In App still records the notification in the bell feed, so this trims delivery rather than muting the type outright.
-
Sign in with your own administrator credentials.
-
On the row for the notification type you want to stop emailing (the example screenshots use the requester-side Approval Received row), click × on its Email chip to remove that channel from the selection.
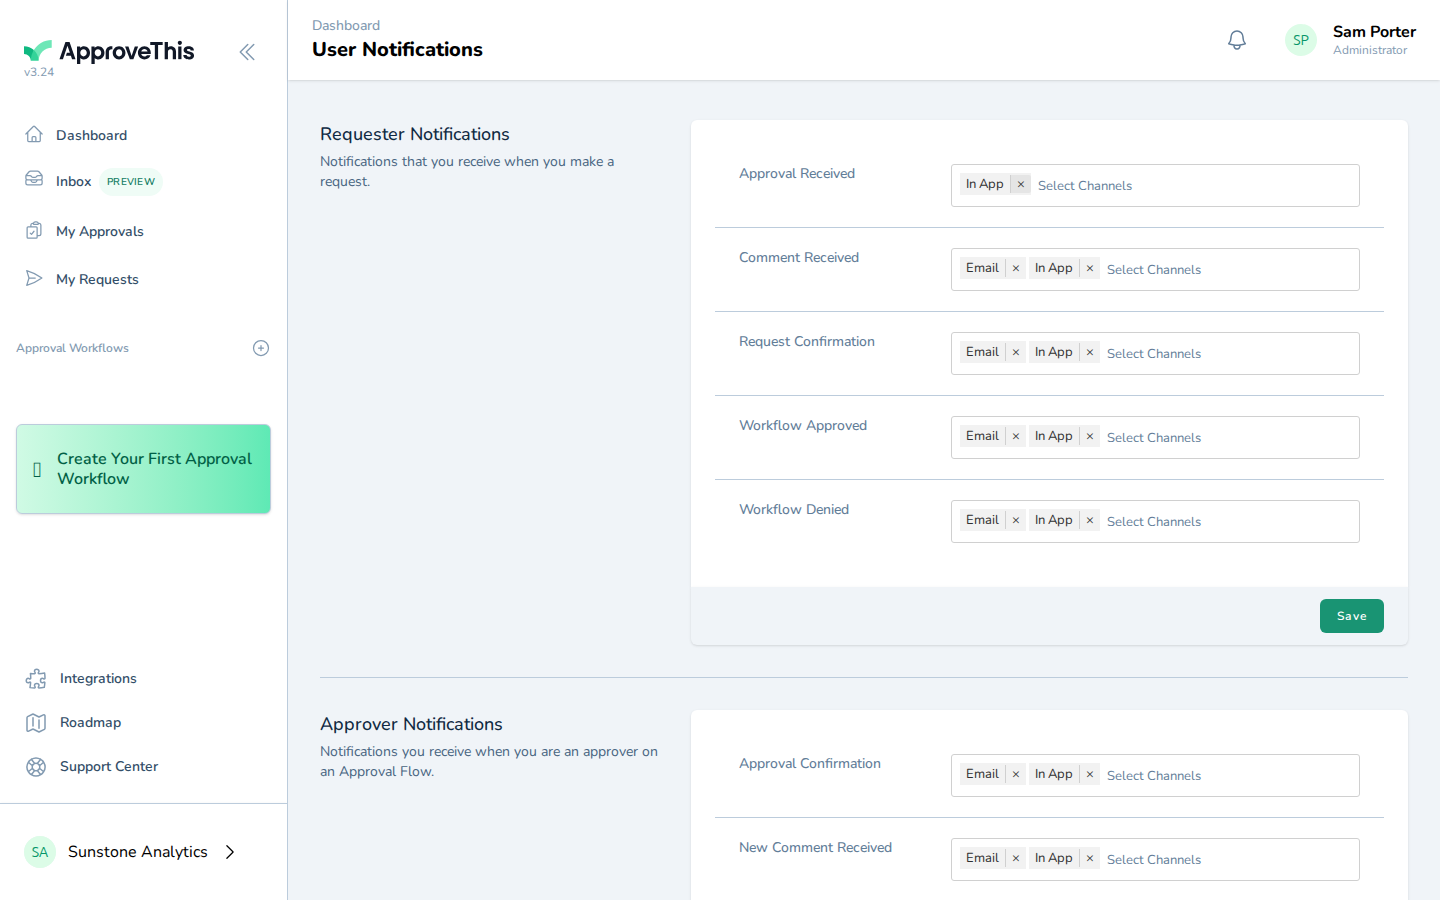
On the row for the notification type you want to stop emailing (the example screenshots use the requester-side Approval Received row), click × on its Email… -
Click Save in that section to apply the change.
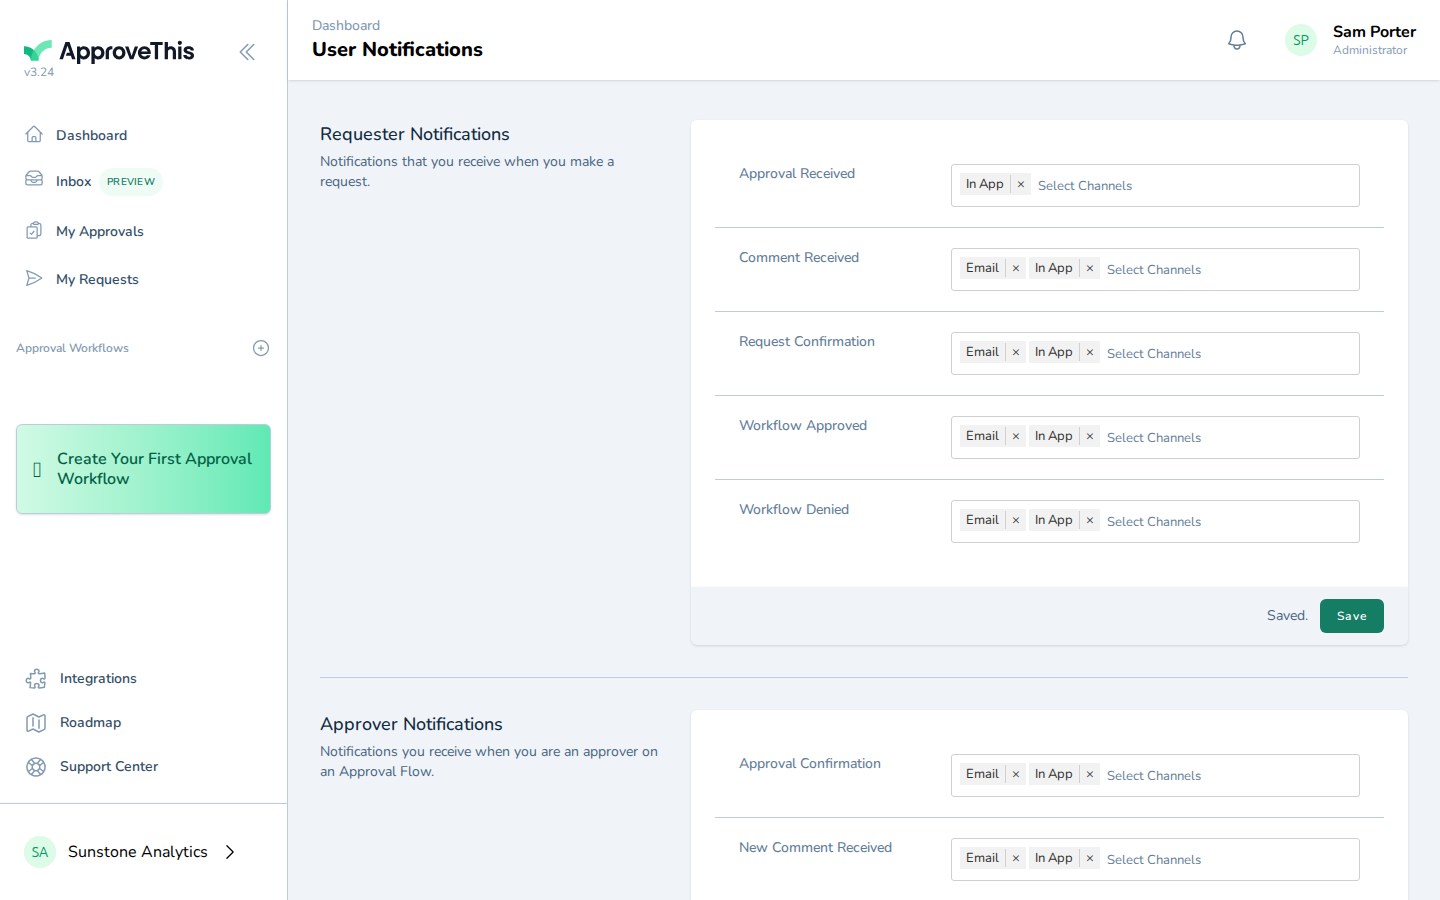
Click Save in that section to apply the change.