Vendor onboarding and payment-detail approval
Vendors submit their own paperwork on a public form. Finance verifies the banking details before anyone gets paid.
Updated
New-vendor paperwork arrives wherever the vendor happens to have a contact. The W-9 lands in a buyer's inbox, the insurance certificate shows up a week later in a different thread, and the banking details come as a PDF attached to a reply. When someone later asks who verified that bank account, the honest answer is a search through three mailboxes. Worse, a "we've updated our remittance details" email that looks right and isn't is the classic payment-fraud vector, and a process built on forwarding has no checkpoint to catch it.
A vendor-onboarding workflow closes that gap. A procurement or AP manager builds the form and the approval chain; vendors submit their own details and documents through a public link, without ApproveThis accounts; each submission becomes a request routed to procurement for completeness review, then to finance to verify banking details, with an optional e-signed controller step for high-value vendors. When paperwork is wrong, the corrected submission comes back as a new version in the same chain, and the approved request's Activity Log is the record of who verified what, and when.
What you'll set up
- An intake form collecting the vendor's legal name, contact email, banking details, and file uploads for the W-9 and insurance certificate
- A public form link vendors can submit to without signing in
- An approval chain: procurement reviews completeness, finance verifies banking details, and a conditional controller step catches high-value vendors
- Approval emails that preview uploaded images and PDFs inline
- A revision path that keeps corrections in one versioned chain instead of a new email thread
- An Activity Log on every approved request, plus a workflow-wide audit table with CSV/Excel export
The intake form vendors fill once
Start with the form, because it defines everything a vendor must hand over in one pass: legal name and contact email as text and email fields, banking details as text, and file fields for the W-9 and the insurance certificate. Open your workflow, click Form, then Add Field, and pick the type that matches each piece of information.
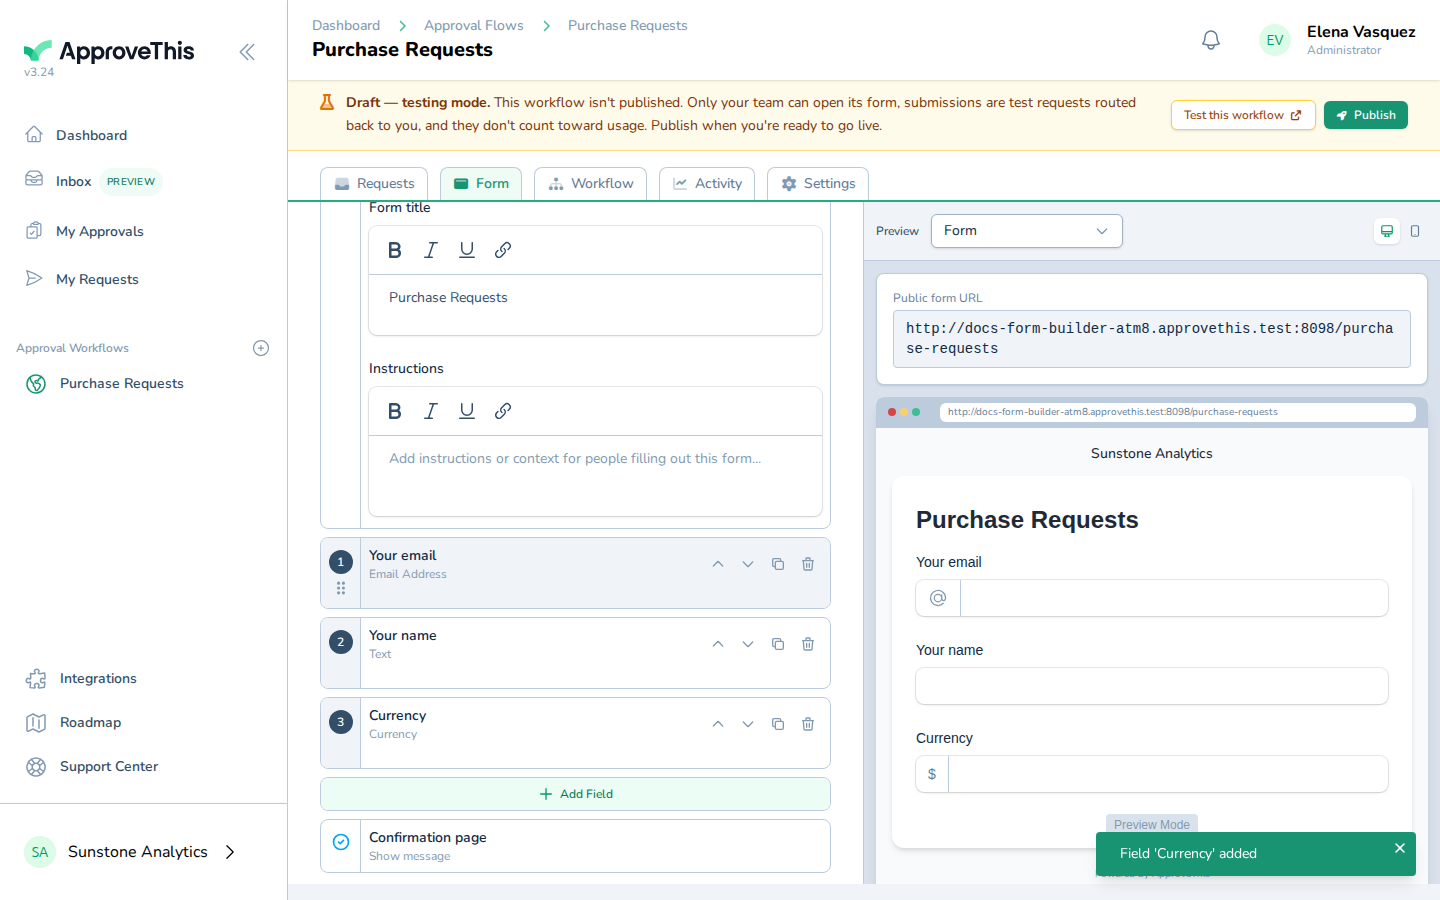
The screenshots show the manual's example, a Purchase Requests flow adding a Currency field labeled Total purchase amount; your fields will differ, but the mechanics are identical. For each field, set a label the vendor understands, mark it Required so a submission can't arrive incomplete, and use Add help text to spell out what you expect. Every blank you allow through is a completeness question procurement has to chase later.
Full click-by-click: Form Builder
Chain the verification steps
Switch to the Workflow tab, where the approval chain is drawn on a canvas. Click Add a new step below this one and use Search for an approver to add the procurement manager to the first step, then repeat for a second step with your finance approver. Approvers are named people you pick here; two steps in sequence is what separates the completeness check from the banking verification.
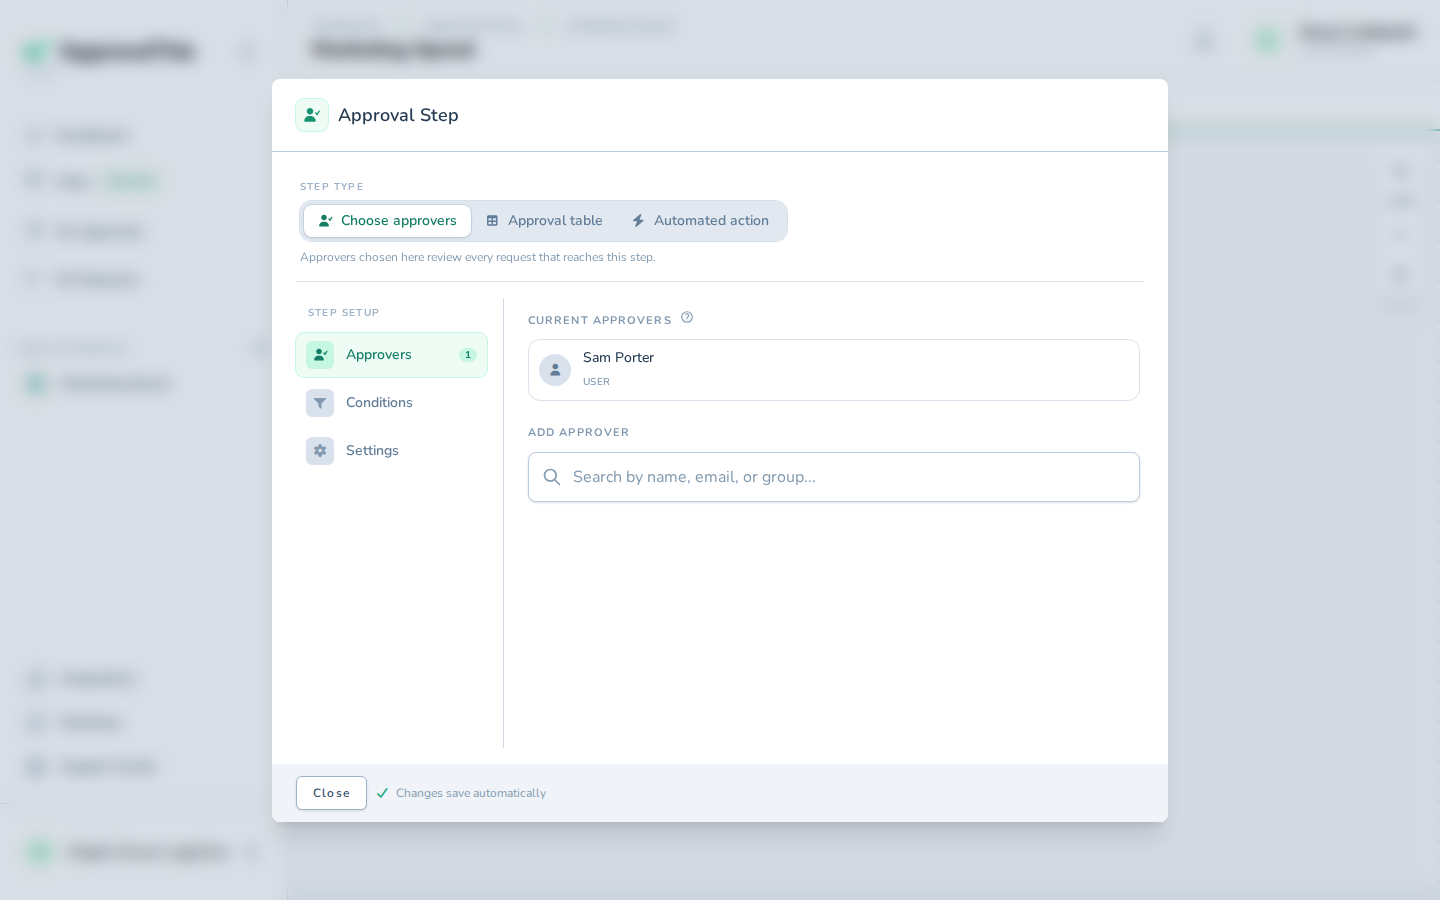
For high-value vendors you can add a third step for the controller and give it a condition, so it only runs when it matters. Click Conditions, then Add Condition, and pick the field and threshold; the manual's example gates on Budget Greater than 1000, and on your form the tested field might be an expected annual spend. The step is skipped unless all of its conditions are met, so routine vendors stop at finance.
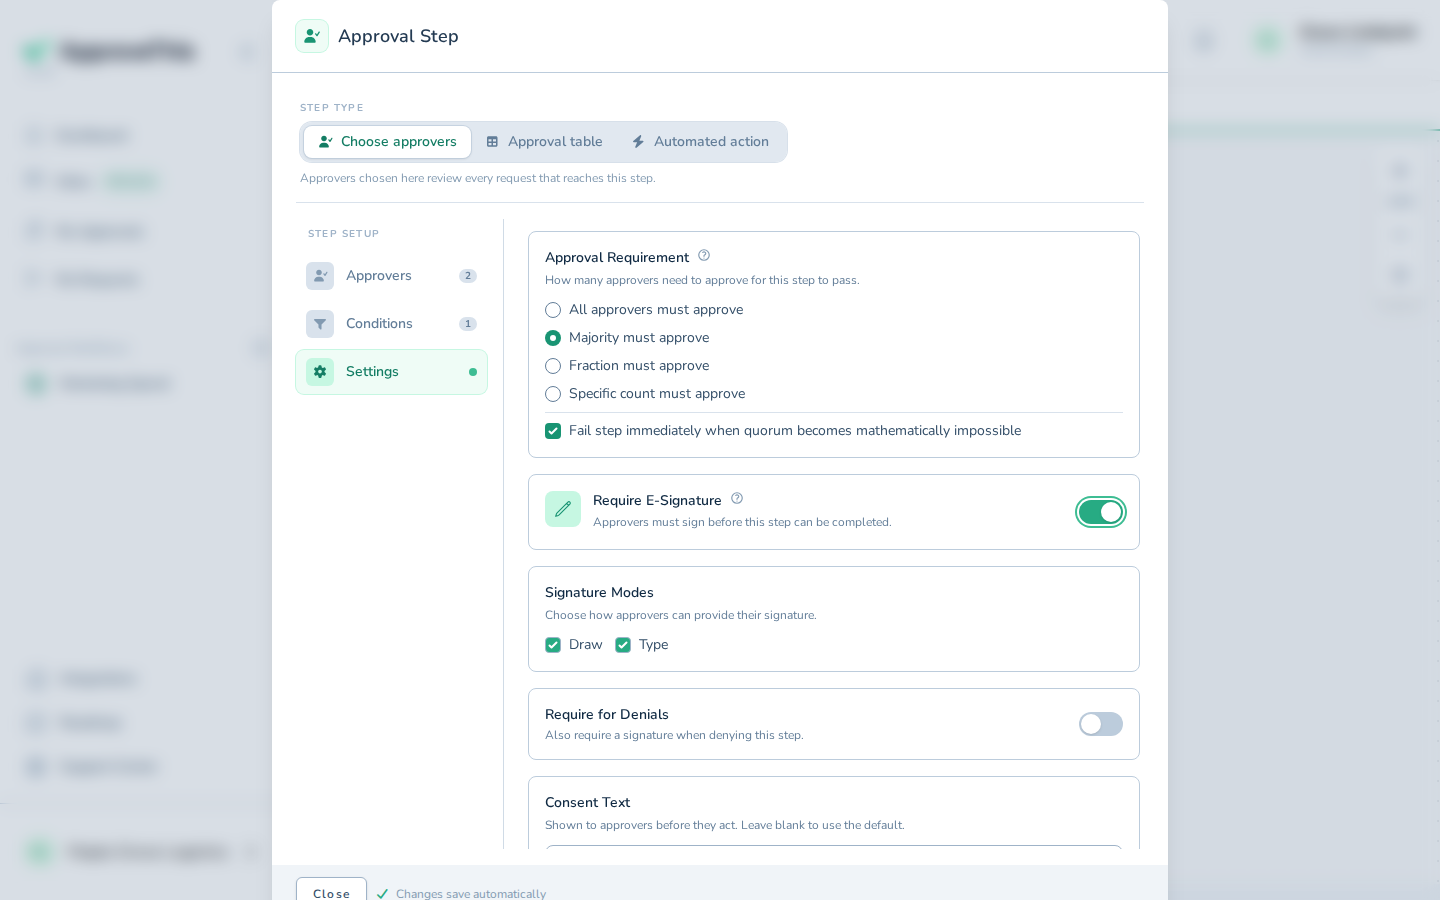
On the step that certifies banking details, open Settings and consider Require E-Signature, so the approver signs, drawn or typed, before the step can complete. For a decision you may one day defend to an auditor, a signature is a stronger artifact than a click.
Full click-by-click: Add an Approval Step
Open the form to vendors
Publish the workflow first; a public page isn't reachable until the flow is published and active. Then go to the flow's Settings tab, click Requesters, and click Public Submissions. You'll see the confirmation Public submissions enabled, and from then on anyone with the page link can submit without signing in, with each submission entering the approval steps as normal. Send the link to vendors during sourcing, or wherever your vendor communications live.
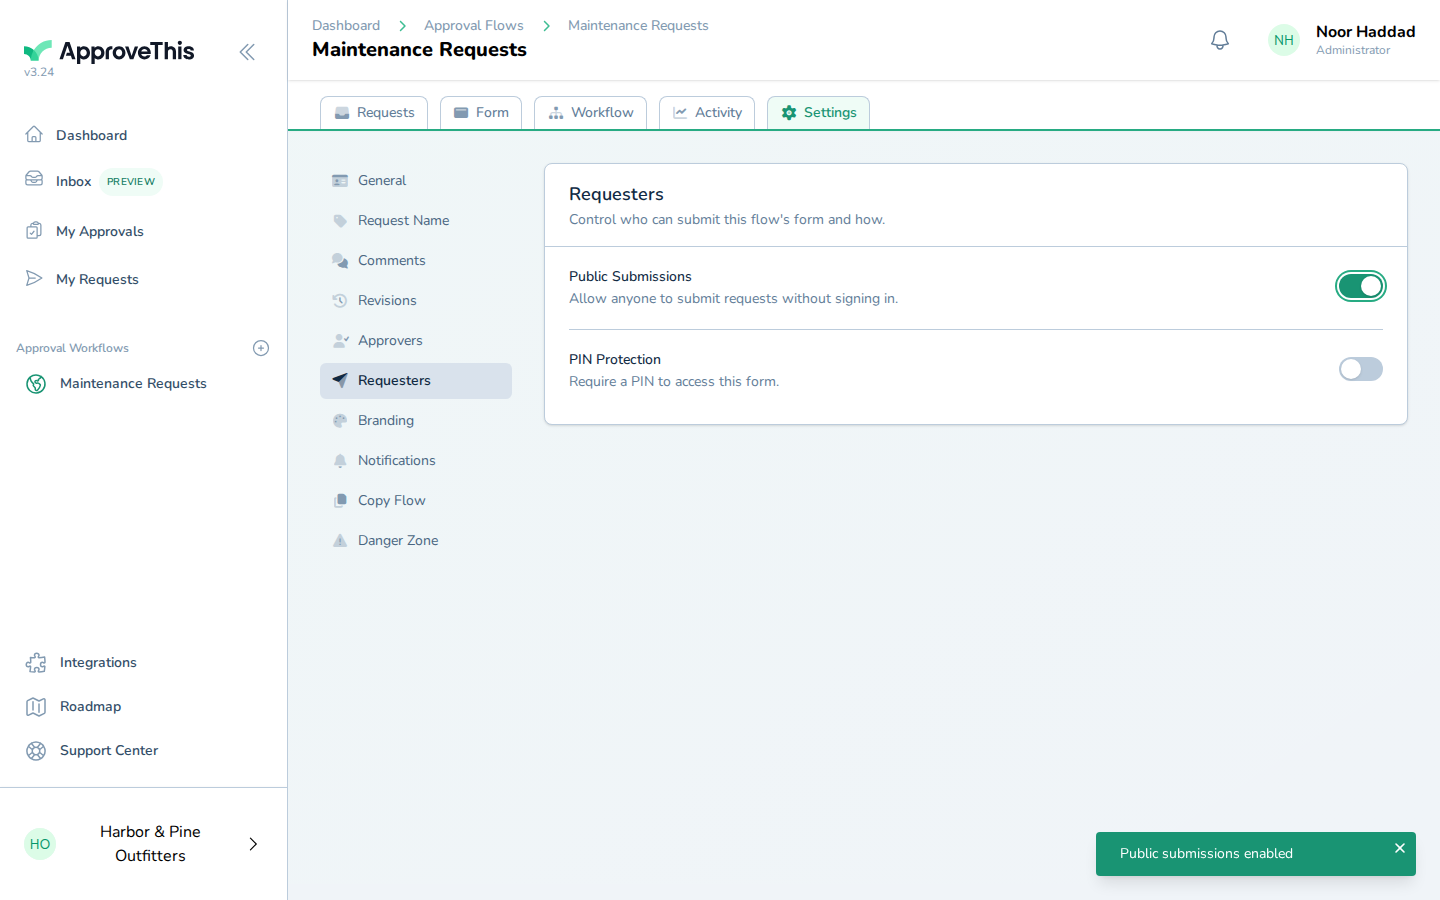
One rule to know: a form containing User Selection fields can't be made public; the toggle refuses until they're removed. The field set above has none. Since this form and its emails reach people outside your workspace, it's also worth setting the flow's notification branding so the sender name and colors read as yours.
Full click-by-click: Public Forms
Verify with the documents in view
When a vendor submits, the request reaches the procurement manager, then finance. Because the form carries file fields, the approval email renders uploaded images and PDFs inline, with the filename, size, and a download button, so the finance approver looks at the bank letter or W-9 in the same place they decide. Non-previewable file types fall back to a download link.
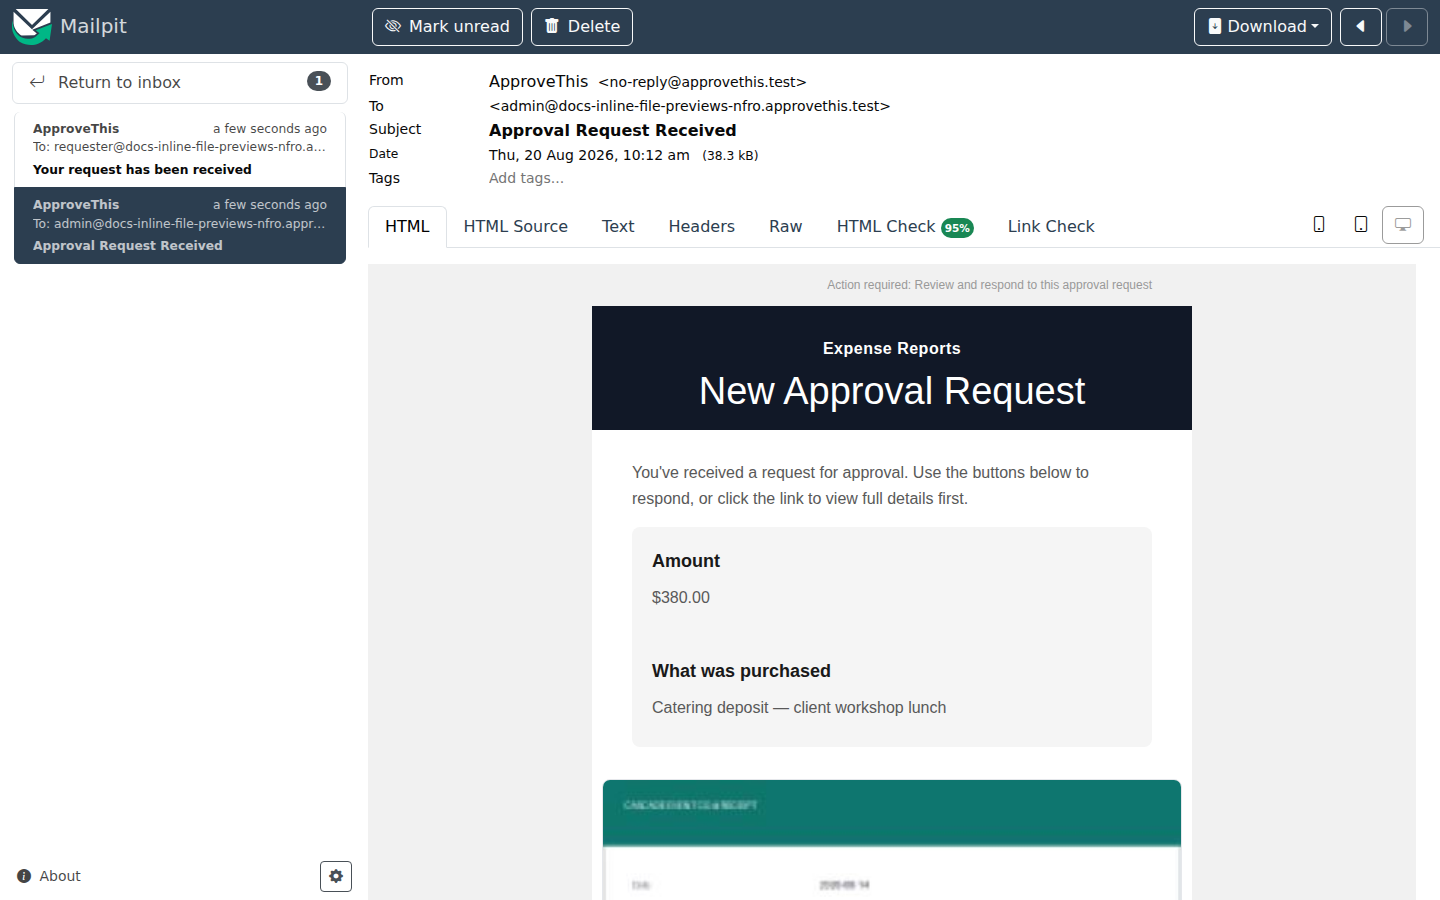
This is the fraud checkpoint: banking details typed into the form get compared against the uploaded document by a named finance approver before the vendor ever gets paid. If finance needs one more detail from procurement before deciding, an @-mention in the request's Comments thread pulls them in with a link back to the conversation, on the record rather than in a side channel.
Full click-by-click: Inline File Previews
Send paperwork back for correction
When a document is wrong, say an expired insurance certificate, the approver denies the request or asks for a revision instead of approving something incomplete. Resubmission is turned on per flow, so enable it on this workflow. The requester then opens the returned request, where an orange bar shows what the approver asked for, clicks Edit & Resubmit, fixes the flagged field, and confirms with an optional Reason for resubmission note so the approver sees what changed at a glance.
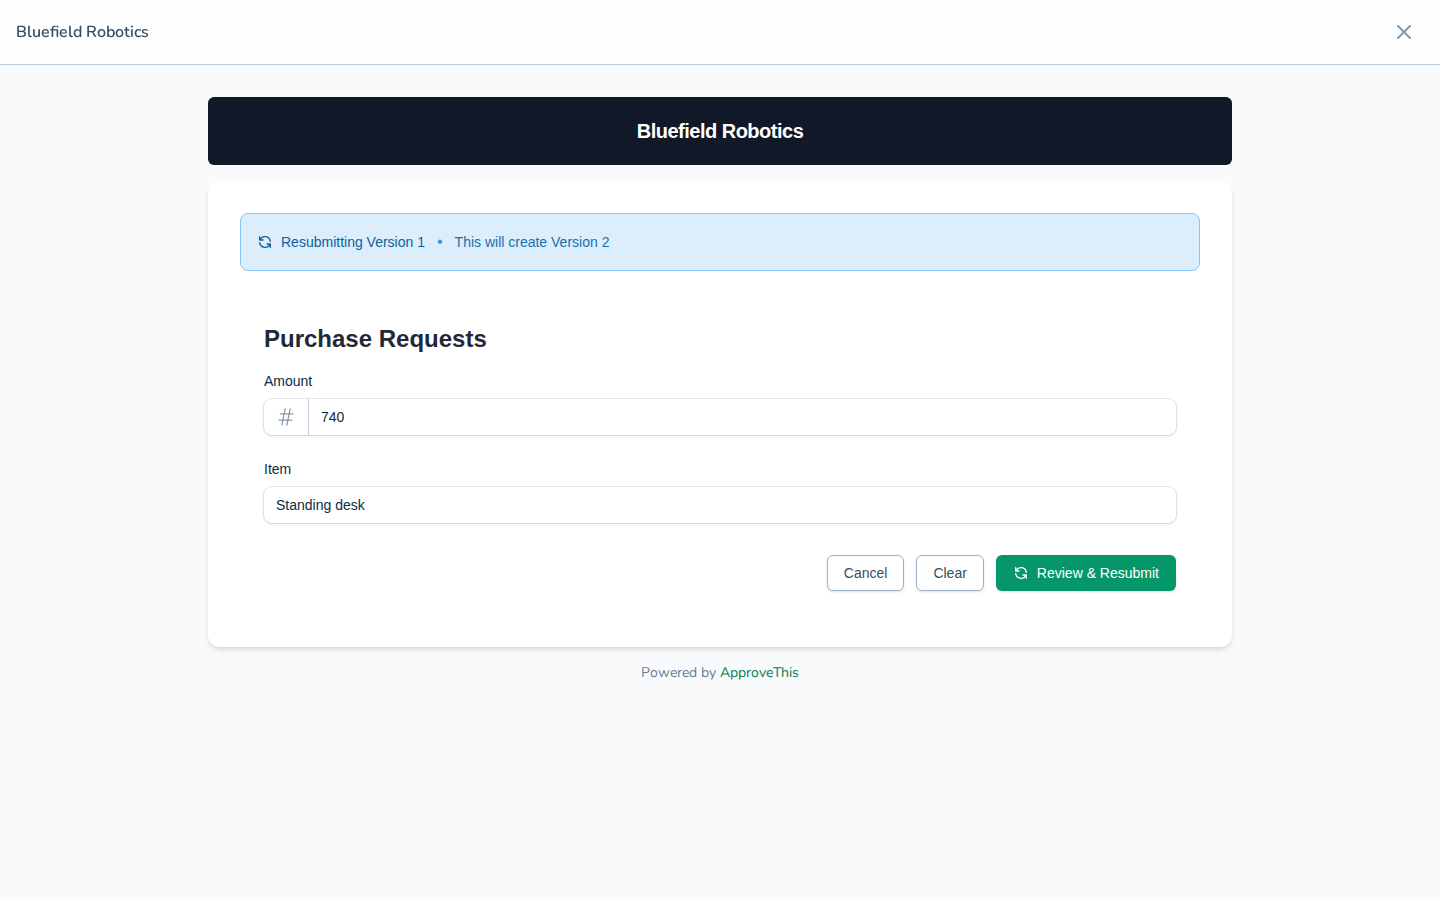
The resubmission is a new version linked to the original, marked v2 (current) on the request page, and prior field values and uploaded files carry forward unless changed, so the whole exchange stays in one chain instead of scattering across email. Only the latest version in a chain can be resubmitted.
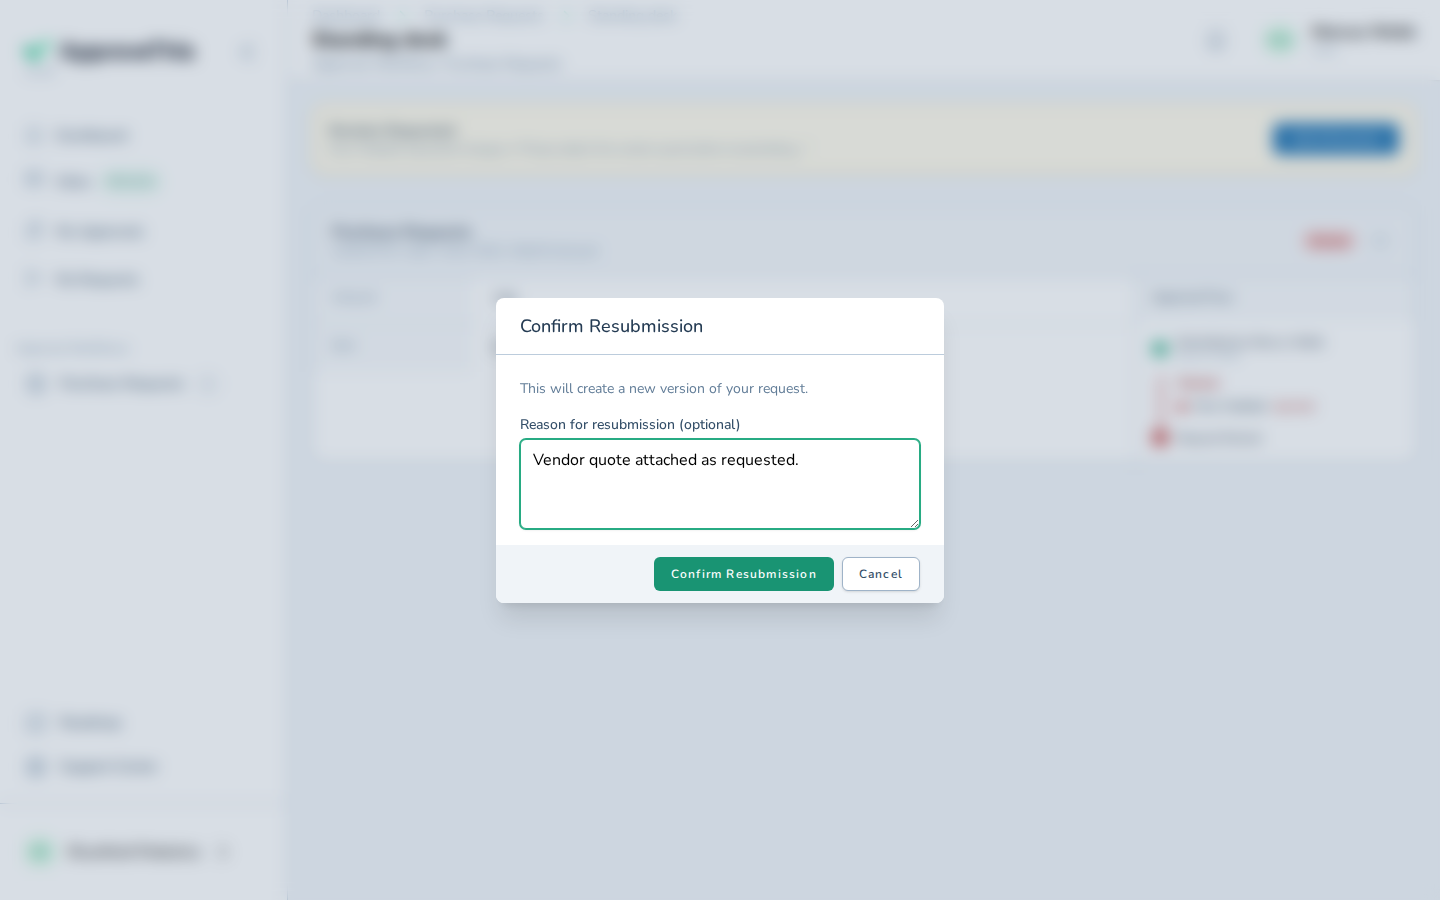
One limit to plan for: this round-trip belongs to a signed-in Requester, who opens the returned request from My Requests or the email they received. The public-forms guide doesn't show an anonymous submitter reopening a request, so test this round-trip with a real public submission before you count on vendor-side corrections.
Full click-by-click: Request Revisions & Versioning
The audit-ready record
Once the chain completes, the approved request is your vendor-verification record. Click Activity Log, the clock icon in the request header, to read the timeline: each decision, each routing evaluation, and each notification sent, with who did it (or System) and when, including a row reading Request marked Approved. When someone asks who verified that vendor's bank account, this page is the answer.
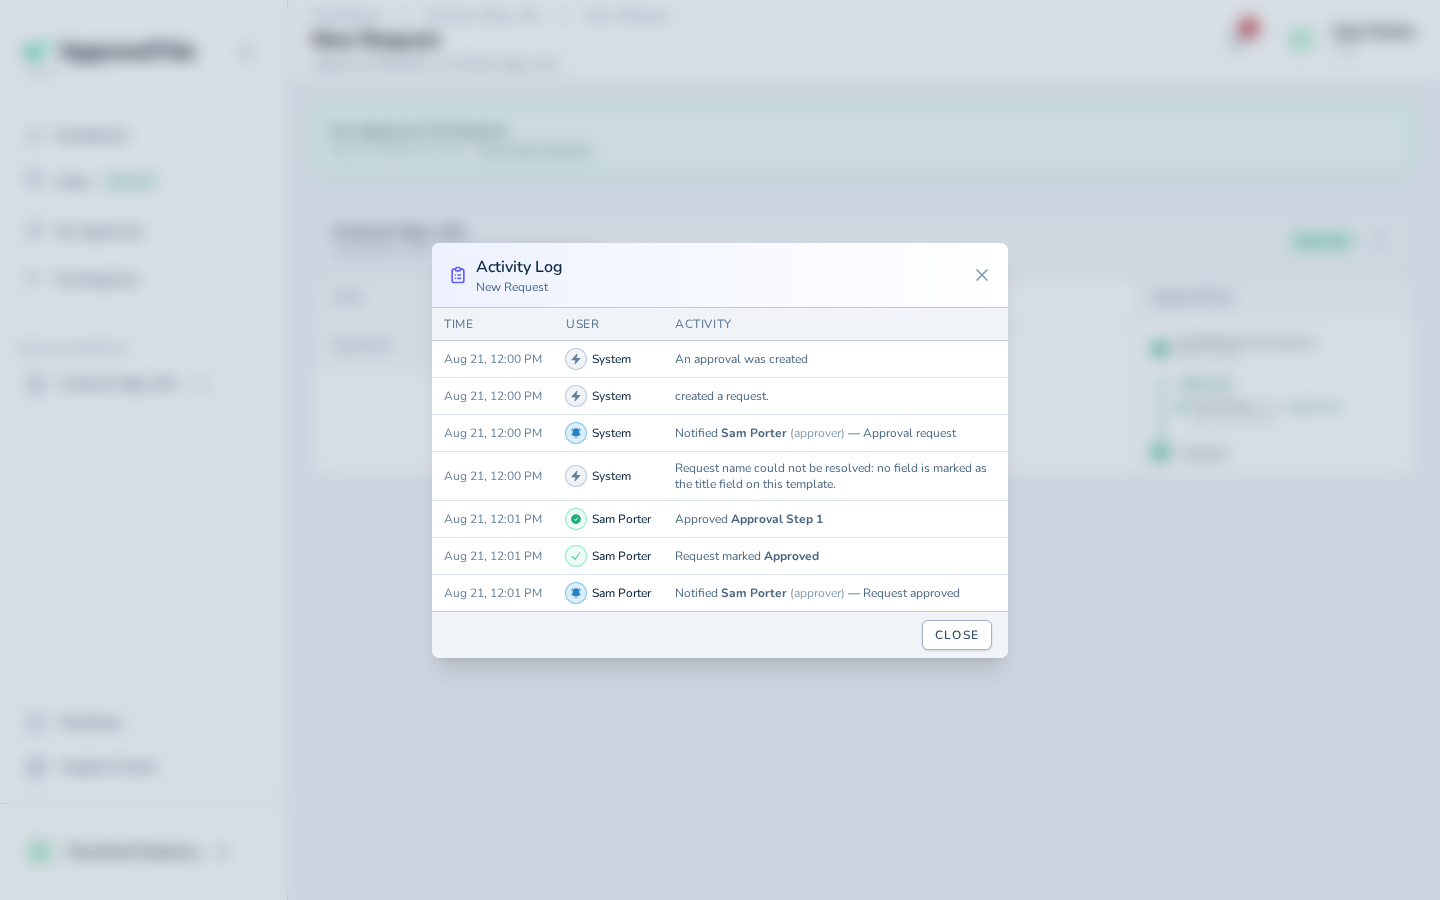
Workspace members who can edit the workflow also get the workflow's own Activity tab, a searchable, filterable audit table across all of its requests with CSV/Excel export, which is what you hand over when the review covers every vendor onboarded this year rather than one.
Full click-by-click: Activity Log & Audit Trail
Related guides
- Inline File Previews — how uploaded documents render inside approval emails, and which file types fall back to download links.
- Workflow Comments — threaded discussion and @-mentions on a request, for questions that should stay on the record.
- Notification Branding — per-flow sender name, colors, and logo, so vendor-facing forms and emails read as yours.
- Immutable Comments — lock the flow's comments so nothing said during verification can be edited or deleted later.
- Flow Watchers — give the controller or an AP lead email visibility into every onboarding request without putting them in the approval chain.