Workflow Order
Arrange your workflows into named groups with custom icons and a deliberate order, so the sidebar, dashboard, and request filters mirror how your team actually thinks about its approvals.
Updated
A workspace that has collected a dozen workflows presents them in an order nobody actually chose. The Workflow Order tab in Workspace Settings is where a workspace admin or the owner sorts workflows into named groups, drags them into a deliberate sequence, and changes their icons; the left sidebar, the dashboard headings, and the workflow filter checklists on My Requests and My Approvals all follow that same arrangement. You'll need existing workflows to organize and admin or owner access, since the tab is hidden from other members. One arrangement applies to the whole workspace, and the editor's own note holds: what you change here shows up after a page reload.
Who this is for: an Administrator.
Create a group named for a department — type the name into 'New group name' and click 'Add group'
Groups are what turn a flat list of workflows into sections your team recognizes, typically one per department or function. A group you create stays visible only inside this editor until at least one workflow sits in it, so nothing appears in the sidebar while you are still setting up.
-
Sign in as a workspace admin or the workspace owner; the Workflow Order tab does not appear for other roles.
-
Type a name for the group into New group name, using whatever your team calls that set of approvals (the example uses
Finance).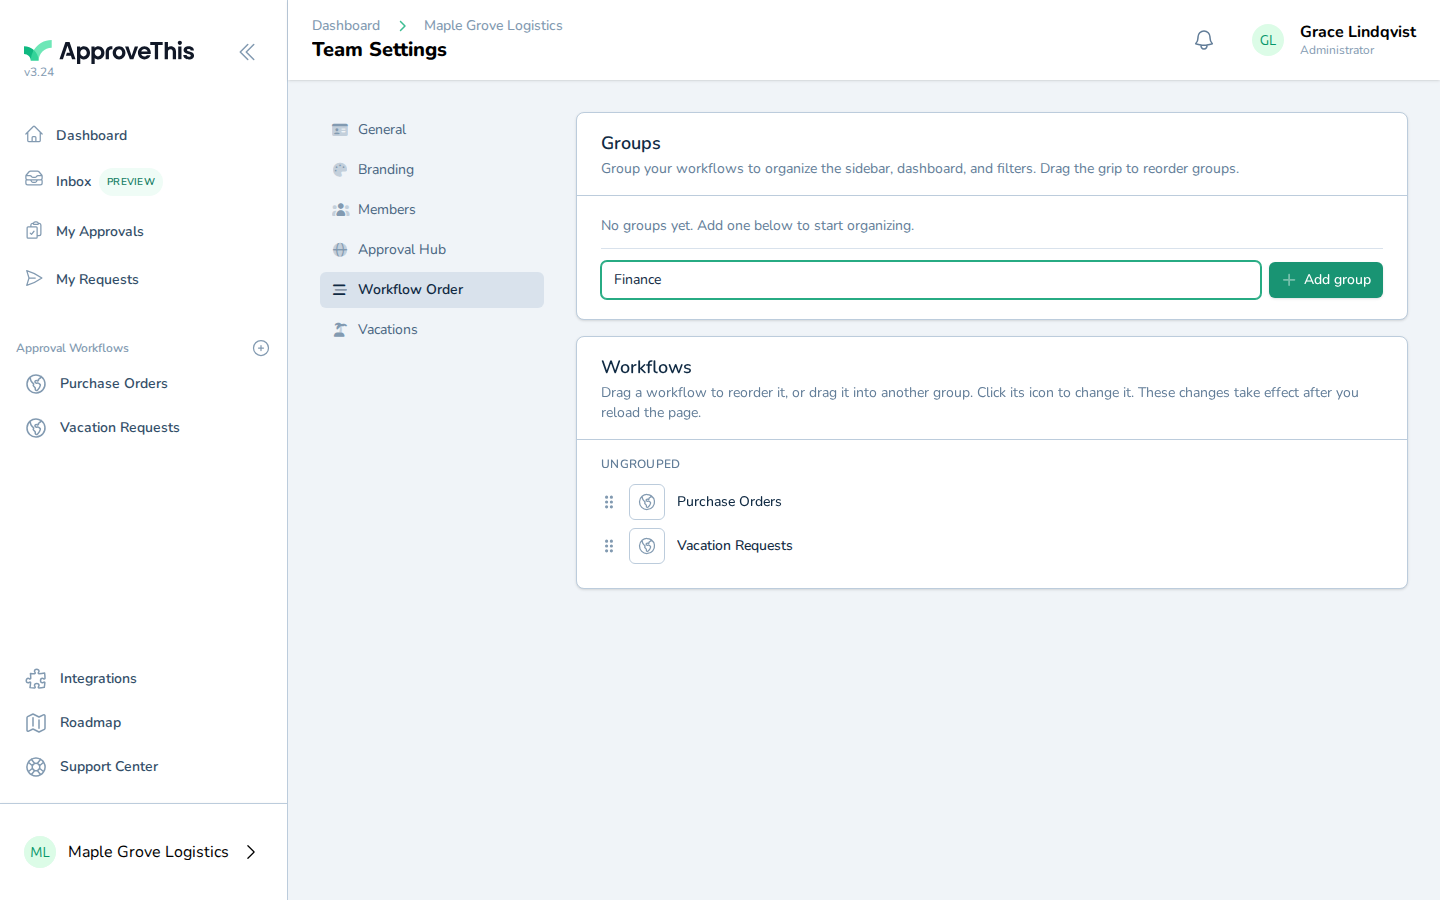
Type a name for the group into New group name, using whatever your team calls that set of approvals (the example uses Finance). -
Click Add group.
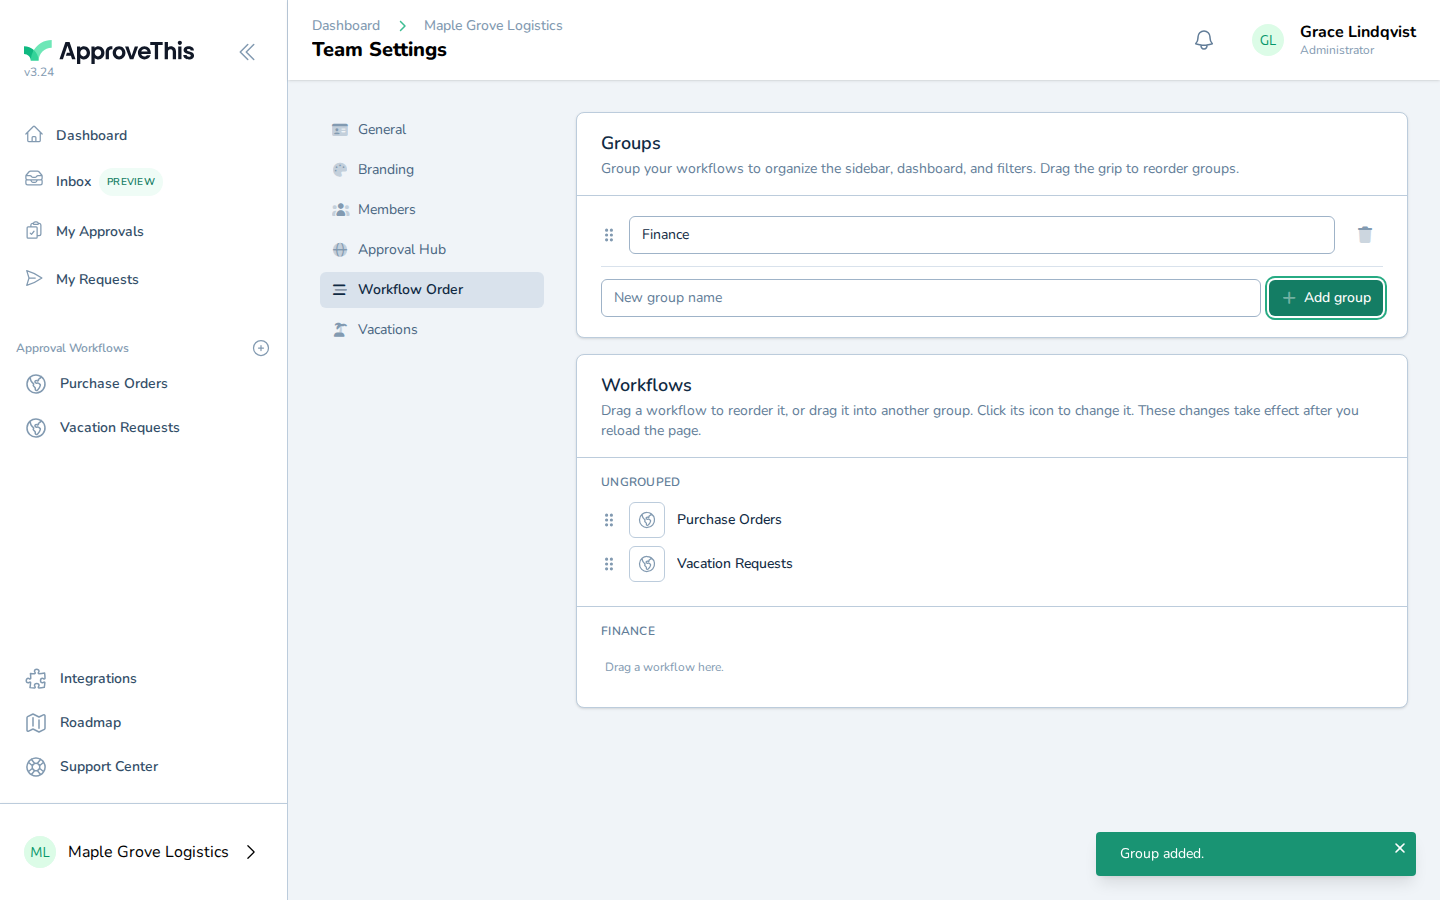
Click Add group.
Drag one workflow's grip into the new group
Filing a workflow under a group is what feeds the sidebar section, the dashboard heading, and the filter checklists, all from one drag. Nothing rearranges under you while you work: the sidebar on screen updates only after you reload the page.
-
Drag a workflow row by its grip handle onto the new group's Drag a workflow here. target; the grip in the example screenshots reads Drag Purchase Orders.
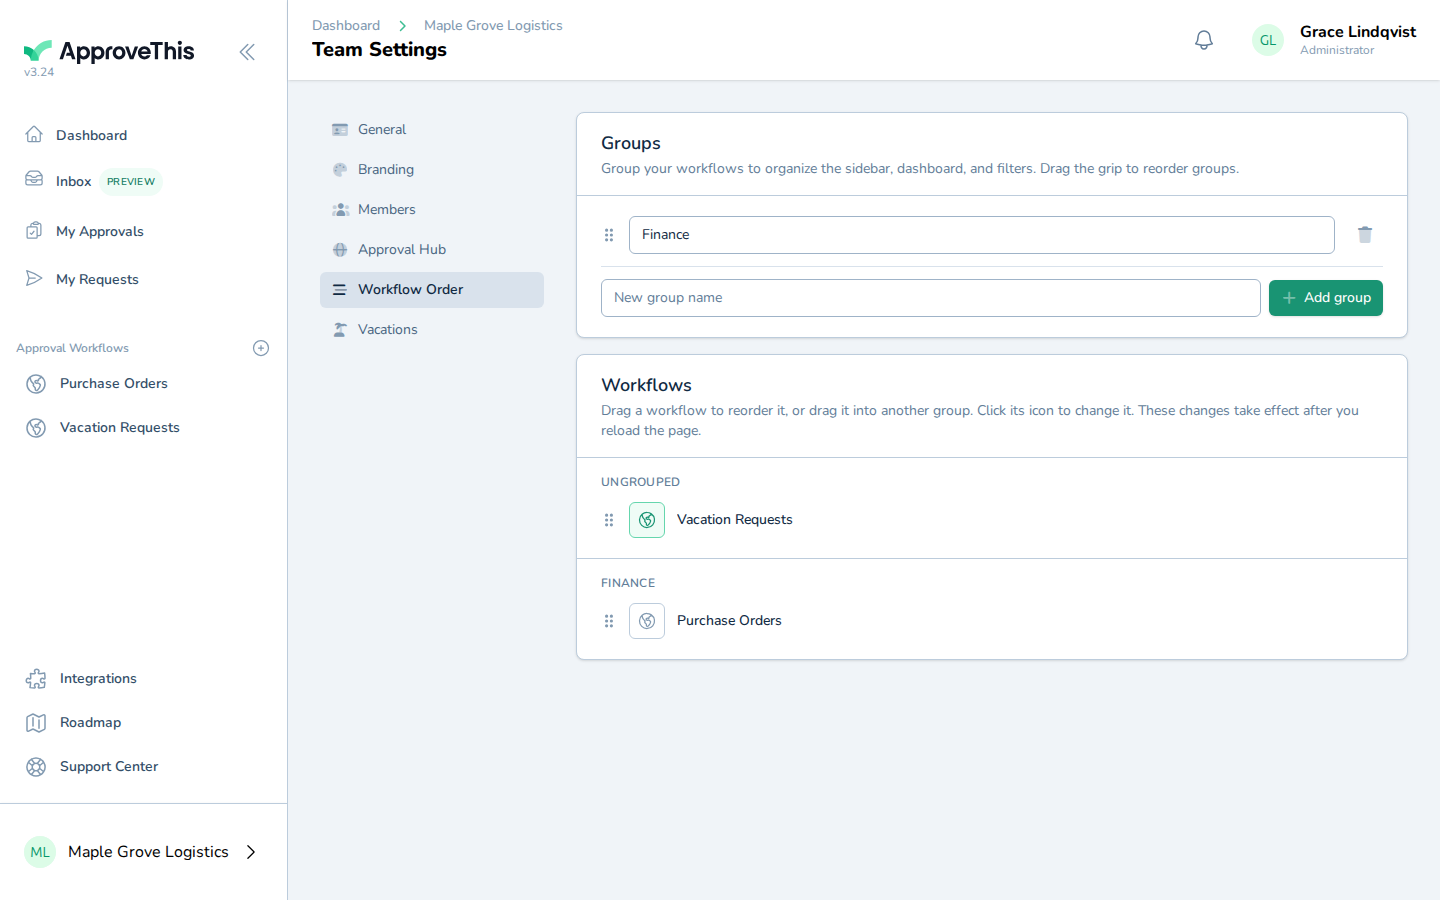
Drag a workflow row by its grip handle onto the new group's Drag a workflow here. target; the grip in the example screenshots reads Drag Purchase Orders.
Click another workflow's icon and pick a new one from the icon grid
An icon makes a workflow identifiable at a glance in the sidebar and on dashboard cards, which helps once several workflows share similar names. The picker draws from a fixed curated set of 72 icons; there is no way to upload your own artwork.
-
Click the icon on the workflow you want to restyle, using its Change icon control, to open the icon picker.
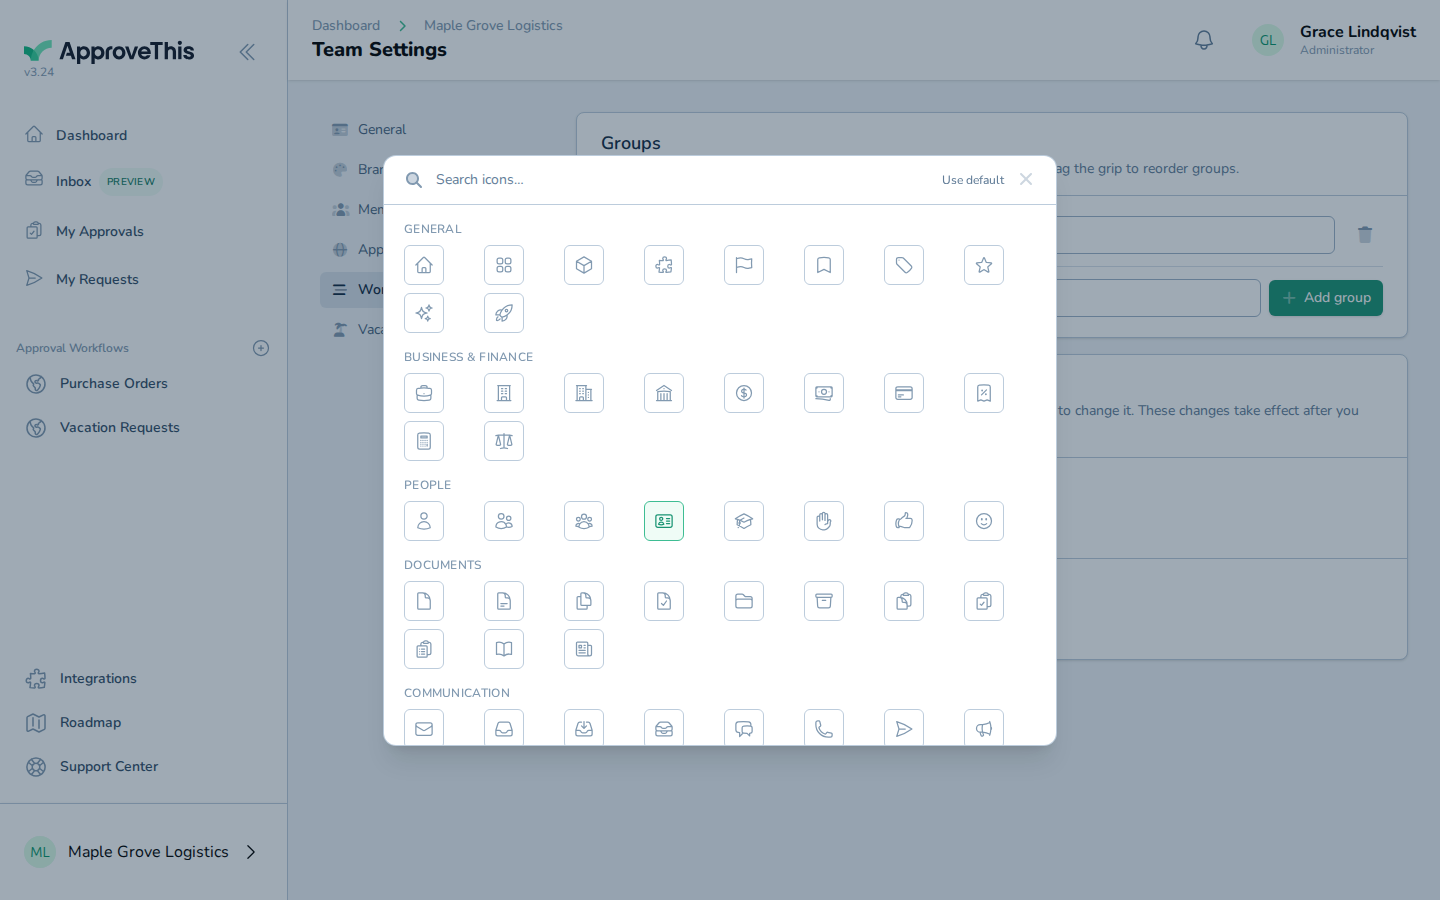
Click the icon on the workflow you want to restyle, using its Change icon control, to open the icon picker. -
Type a word describing the icon you want into Search icons…, such as
calendar.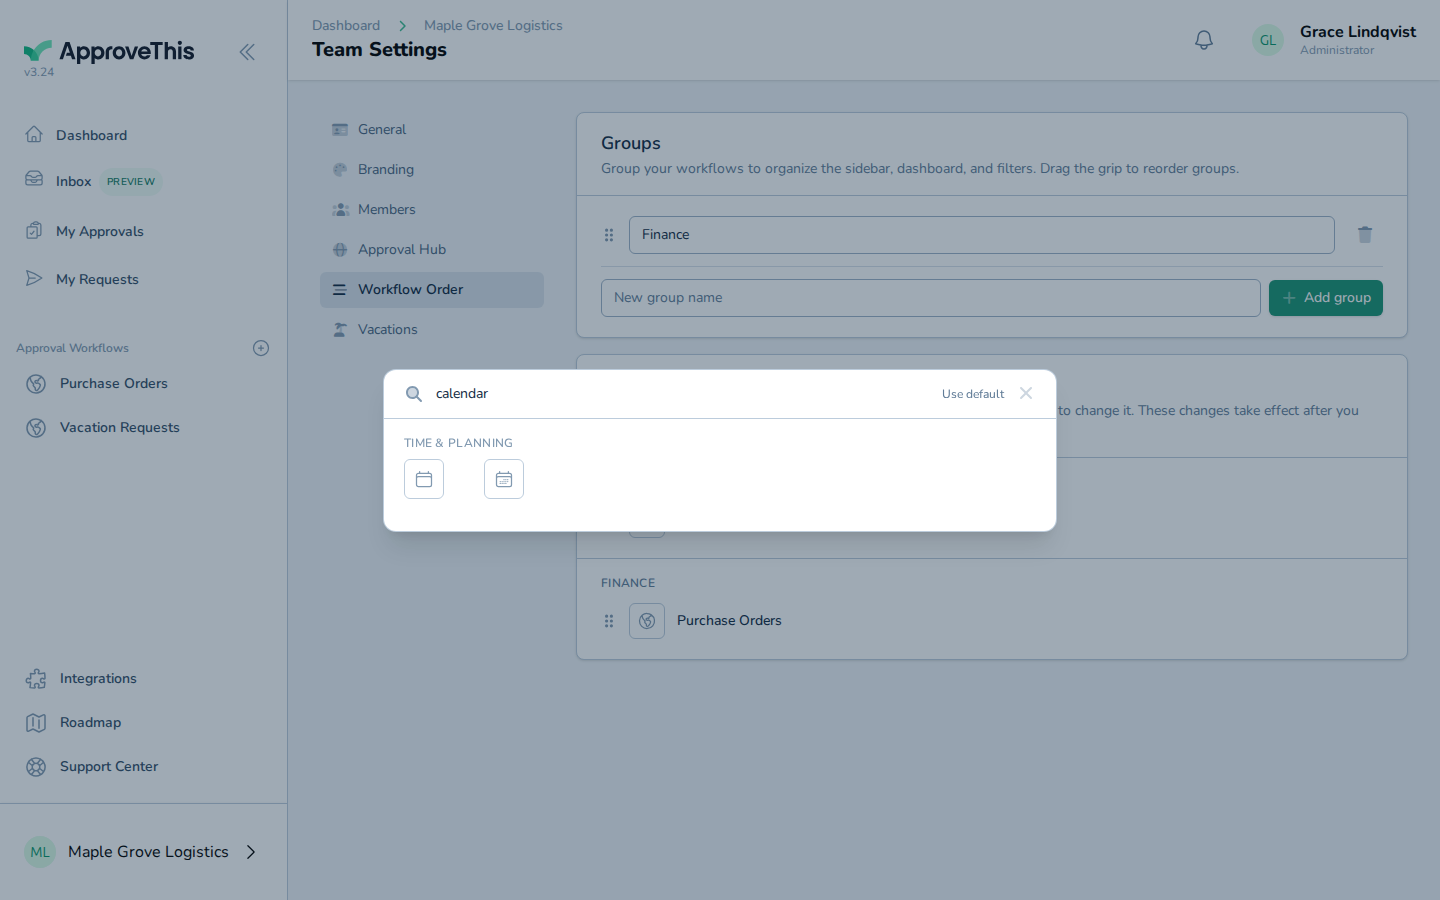
Type a word describing the icon you want into Search icons…, such as calendar. -
Click the icon you want from the results grid; the example picks heroicon-o-calendar-days.
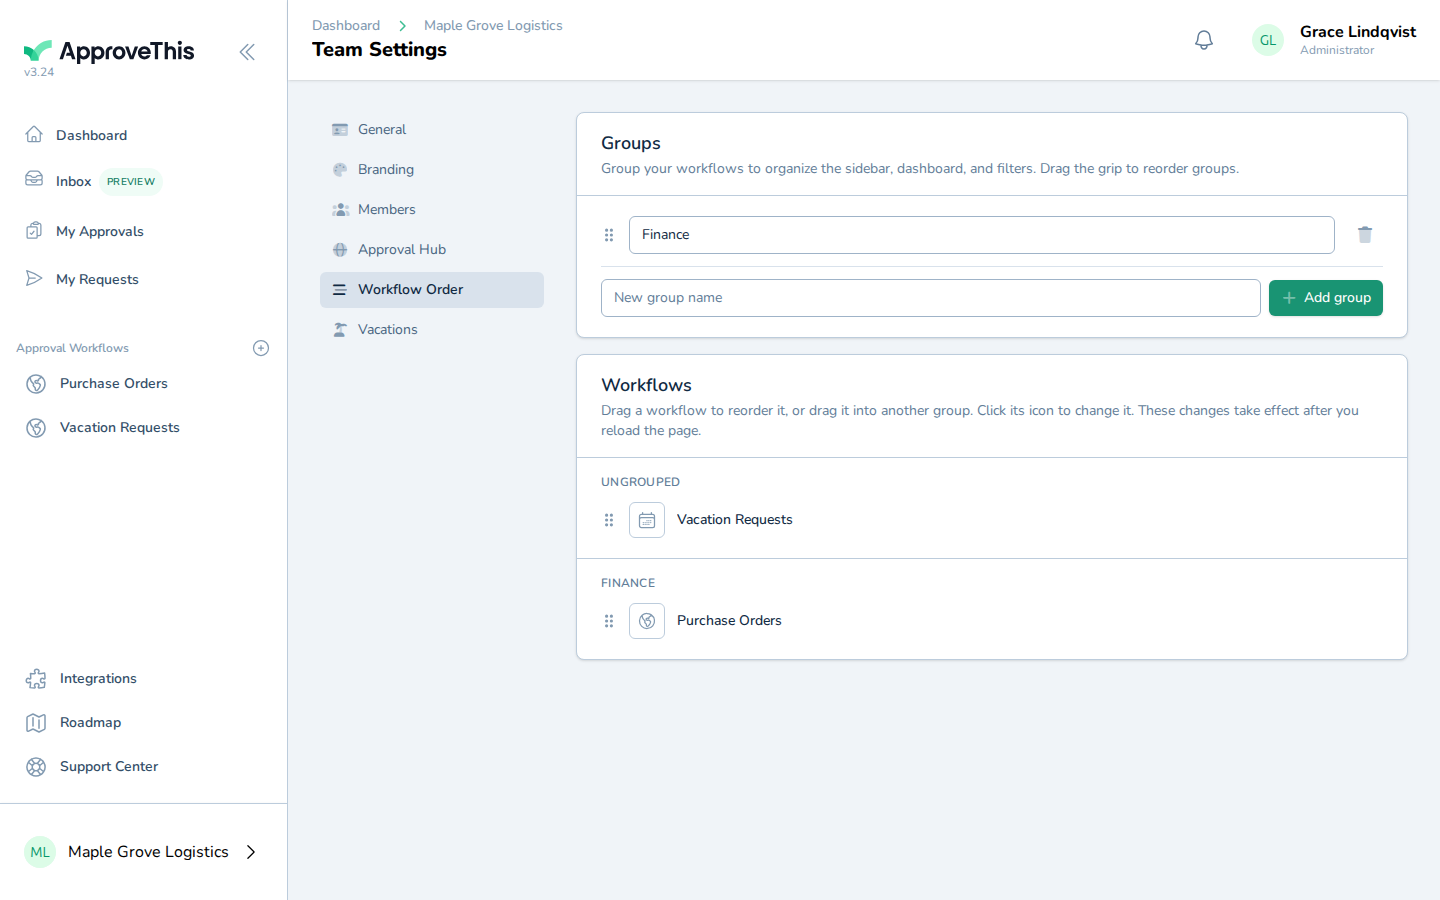
Click the icon you want from the results grid; the example picks heroicon-o-calendar-days.