Zapier
Zapier connects ApproveThis to 5,000+ apps, so a deal closing in your CRM, a form submission, or a new order can become an approval request with no code required.
Updated
A deal closes in your CRM, an order lands, a form comes in — and someone still has to chase down an approval by hand. Zapier can carry those events straight into ApproveThis as requests, but a Zap needs somewhere to send them, so the first thing to build is a workflow marked for Zapier to trigger. This guide is for Administrators working in a workspace where they can reach the integrations page; no code is involved at any point.
Who this is for: an Administrator.
Create a workflow that Zaps can trigger
A Zap can only raise a request against a workflow that exists to receive it, so creating and naming one is the setup step that makes the connection to your other apps possible. Once it's created, the workflow is available as the destination for events coming in from Zapier.
-
Sign in with your Administrator account.
-
Go to
https://app.approvethis.com/integrations.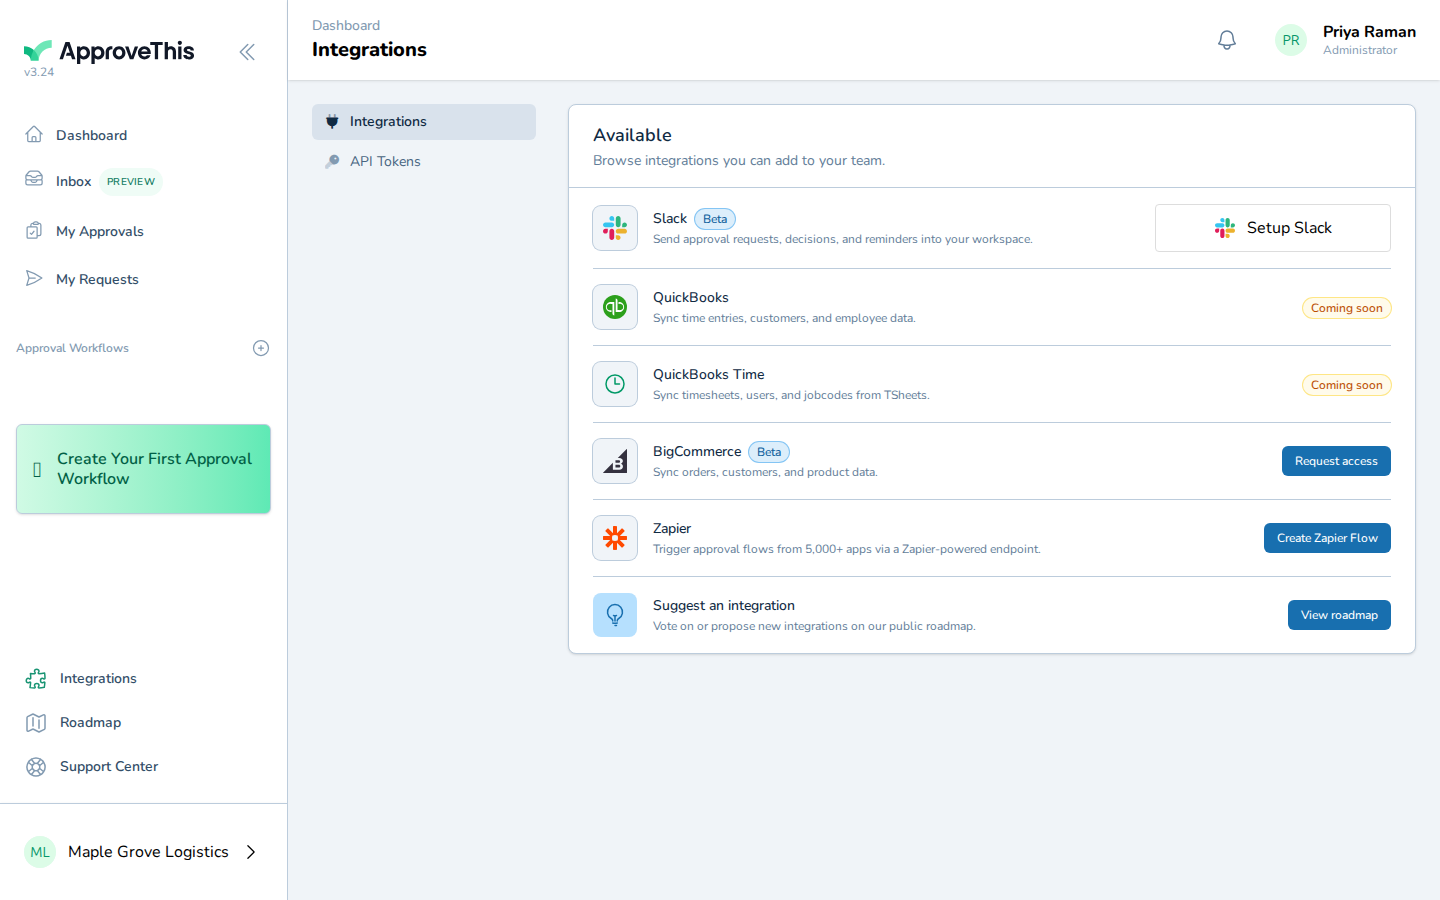
Go to https://app.approvethis.com/integrations. -
Click Create Zapier Flow.
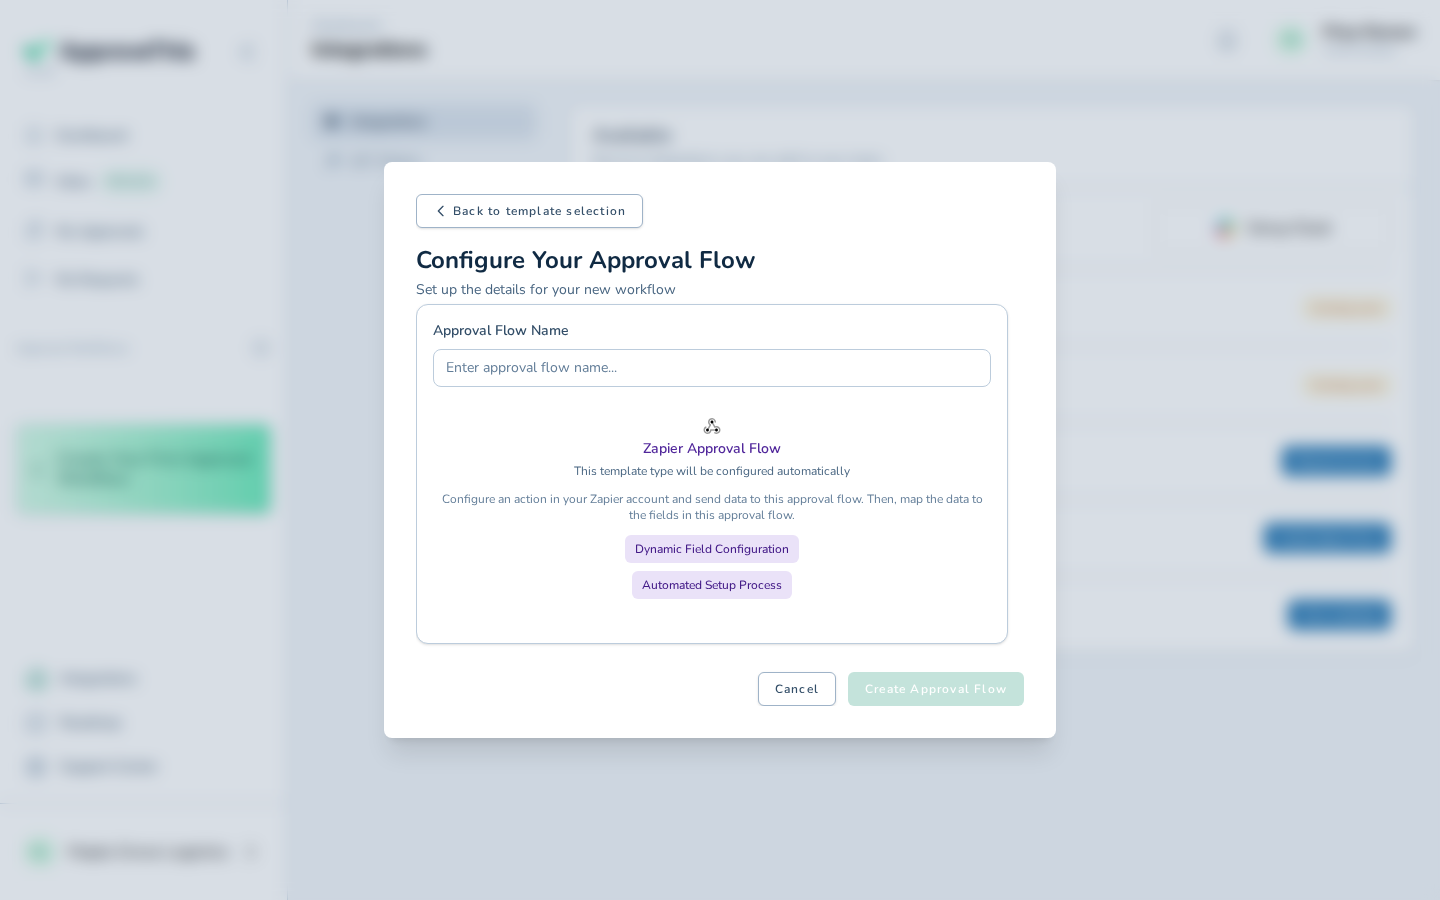
Click Create Zapier Flow. -
In Approval Flow Name, type a name that describes the kind of event the Zap will send over (the example uses
CRM Deal Approvals).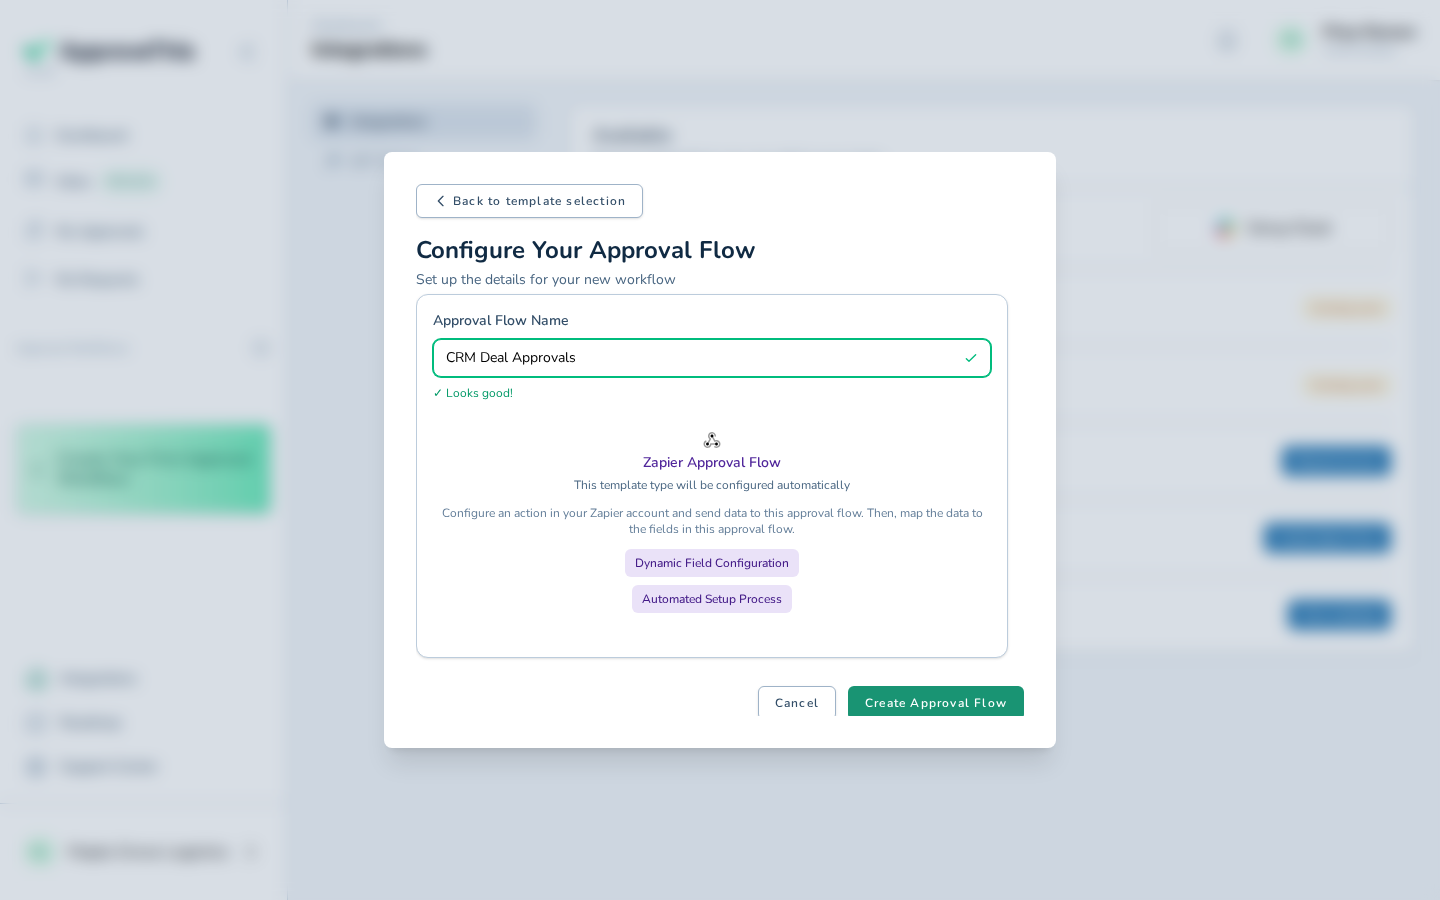
In Approval Flow Name, type a name that describes the kind of event the Zap will send over (the example uses CRM Deal Approvals). -
Click Create Approval Flow.
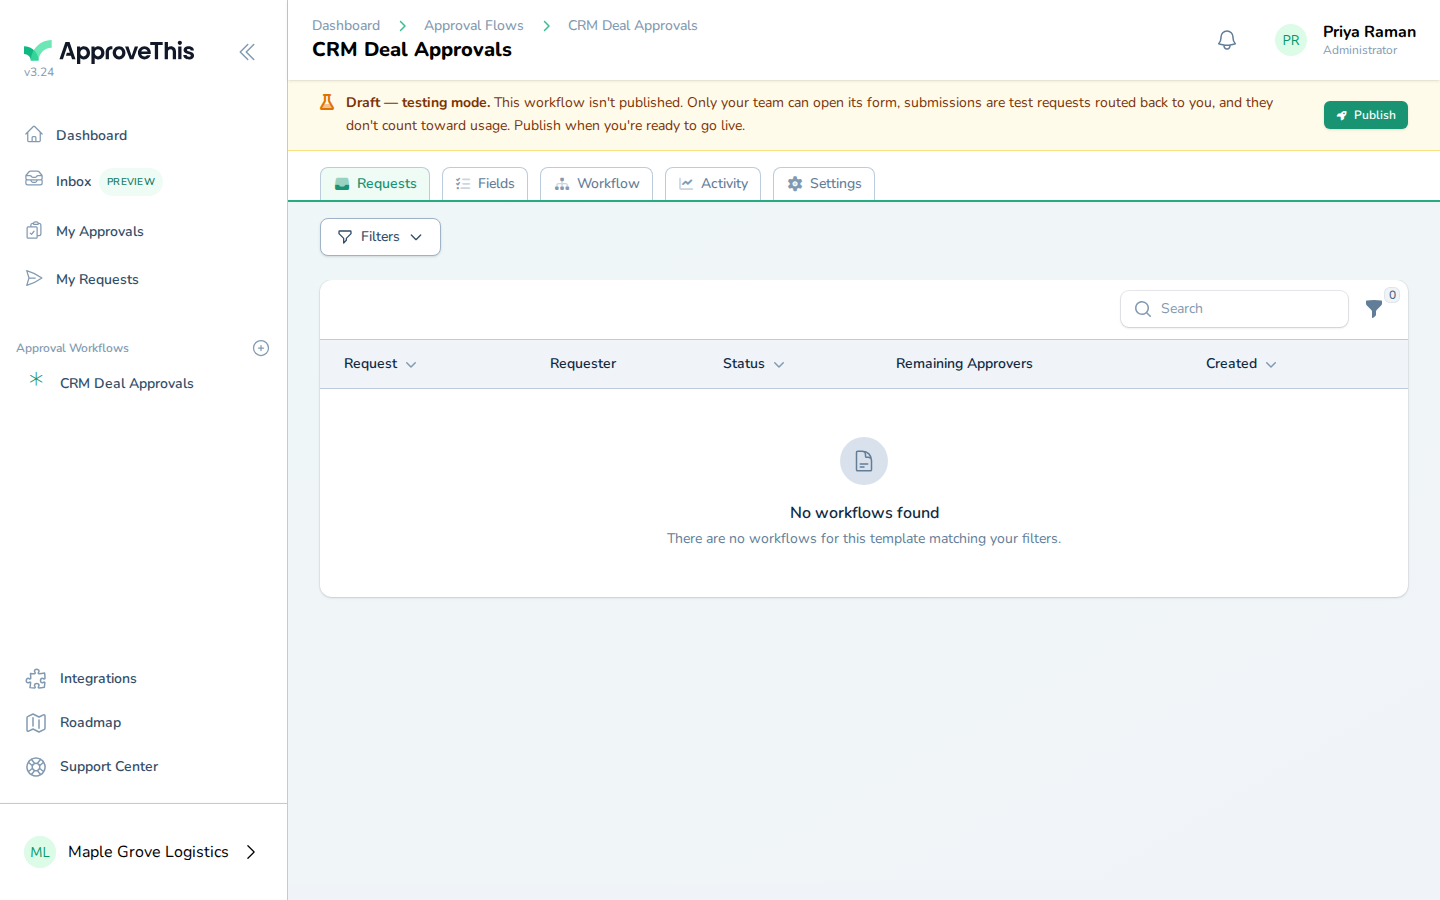
Click Create Approval Flow.