Client onboarding intake and kickoff approval
A public intake form collects the client's details and contract, then finance signs off billing terms before work starts.
Updated
A closed-won deal kicks off a scavenger hunt. The client's company details sit in a sales thread, the billing contact in a call note, the signed contract in someone's downloads folder. The client services lead chases brand assets and billing info while kickoff slips a week, and finance often learns about non-standard payment terms only after the team has started work, when the leverage to renegotiate is gone.
This walkthrough builds one intake path for all of it. The client services lead creates a client onboarding workflow whose form collects company details, the billing contact, and the contract, then publishes it as a public page the sales team drops into every closed-won email, so the client fills it in without an ApproveThis seat. Each submission routes to the account manager for a completeness check, then to the finance lead to sign off billing terms. The agency owner watches from the side, and the board shows every client in the onboarding pipeline.
What you'll set up
- A form that asks for company details, a billing contact, and a contract upload
- A public page for that form, so new clients submit without an account
- A two-step approval chain: account manager first, finance lead second
- Contract uploads previewed inline in the approval email
- A revision path that keeps corrections on the same request chain
- The owner as a watcher, plus a board view of the onboarding pipeline
Build the intake form
Create the workflow first. The Building Workflows guide shows the starting points; the type picker's Form Flow suits an intake that collects its details from a form. You can also search the Form Library for onboarding and pick the closest card, then reshape its fields — the Template Library guide covers that path.
Then open the flow's Form tab and add the questions. Each field is something the client answers once instead of an email someone sends later: a text field for company details, an email field for the billing contact, a file field for the signed contract. Click Add Field for each one.
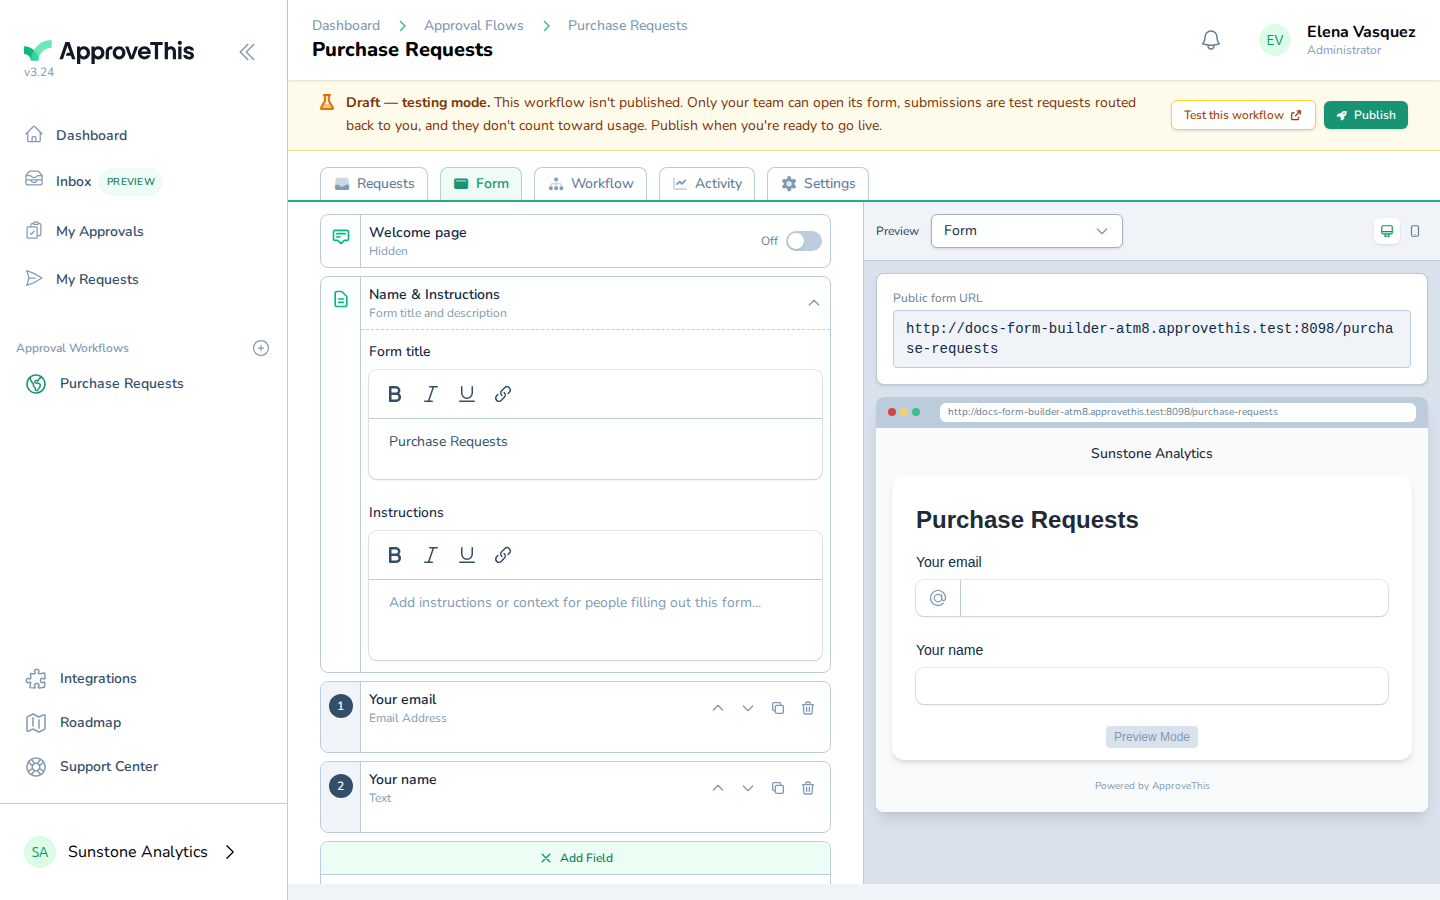
The example flow in the screenshots is Purchase Requests and it adds a Currency field; your onboarding form leans on text, email, and file types instead, configured the same way. Click each field to set its label and help text, and mark the contract upload Required so a submission can't arrive without it.
Full click-by-click: Form Builder
Publish it as a public page
The whole point of this workflow is that the client fills it in themselves, without a seat. Publish the workflow, then on its Settings tab click Requesters and turn on Public Submissions. Anyone with the page link can now submit, and every submission still enters the approval steps as normal.
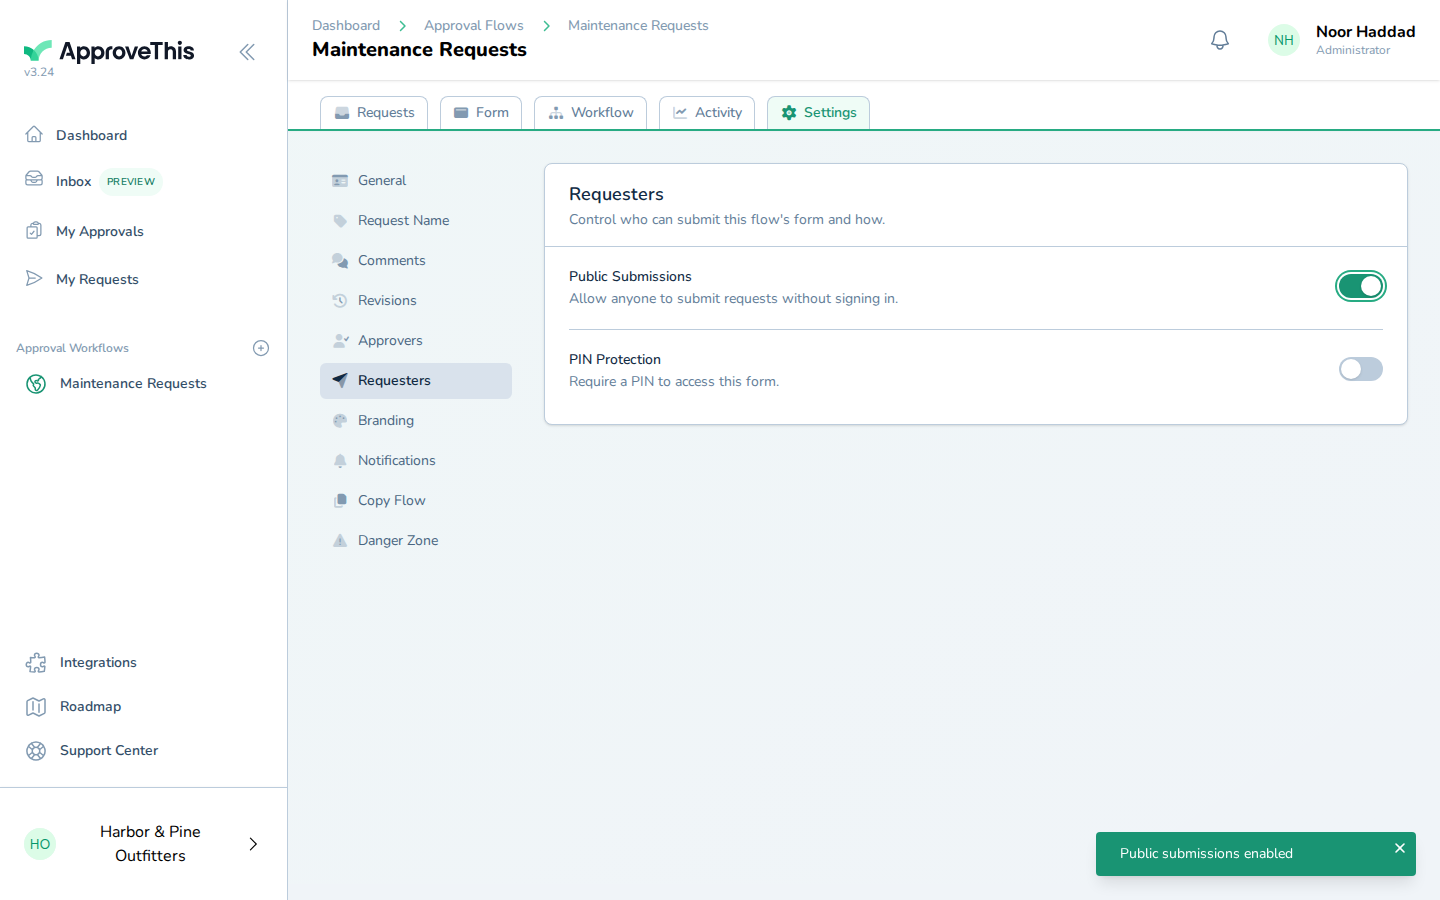
You'll see Public submissions enabled. Give the link to the sales team to paste into every closed-won email. The page isn't reachable until the flow is published and active, and a form containing User Selection fields can't be made public — the toggle refuses until those fields are removed.
Full click-by-click: Public Forms
Route each submission: completeness first, then billing terms
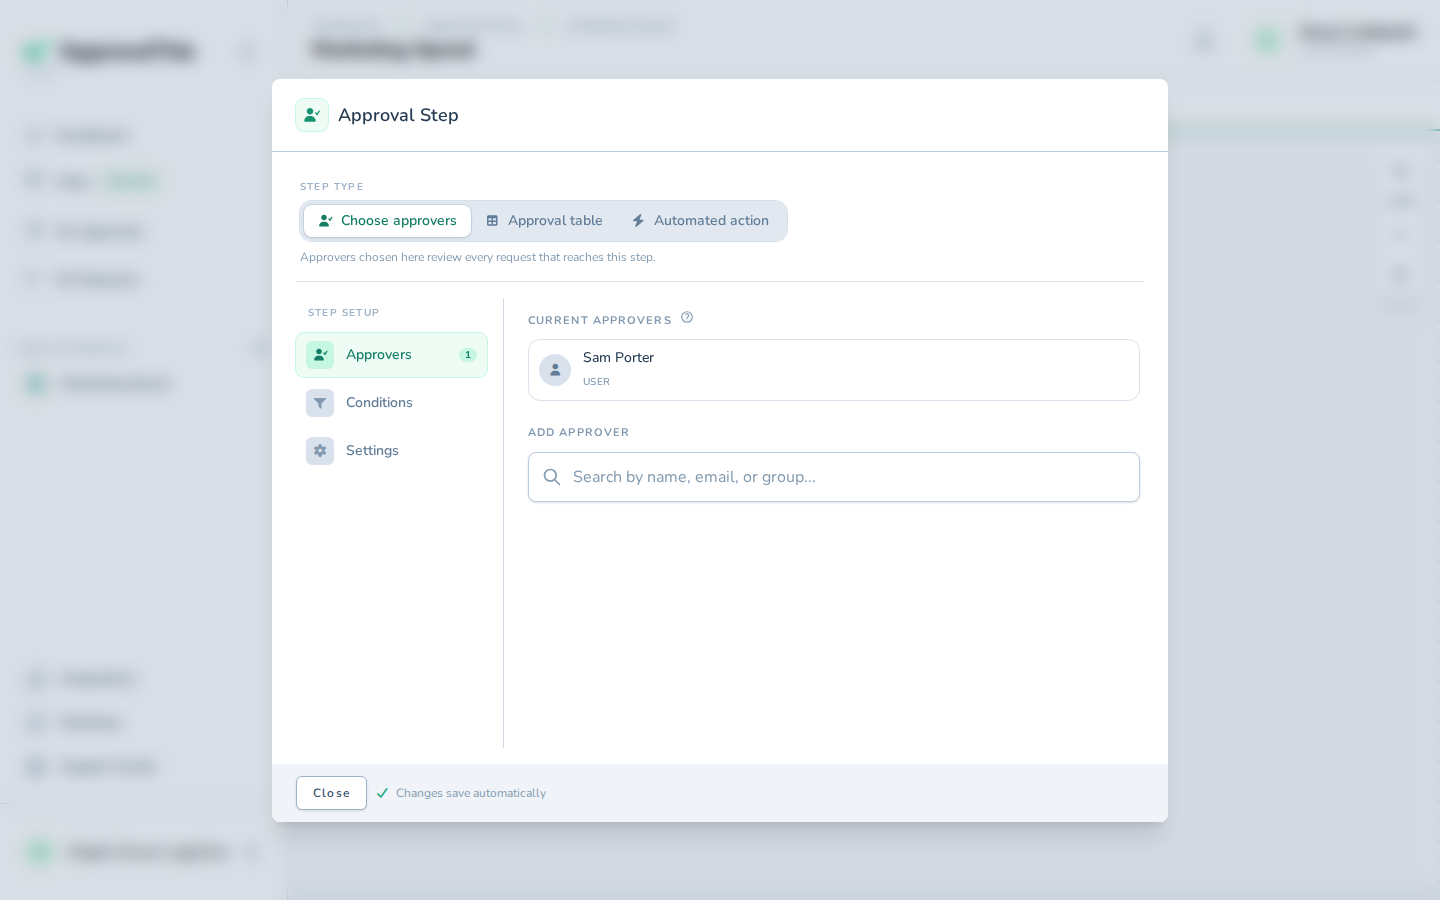
On the flow's Workflow tab, build the chain. Click Add a new step below this one, then in Search for an approver type the account manager's name and click it. Add a second step the same way for the finance lead. The order matters here: finance only sees submissions the account manager has already verified as complete, so they review real billing terms, not half-filled forms.
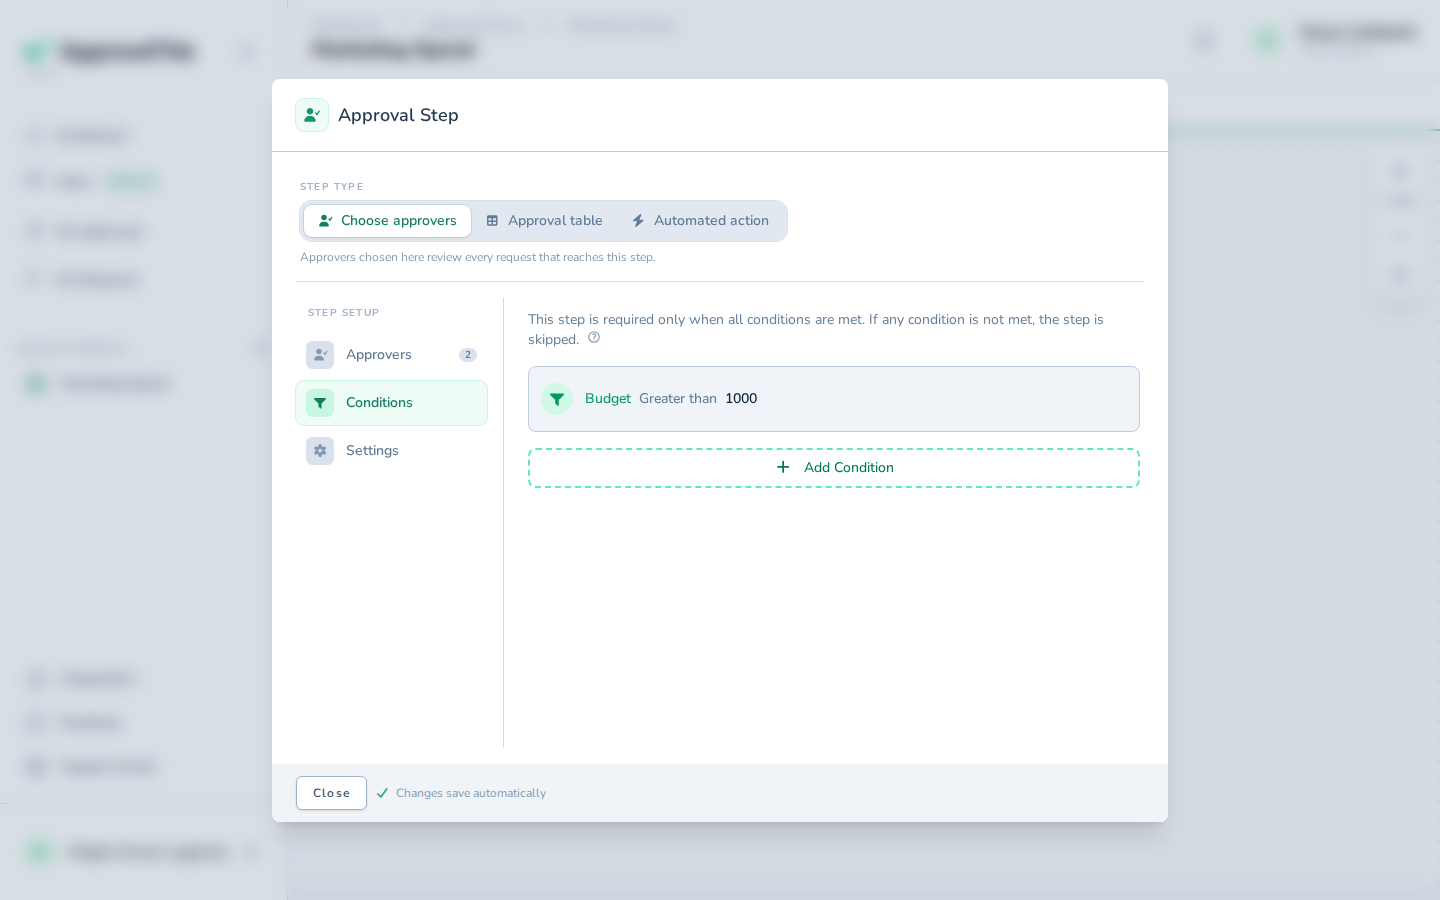
If your form also captures a contract value, a condition can keep the finance step out of the way on small standard deals: open Conditions, click Add Condition, and pick the field and threshold. The example gates on Budget Greater than 1000 — in this workflow yours might test a contract value field.
When a request reaches an approver, the notification email does the contract legwork for them: because the form collects the file through a file field, the Inline File Previews guide shows the approval email rendering images and PDFs inline, with the filename, size, and a download button. Non-previewable file types fall back to a download link.
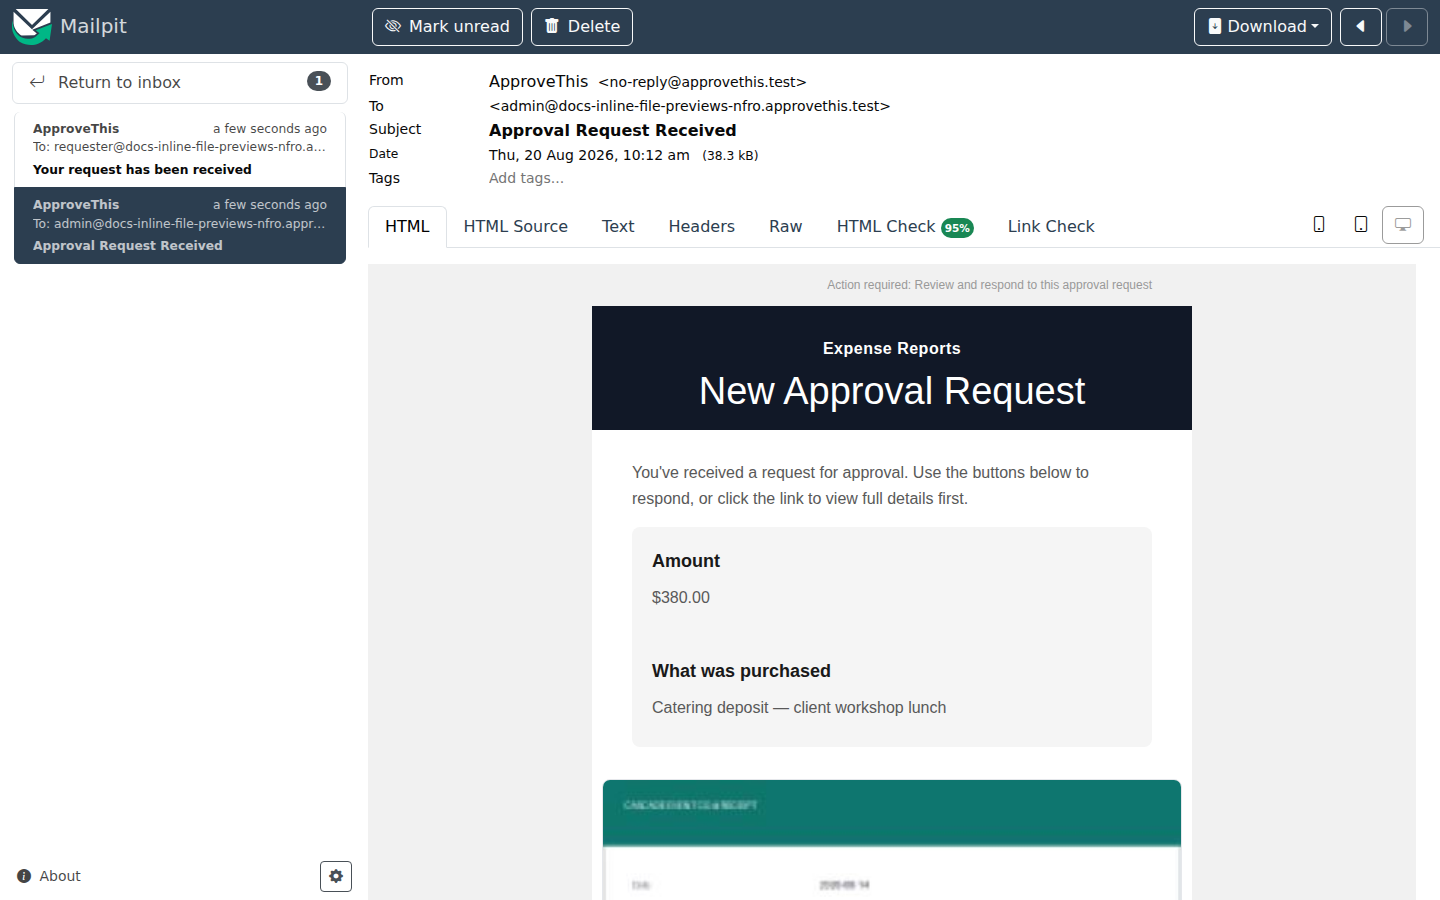
A PDF contract previews the same way, so the finance lead reads the payment terms without leaving their inbox.
Full click-by-click: Add an Approval Step
When something is missing: the revision round-trip
Say the account manager opens a submission and the billing contact is blank. Instead of denying it and losing the thread, they send it back for changes. The requester opens the returned request — an orange bar at the top shows what the approver asked for — and clicks Edit & Resubmit. Prior field values and uploaded files carry forward, so only the flagged gap needs filling.
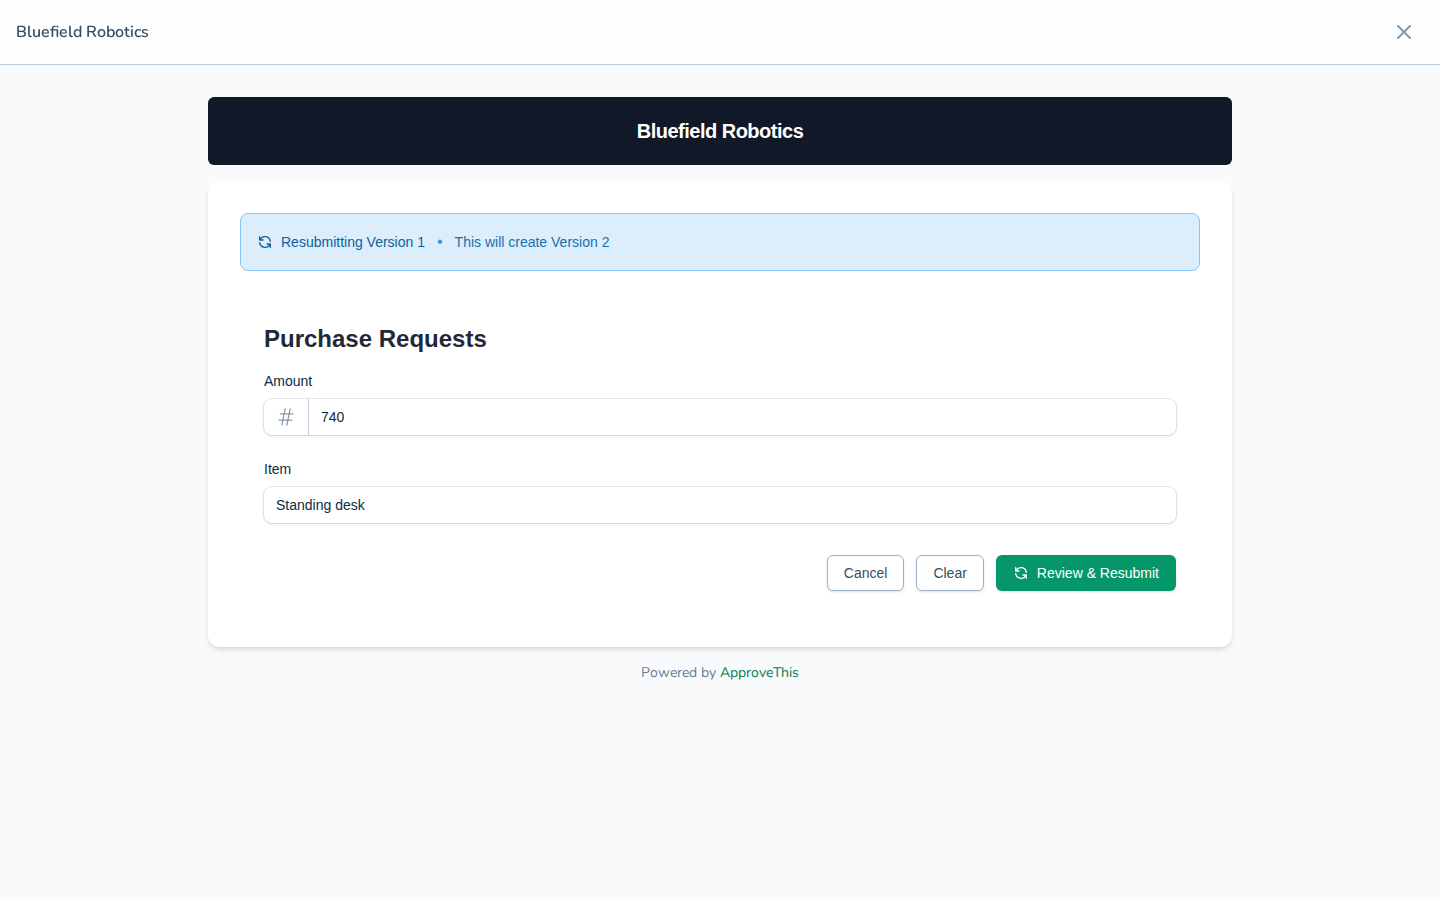
After fixing the field, they click Review & Resubmit, note what changed in Reason for resubmission (optional), and click Confirm Resubmission. The request comes back as v2 (current) in the same chain, so approvers see the history, not a duplicate.
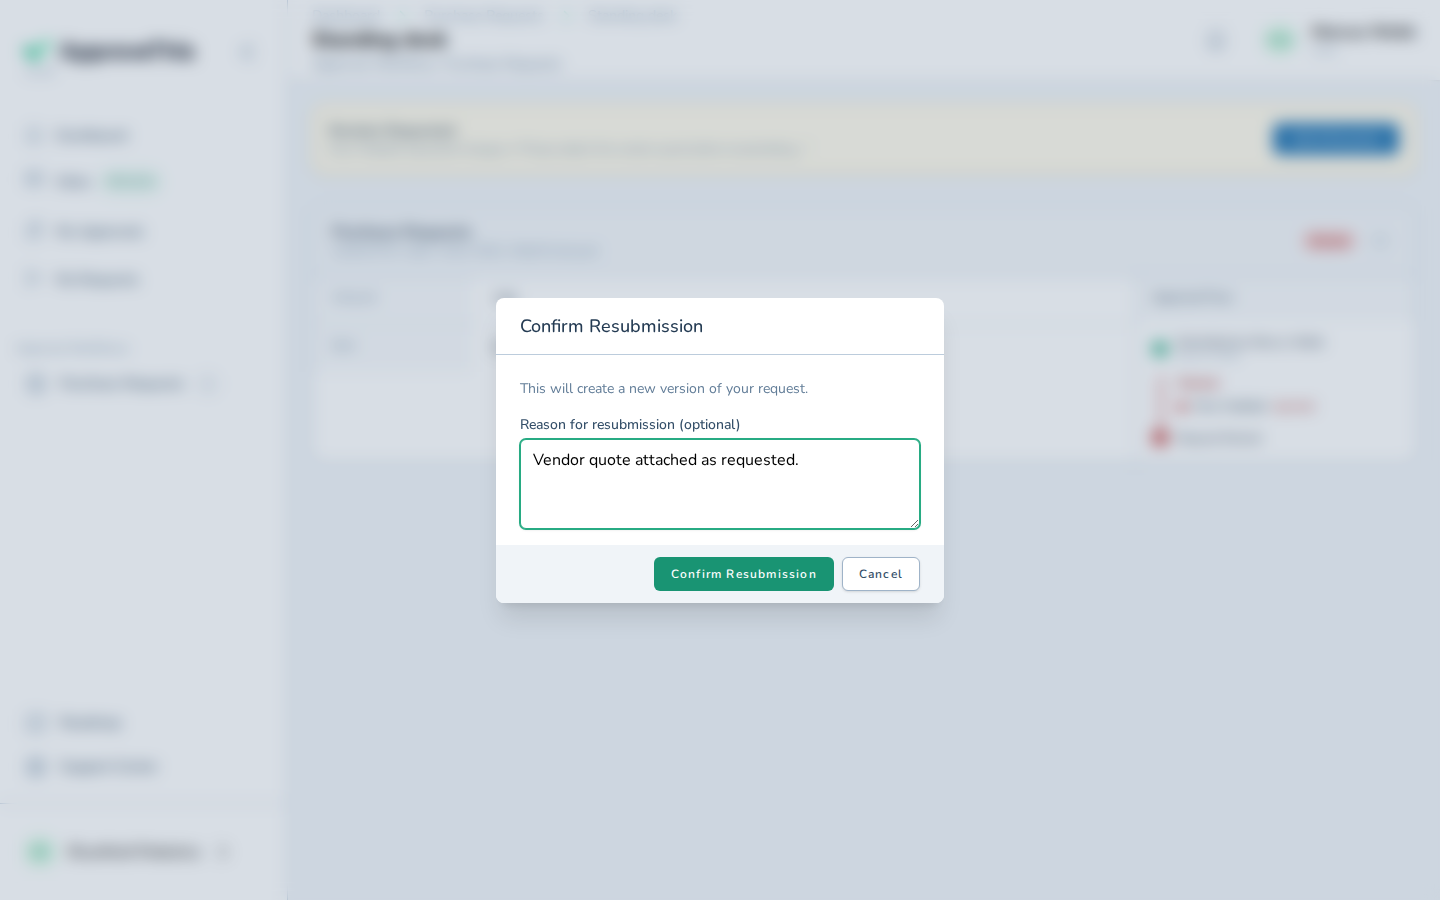
Be clear-eyed about who this loop belongs to. Resubmission is turned on per flow, only the latest version in a chain can be resubmitted, and the resubmitting is done by the signed-in requester who filed the request, from their My Requests list. A client who submitted anonymously through the public page has no account to return with, and no guide shows an anonymous submitter resubmitting. So for deals where you expect corrections, have the account executive file the form from their own seat on the client's behalf — the send-back then lands with someone who can rework it in-app. An anonymous client can always submit the public form again, but that arrives as a new request, not a version in the same chain.
Full click-by-click: Request Revisions & Versioning
The green light, and the pipeline on one board
The agency owner shouldn't have to ask "did the new client clear finance yet". On the flow's Settings tab, open Notifications, use Search for an approver to pick the owner, and click Save — the Flow Watchers guide walks it. As a watcher, the owner gets email when requests are submitted, approved, or denied, and when comments or revision requests happen, without ever being asked to approve anything.
For the pipeline view, open the flow's Requests tab. The Kanban board groups requests by status, so what's waiting, what's approved, and what's denied reads at a glance — that is your onboarding pipeline. One thing the board doesn't do: it won't split the waiting column by step, so a submission with the account manager and one with the finance lead both sit in the same waiting column. Click Table to work through many requests as a sortable, filterable list.
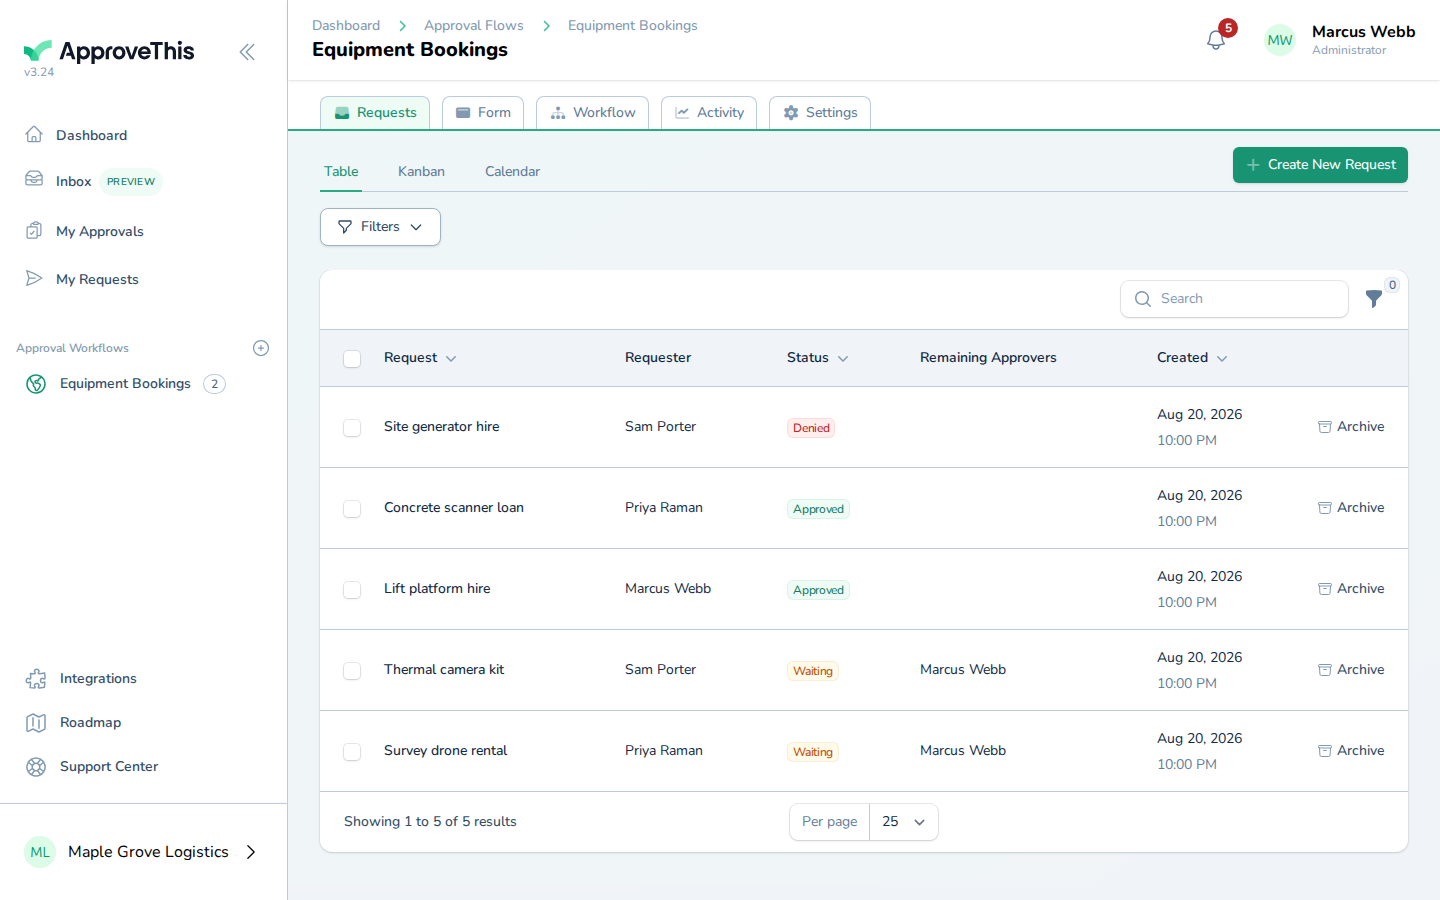
Don't hunt for a Calendar tab on this flow: the calendar only appears on date-based flow types with start and end date fields, and the switcher only lists the views a flow has.
Full click-by-click: Workflow Dashboards
Related guides
- Template Library — start from one of 146 ready-made workflows, each with a pre-built form, instead of a blank page.
- Building Workflows — the guided setup, type picker, and copy paths for creating a workflow, through to Publish.
- Inline File Previews — how uploaded contracts render inside approval emails.
- Flow Watchers — give the owner or a project lead visibility without putting them in the chain.
- Notification Branding — make the public page and its emails carry your agency's color, logo, and sender name, which matters when the audience is a brand-new client.
- Dynamic Request Naming — title each request from form answers, such as the client's company name, so the board reads as a client list.