Building Workflows
Every way to create a workflow in one place: the guided setup, the type picker's ready-made workflow types, or copying a workflow you already trust, plus the Publish click that takes any of them live. Every new workflow starts in testing, so nothing reaches real approvers until you say so.
Updated
A workflow in ApproveThis is the reusable blueprint that defines an approval's steps, fields, and routing. There are three ways to start one — answer a few questions in the guided setup, pick a ready-made type, or duplicate a workflow that already works — and all three land in testing mode until you publish. This guide is for Administrators building in Dashboard > Flows, and it covers each starting point plus the click that takes a workflow live.
Who this is for: an Administrator.
Create a workflow with the guided setup
The guided setup asks a short series of questions and assembles the structure for you, which suits a common approval like an expense report where you'd rather answer prompts than lay out steps by hand.
-
Sign in as the Administrator.
-
Open the new workflow setup at
https://app.approvethis.com/flows/new.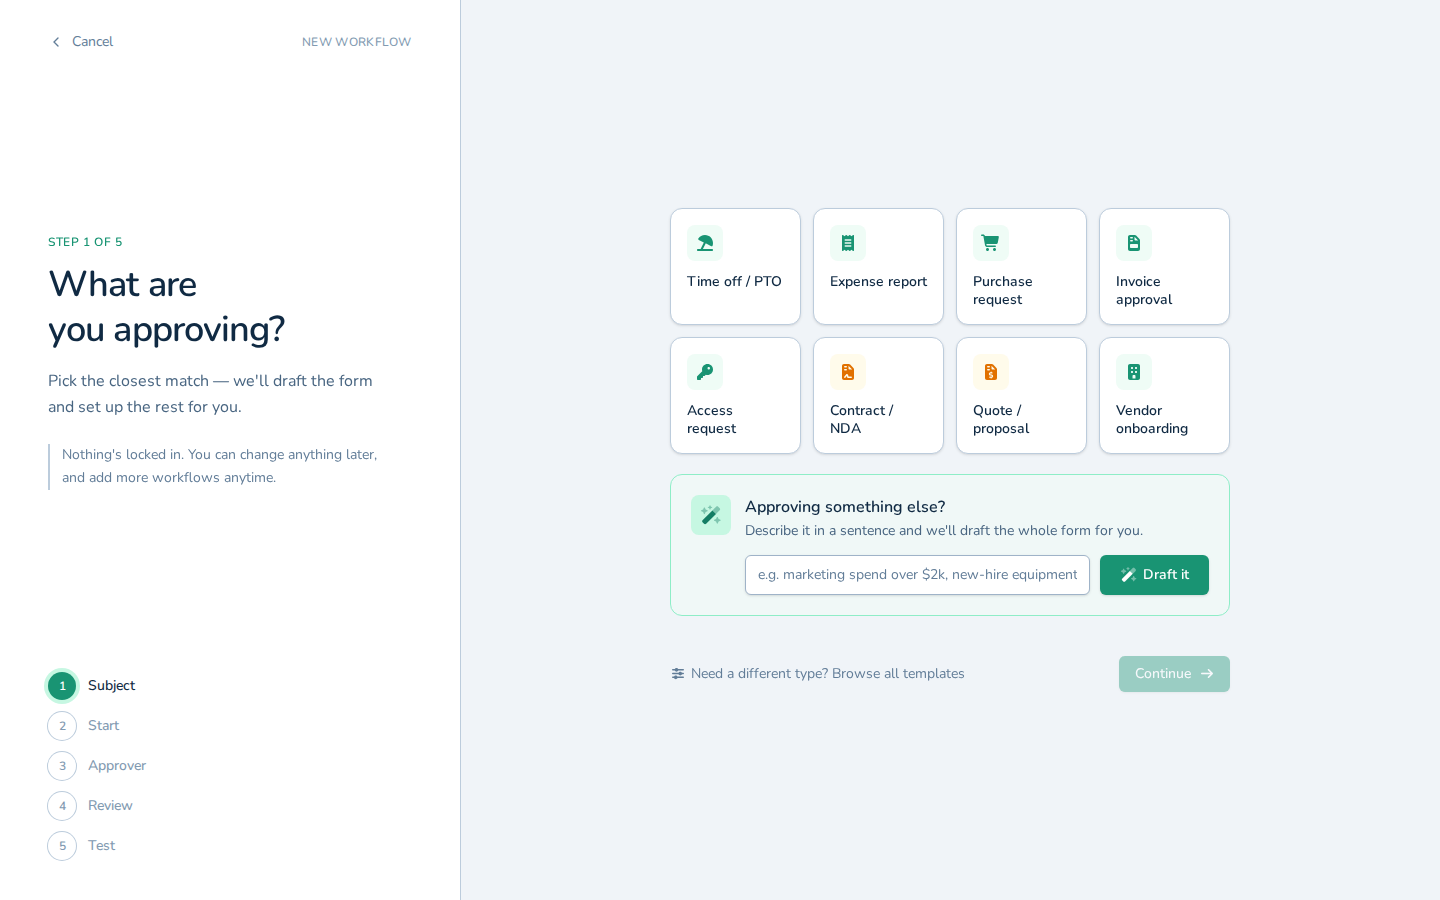
Open the new workflow setup at https://app.approvethis.com/flows/new. -
Choose the type of approval you're building — the example screenshots use Expense report.
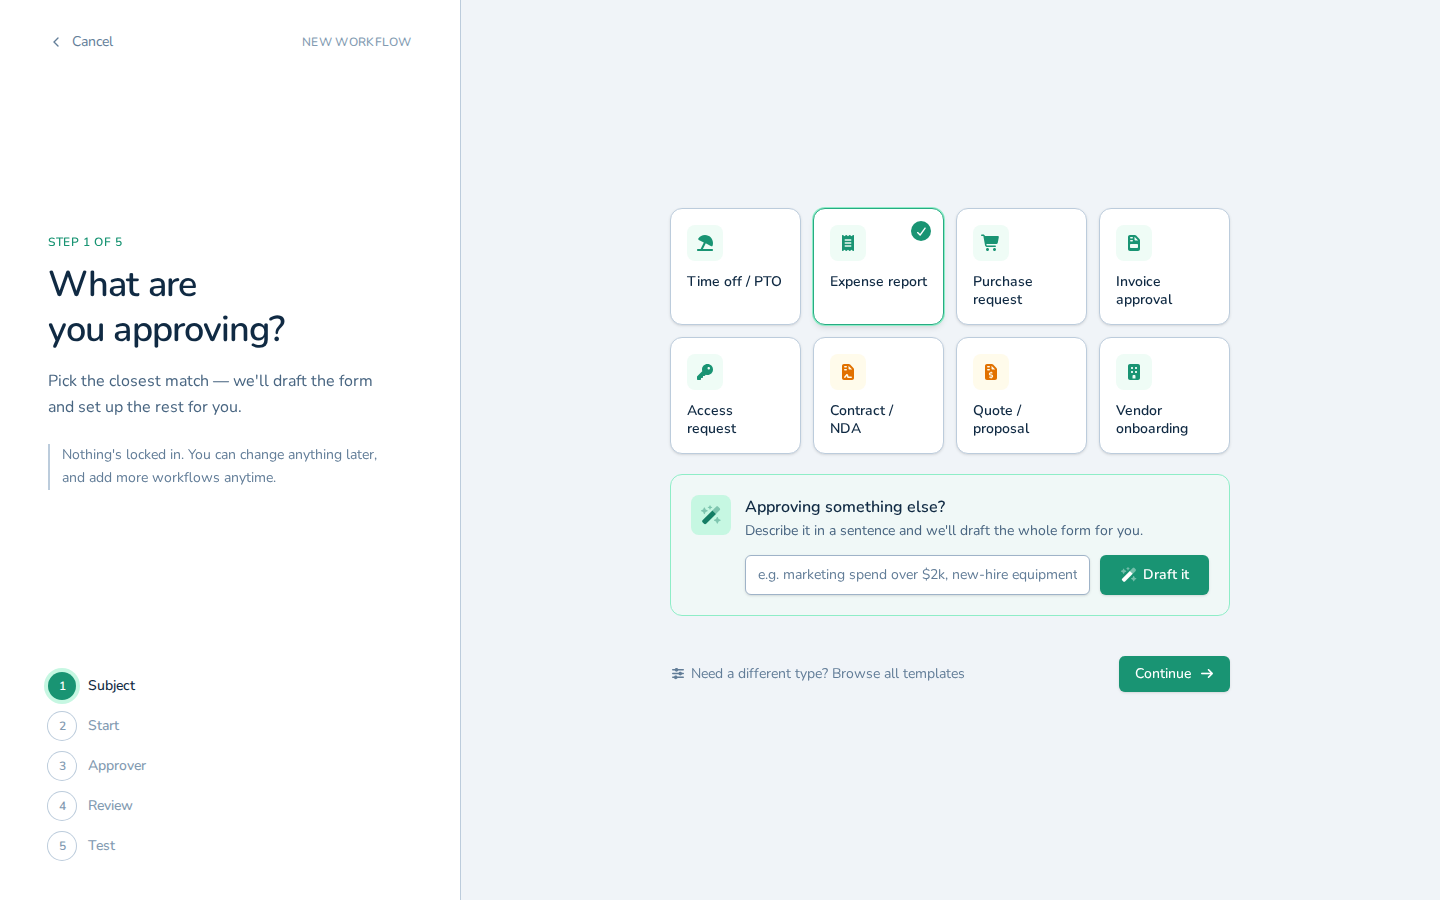
Choose the type of approval you're building — the example screenshots use Expense report. -
Click Continue to move through each question the setup asks. Repeat as needed — the example does this 2 times.
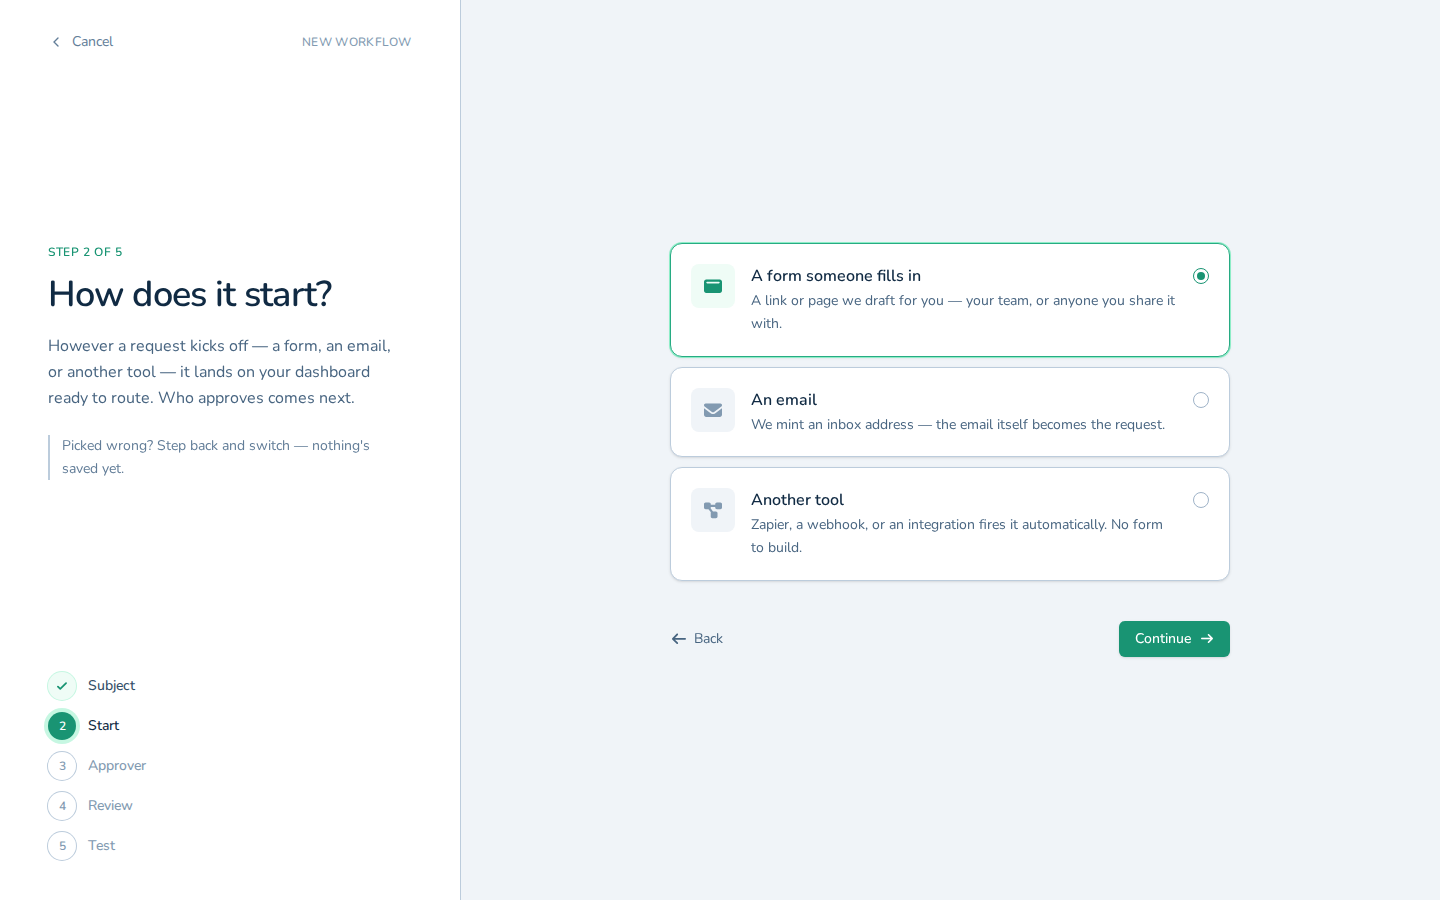
Click Continue to move through each question the setup asks. Repeat as needed — the example does this 2 times. -
Click Review to see the workflow the setup assembled from your answers.
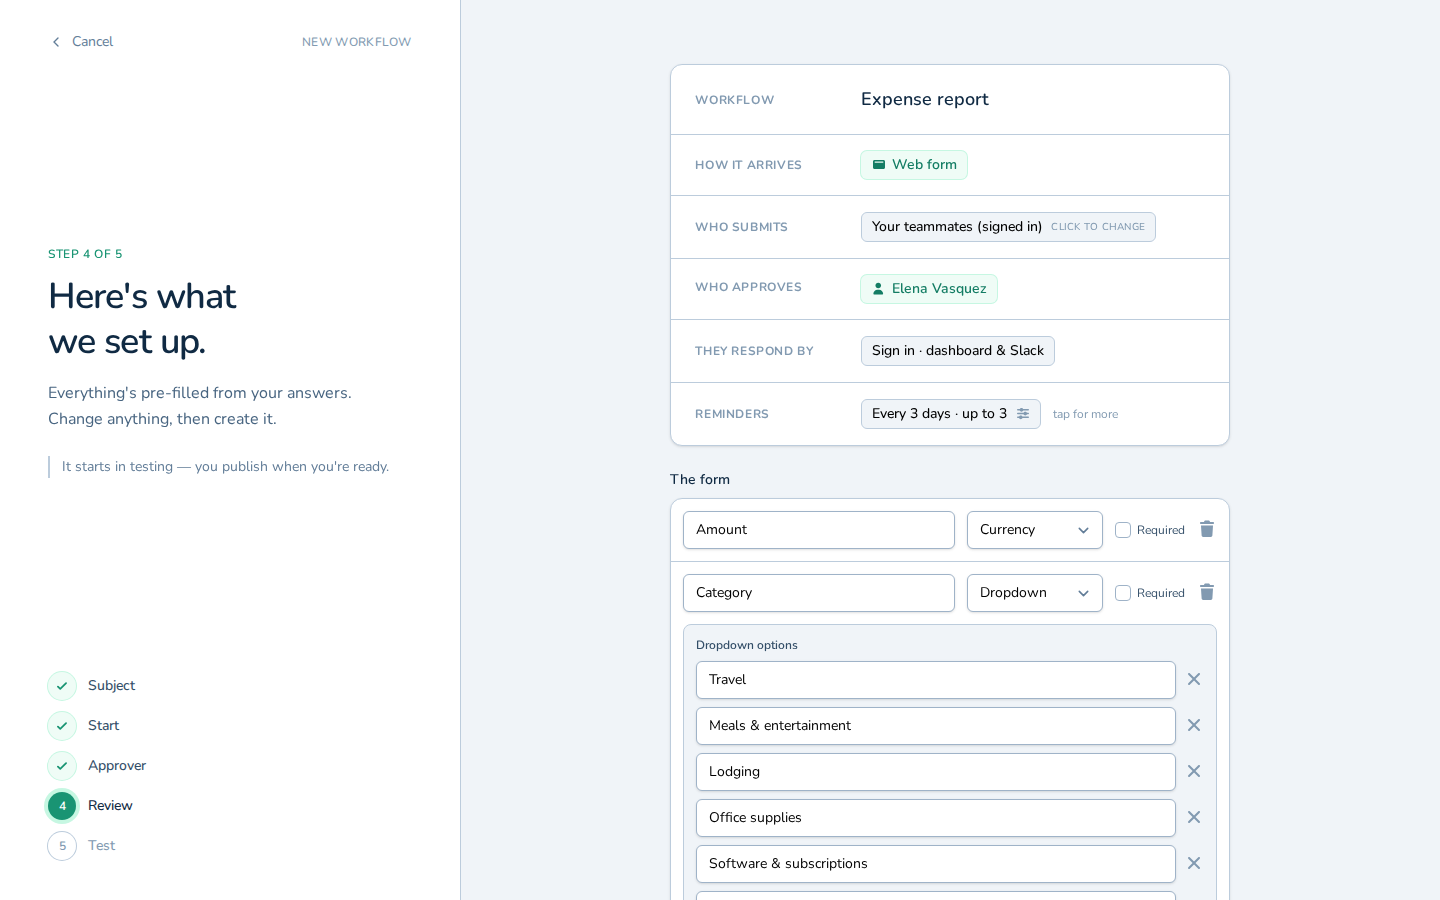
Click Review to see the workflow the setup assembled from your answers. -
Click Create & test to create the workflow in testing mode.
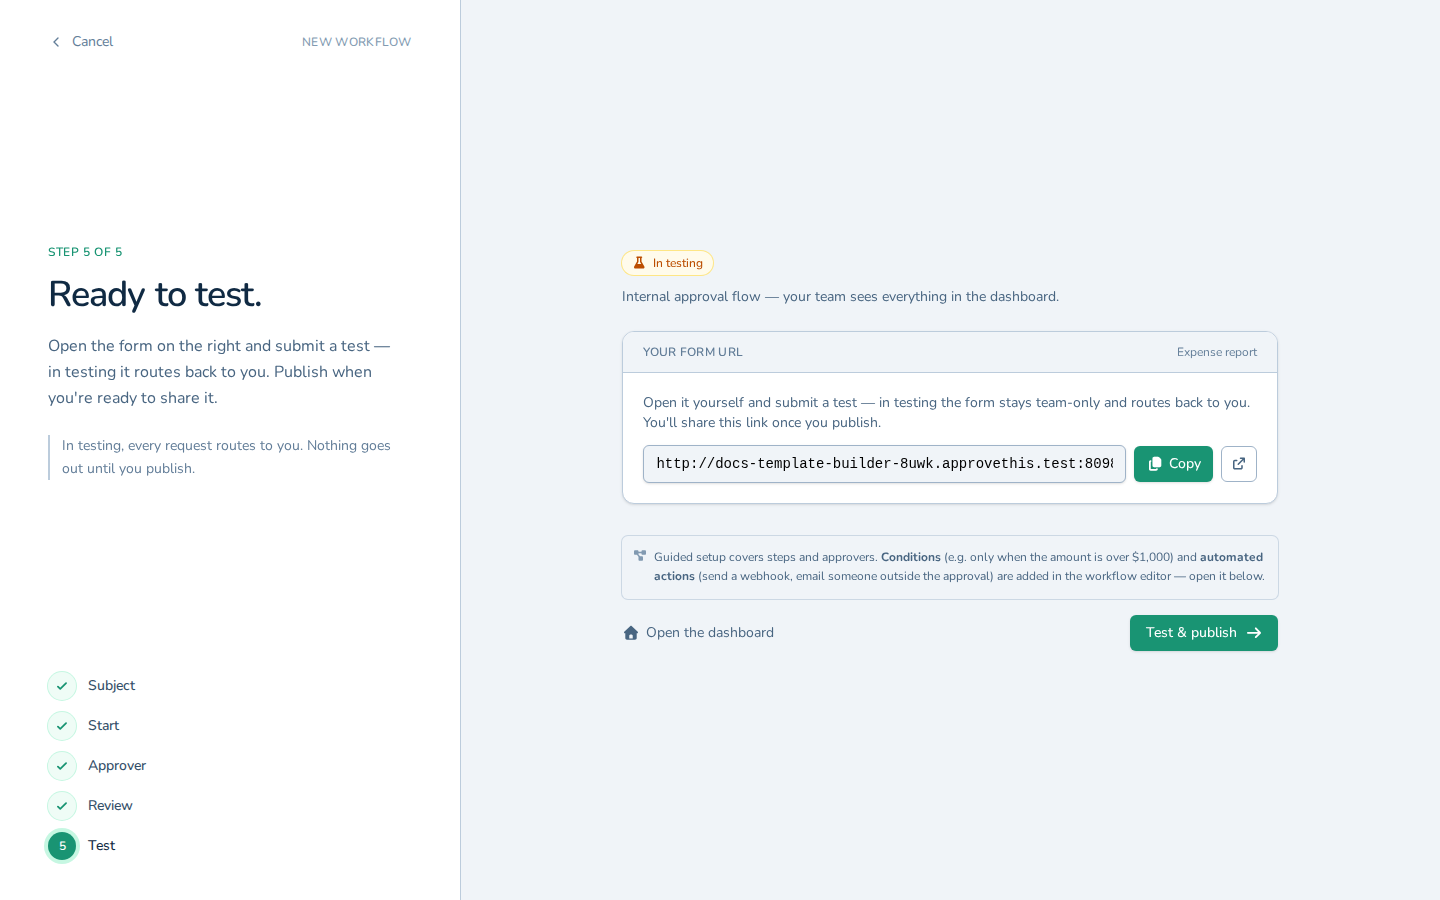
Click Create & test to create the workflow in testing mode.
Create a workflow from the type picker
The type picker skips the questions and drops you straight into a chosen workflow type with a name of your own. Reach for it when you already know the shape of the process you want to build.
-
Open the type picker at
https://app.approvethis.com/flows/create.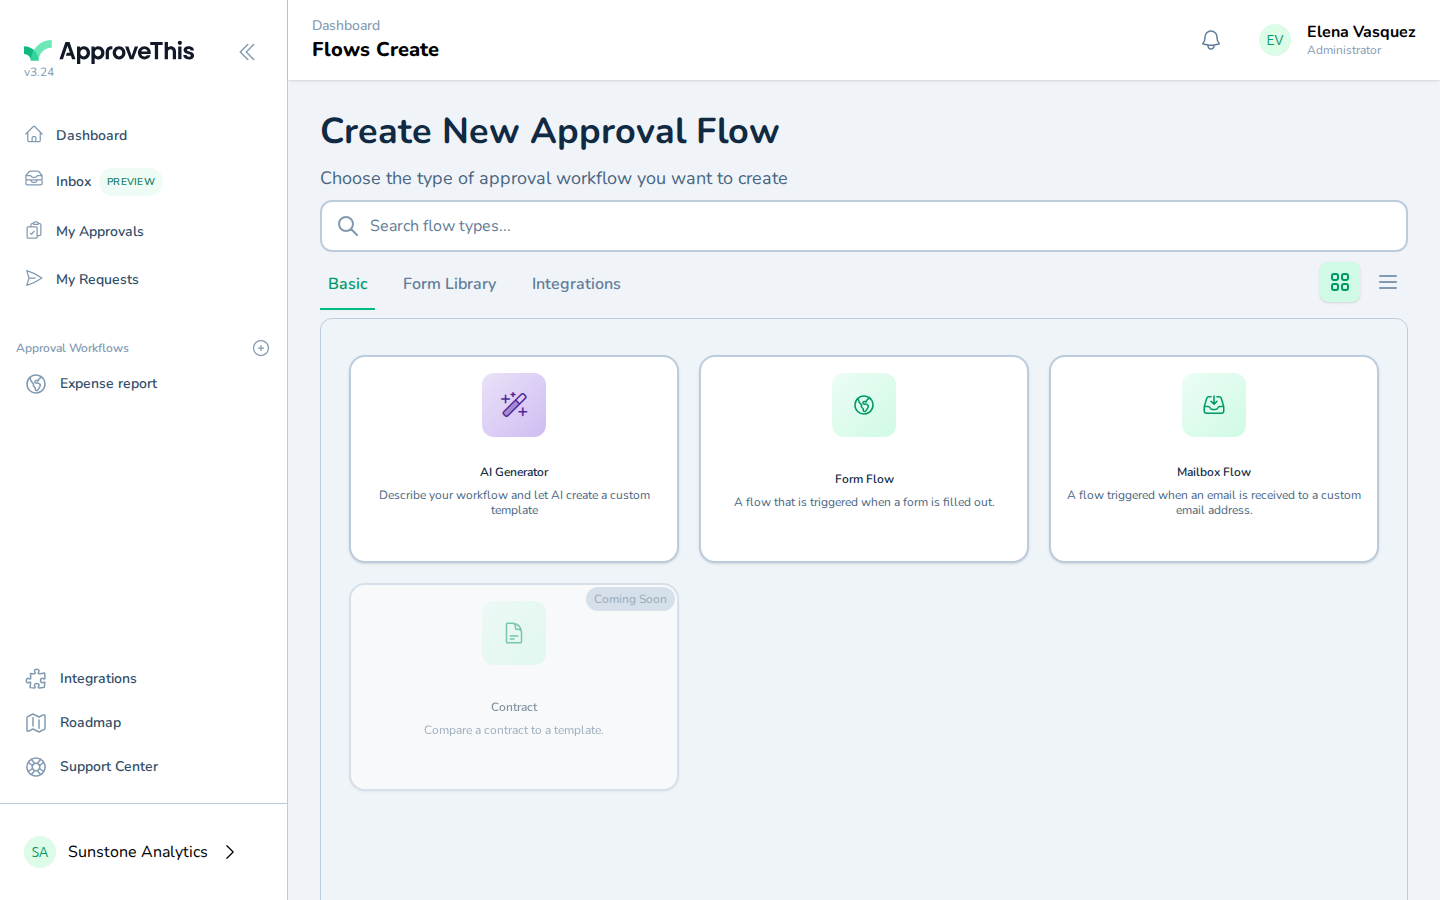
Open the type picker at https://app.approvethis.com/flows/create. -
Select the workflow type that matches how requests will arrive, such as Form Flow.
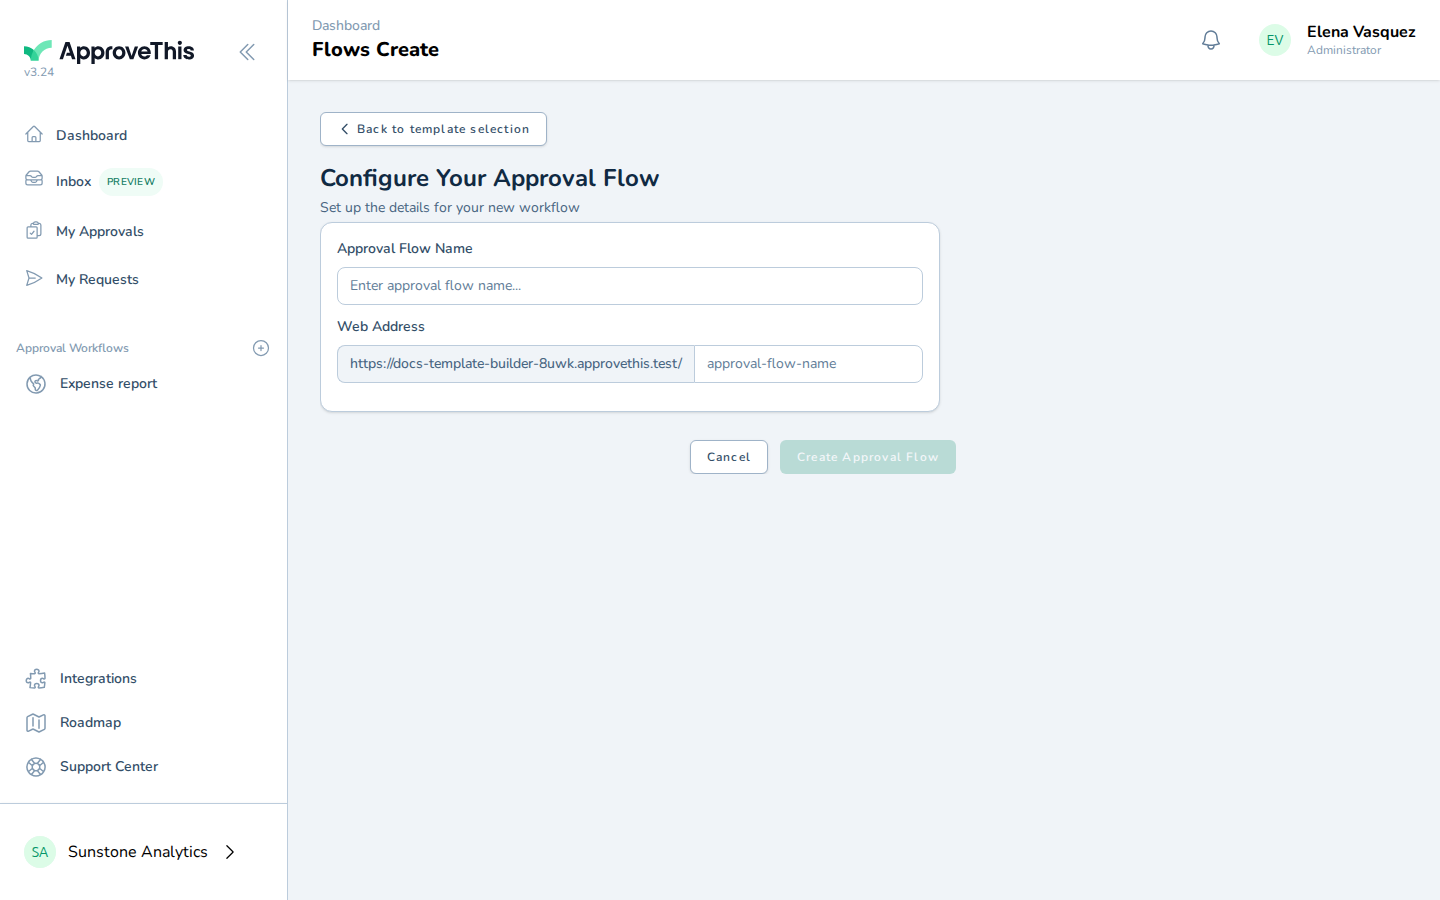
Select the workflow type that matches how requests will arrive, such as Form Flow. -
In Approval Flow Name, type a name that identifies the process to requesters and approvers — e.g.,
Contractor Invoices.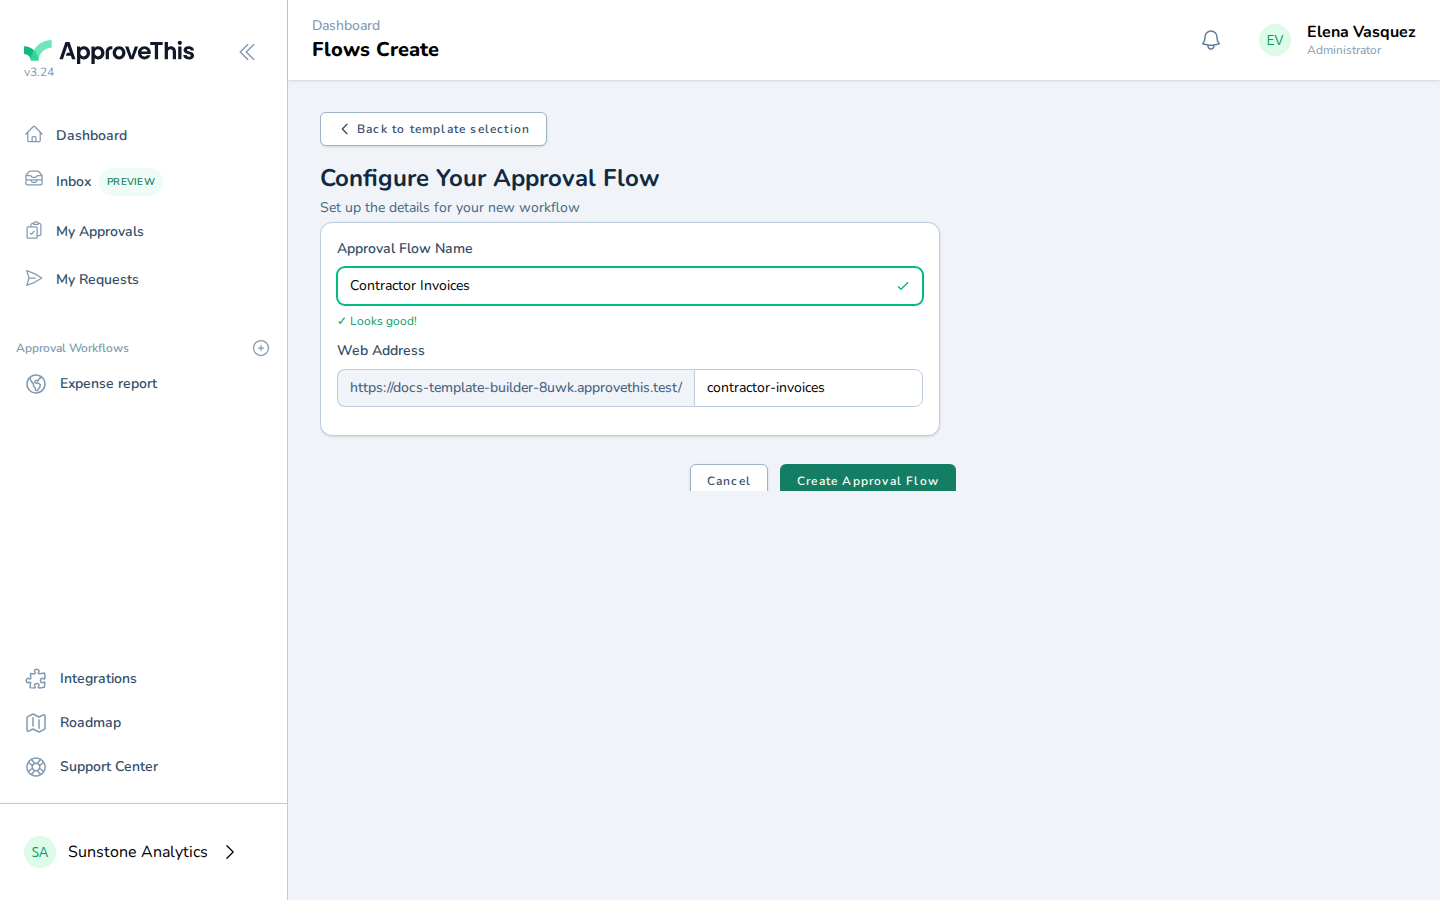
In Approval Flow Name, type a name that identifies the process to requesters and approvers — e.g., Contractor Invoices. -
Click Create Approval Flow.
Click Create Approval Flow.
Copy an existing workflow
Copying is the fastest route to a near-identical process: fields, approvers, pages, notifications, webhooks, schedules, and branding all carry over in one click. Requests already submitted against the original do not come along, and the copy arrives unpublished with a " (Copy)" suffix on its name.
-
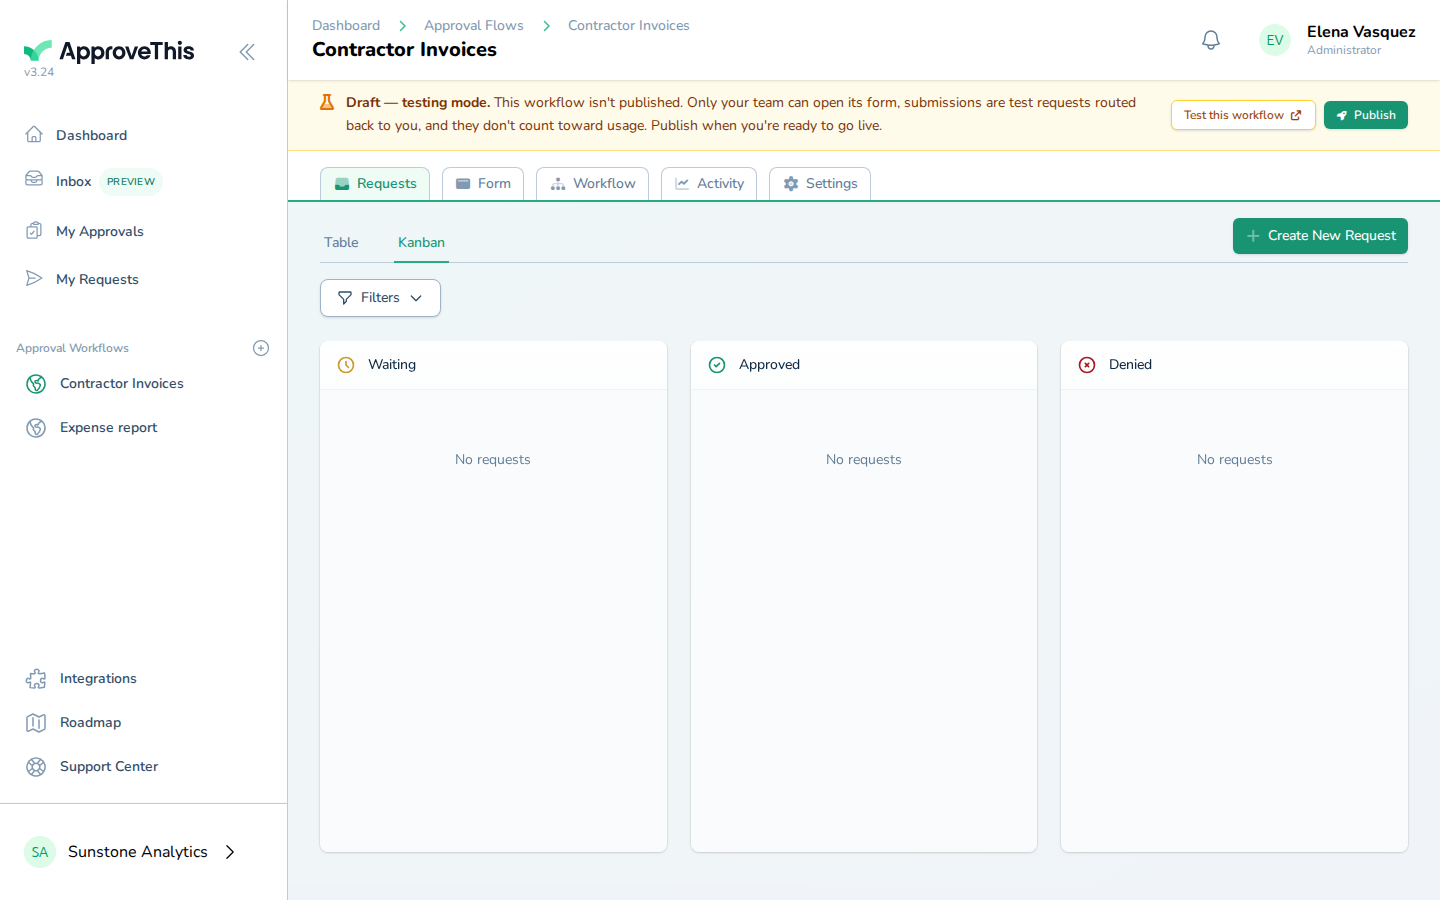
Open the workflow you want to duplicate and click Settings.
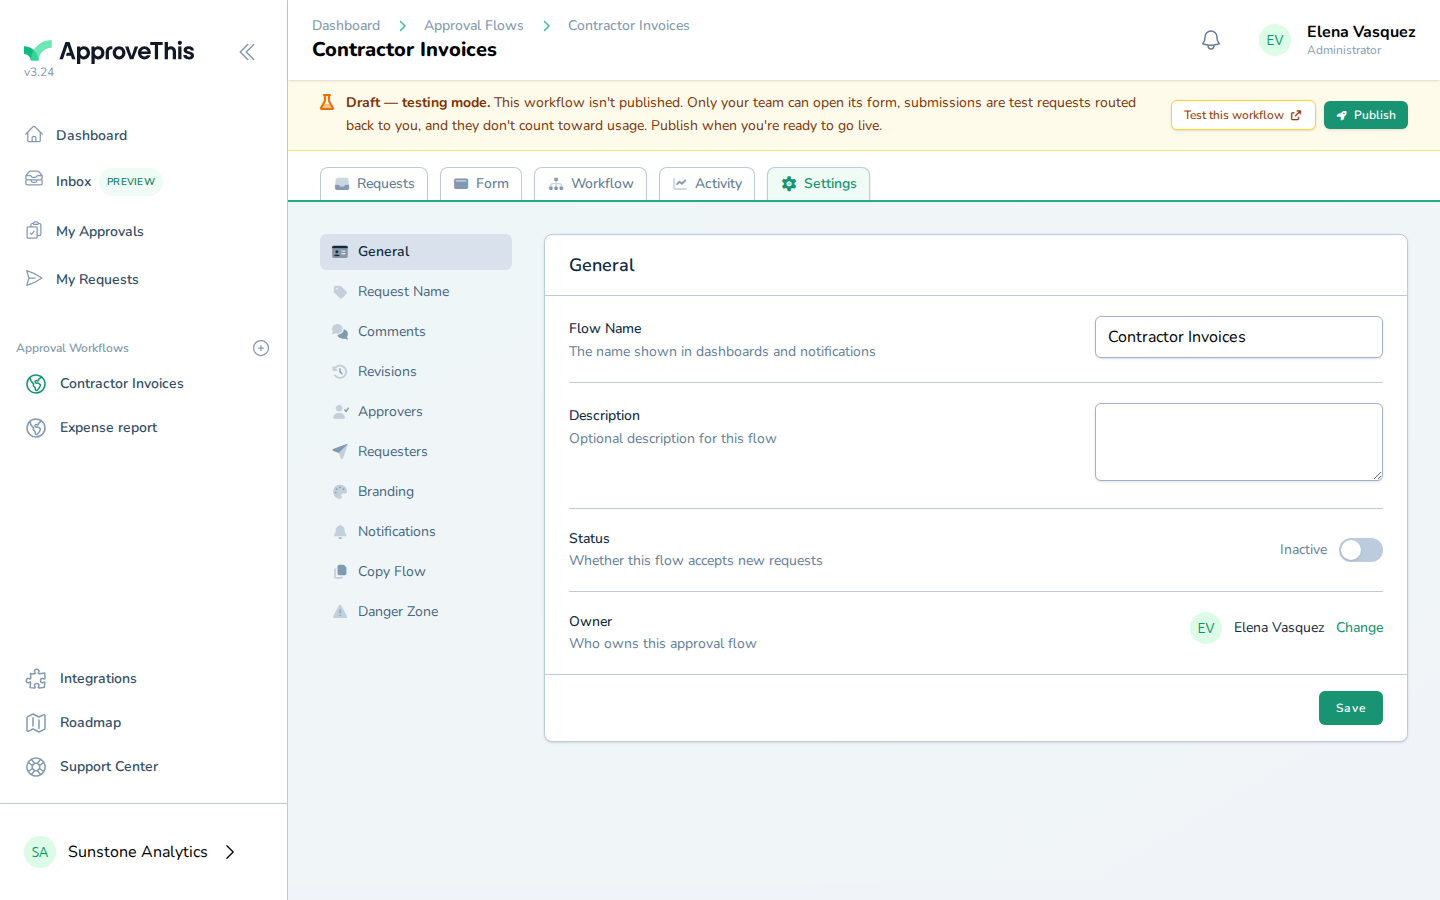
Open the workflow you want to duplicate and click Settings. -
Click Copy Flow. Repeat as needed — the example does this 2 times.
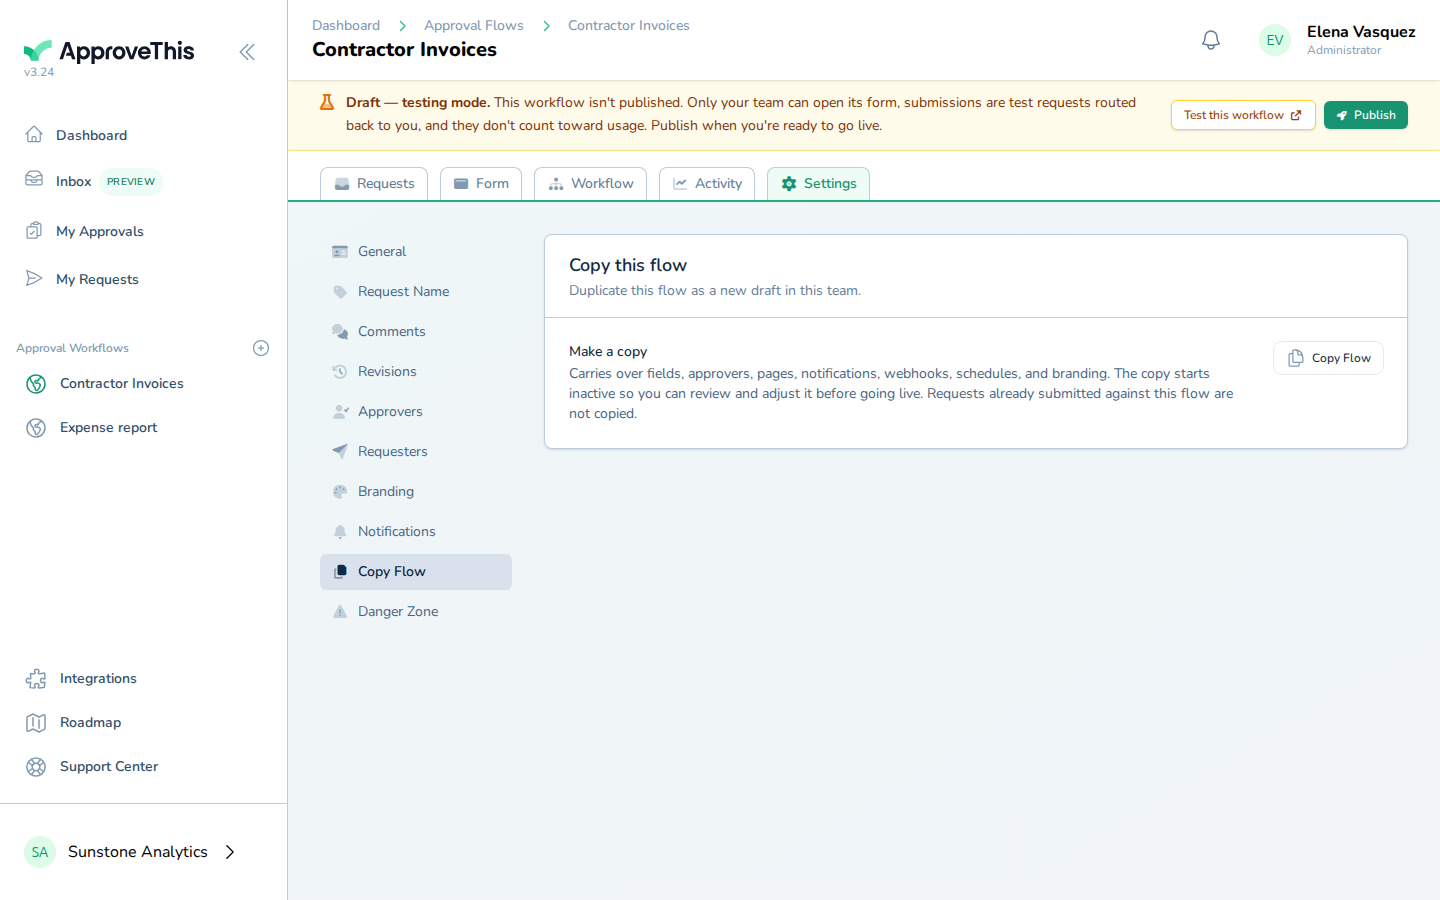
Click Copy Flow. Repeat as needed — the example does this 2 times. -
Confirm the duplication in the modal by clicking Create copy.
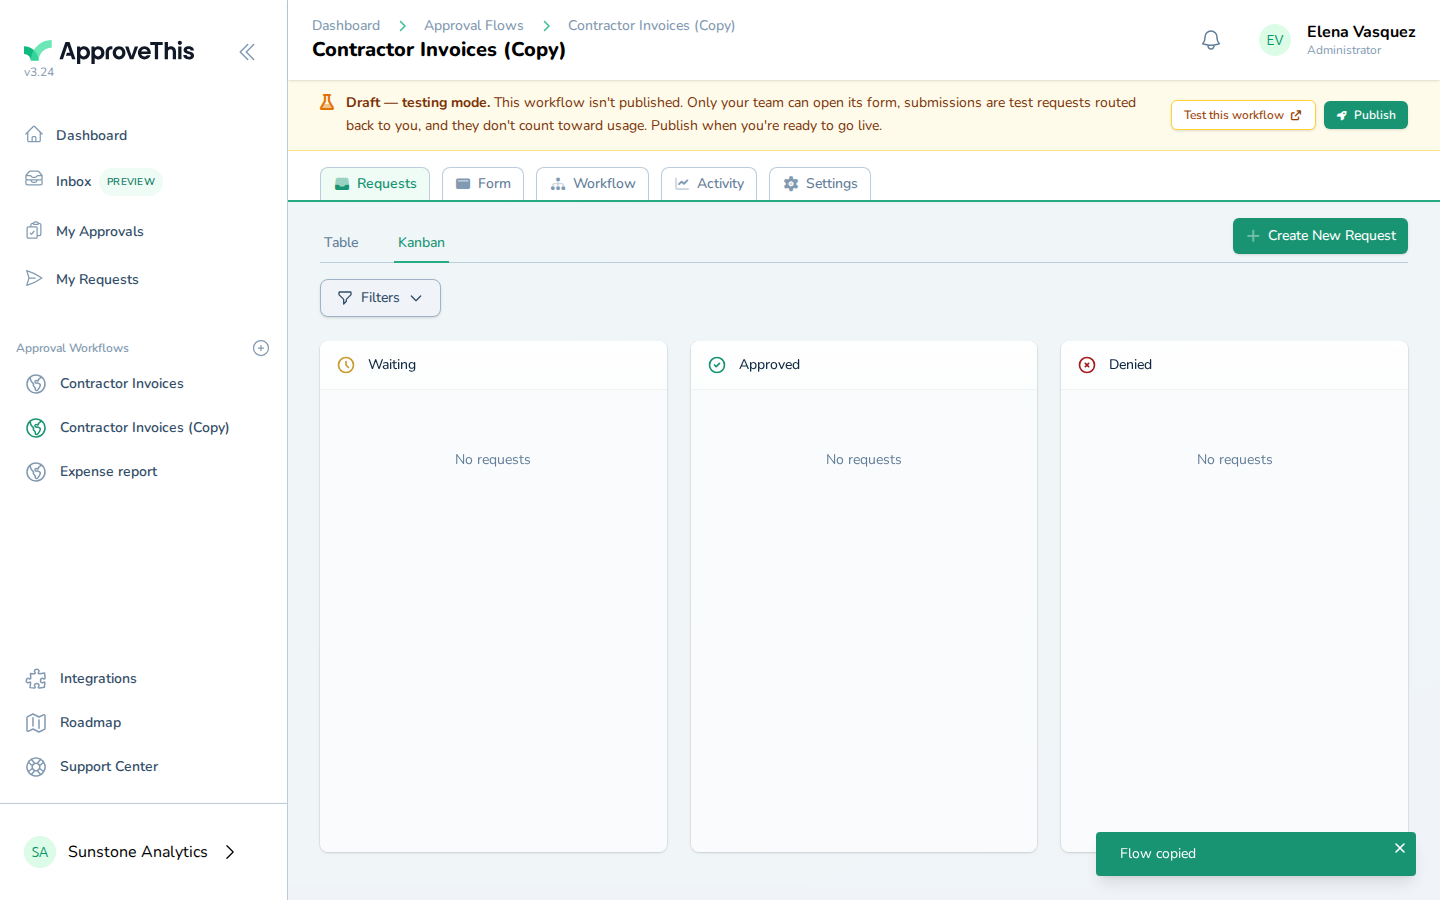
Confirm the duplication in the modal by clicking Create copy.
Publish a workflow to go live
Every new workflow, however you started it, sits in testing until you publish it. Publishing is the point where real requests begin routing to the approvers you configured.
-
Click Publish to take the workflow out of testing mode.
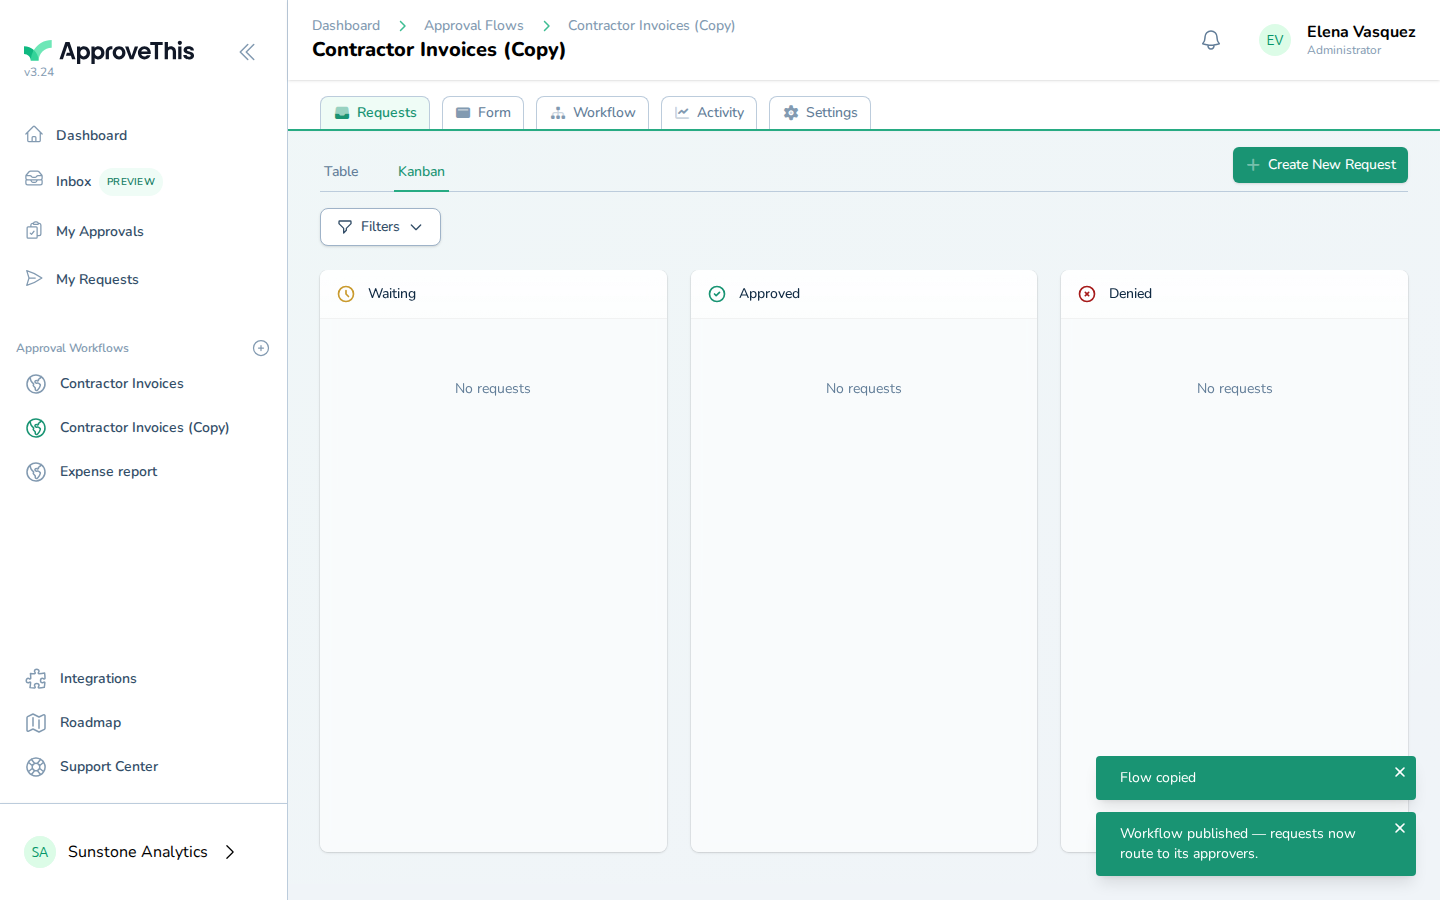
Click Publish to take the workflow out of testing mode.