Inbound Webhook Triggers
Give a workflow its own webhook endpoint. Any tool that can send a POST can start an approval, and the event's payload becomes the request.
Updated
Approvals that begin in another system — a cart, a ticket, a Zapier zap — normally get re-keyed by hand into ApproveThis. Setting up a workflow whose requests arrive from another tool mints a dedicated inbound URL for that workflow at creation time, and anything that POSTs JSON to it can open a request. This guide covers creating that workflow; you'll need Administrator access to the workspace. Mapping payload keys onto fields afterward is handled by the External Data Endpoints surface and isn't covered here.
Who this is for: an Administrator.
Create a flow triggered from another tool
An ordering tool or automation platform that already holds the purchase details shouldn't need a person retyping them, and choosing another tool as the request source is what produces the endpoint it can post to. Be aware that the endpoint's security controls (allowed methods, IP allow-listing, secret token, signature header, size and timeout limits) are data-level settings today with no screen for editing them.
-
Sign in with an Administrator account.
-
Open your workspace's new-flow page (
https://app.approvethis.com/flows/newin the example screenshots).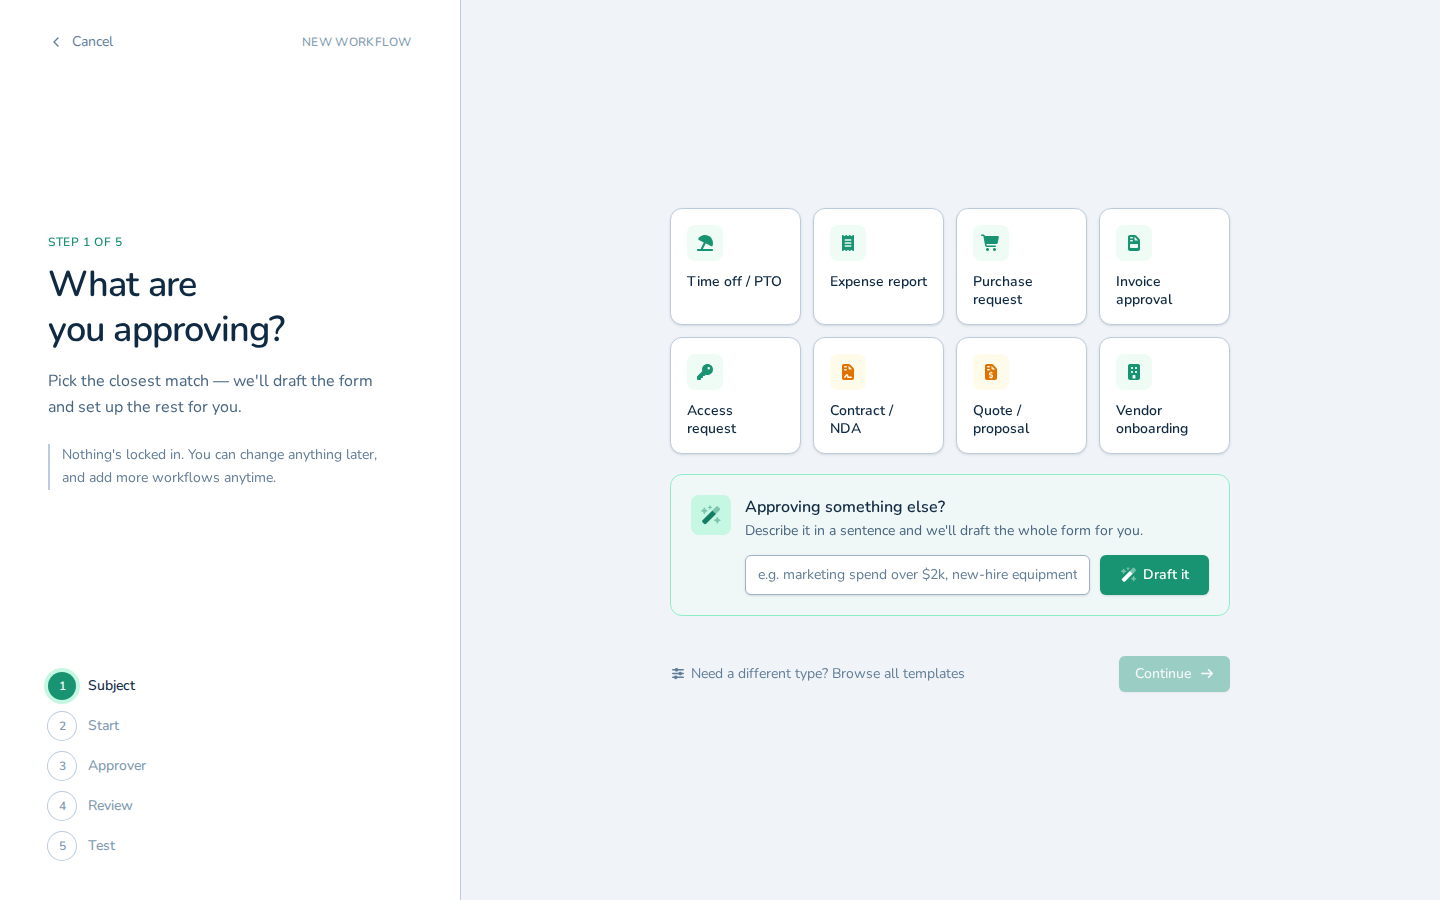
Open your workspace's new-flow page (https://app.approvethis.com/flows/new in the example screenshots). -
Pick the starting point that matches what this workflow approves; the example uses Purchase request.
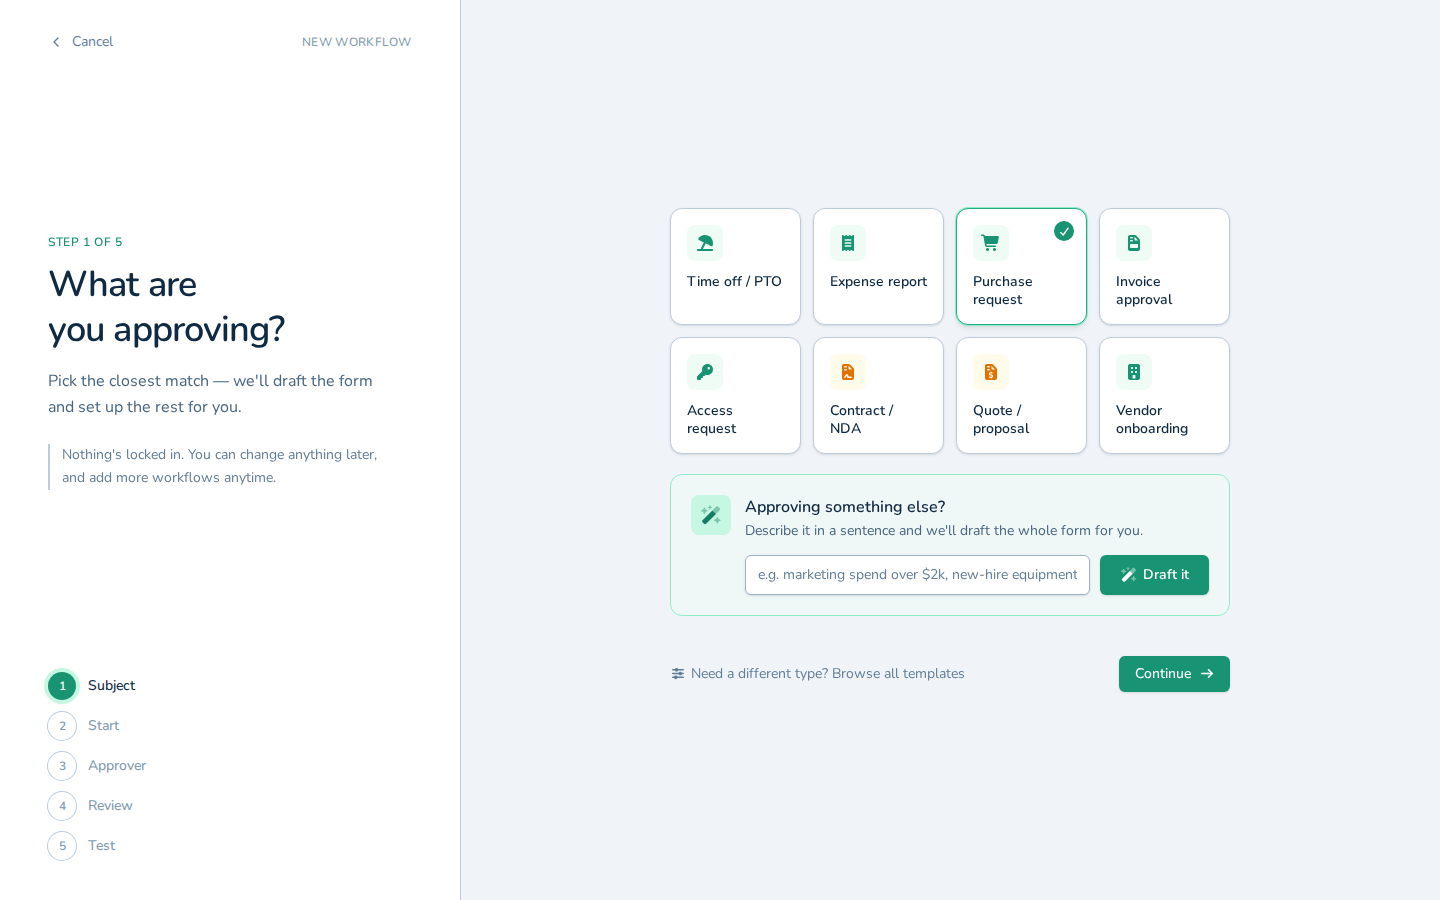
Pick the starting point that matches what this workflow approves; the example uses Purchase request. -
Click Continue.
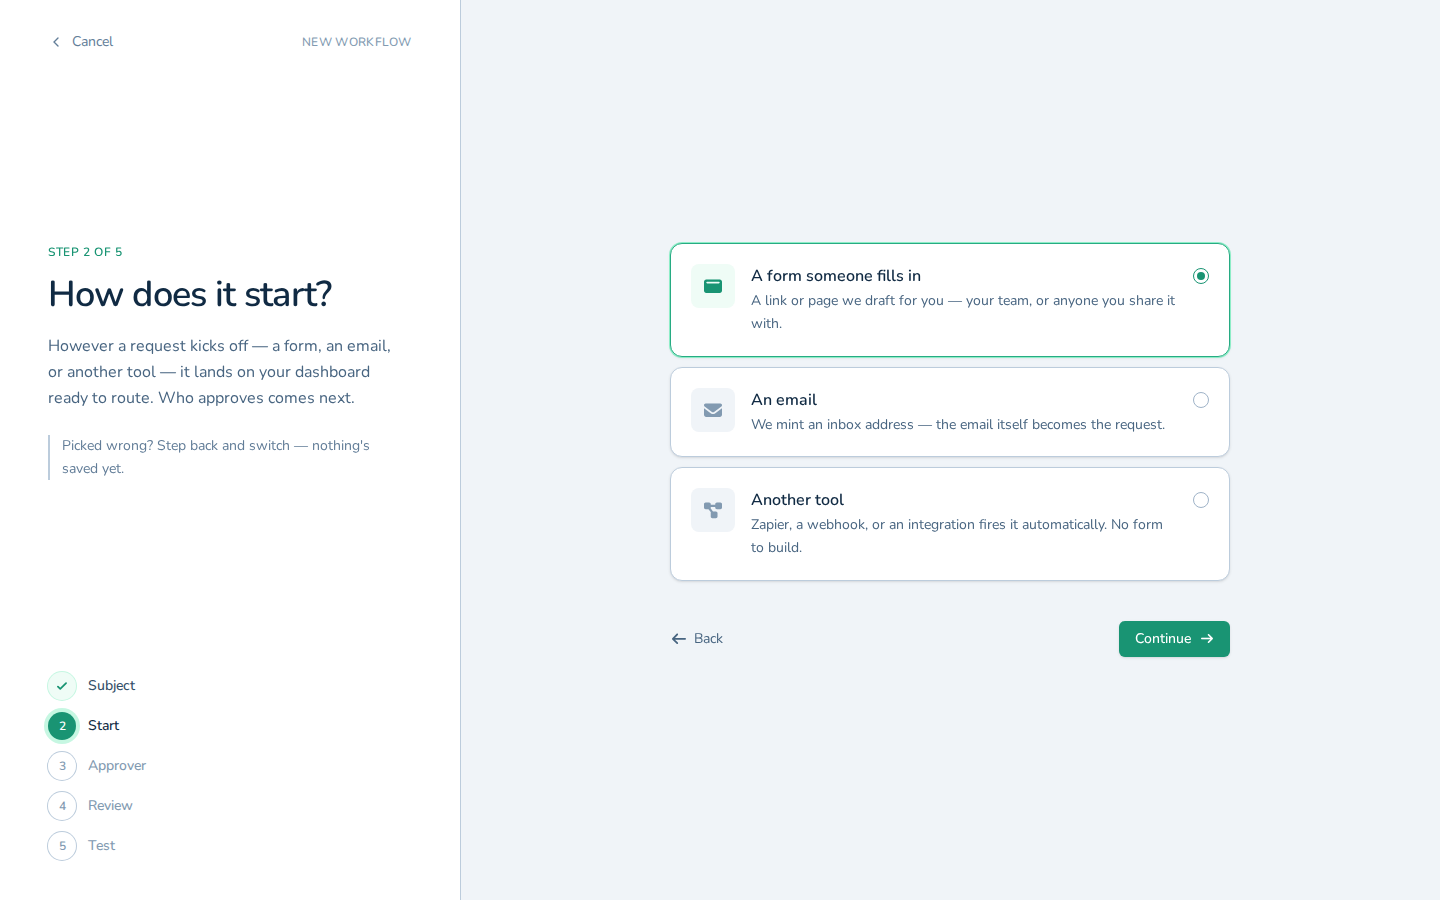
Click Continue. -
Select Another tool as the way requests will arrive, which is the choice that gives this workflow its own inbound endpoint.
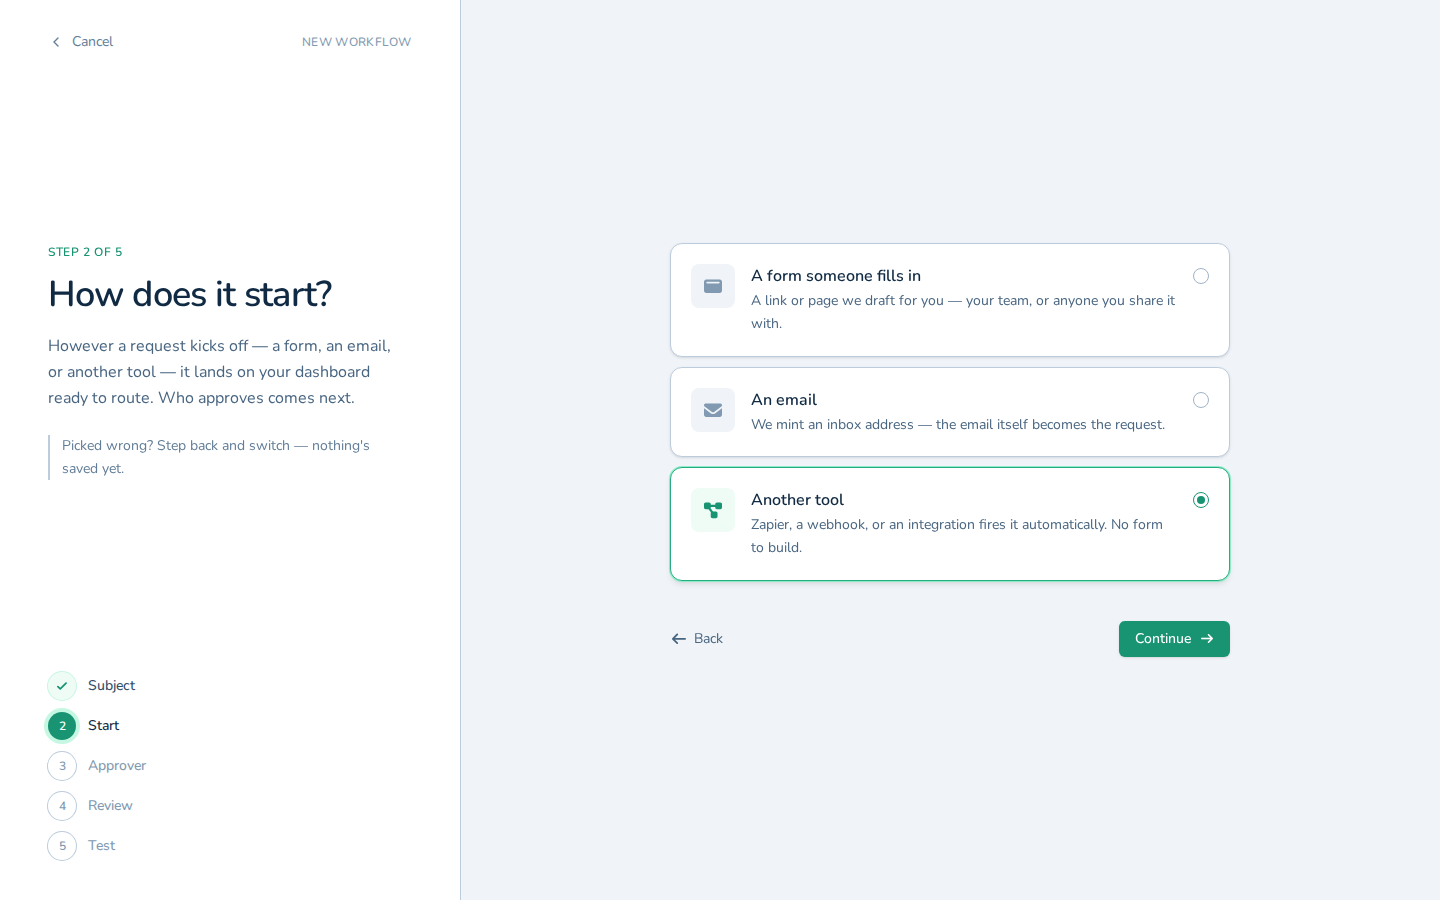
Select Another tool as the way requests will arrive, which is the choice that gives this workflow its own inbound endpoint. -
Click Continue.
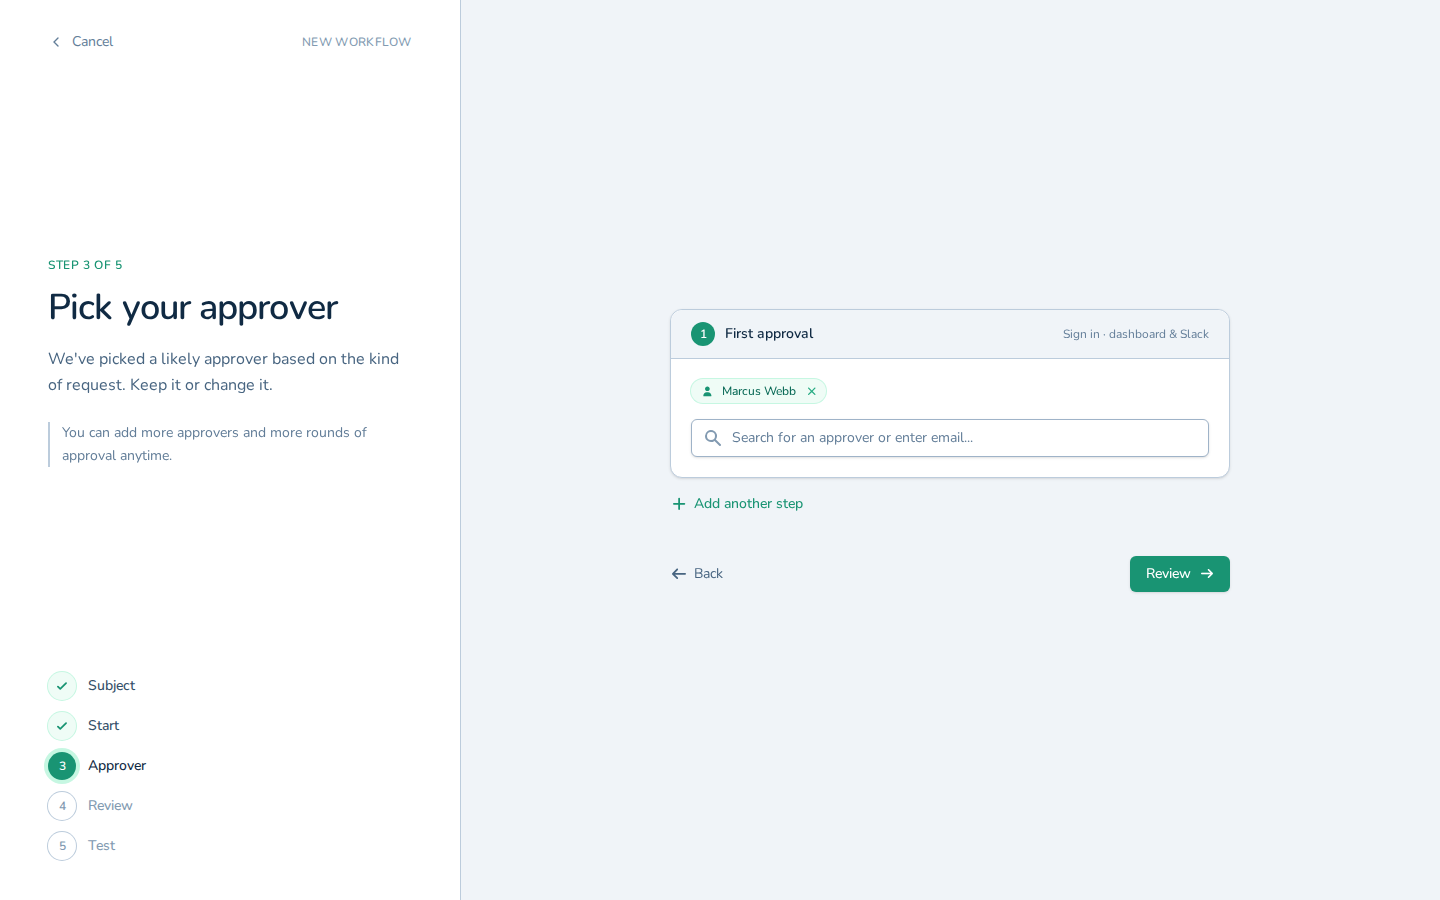
Click Continue. -
Click Review to check the workflow's setup before it is created.
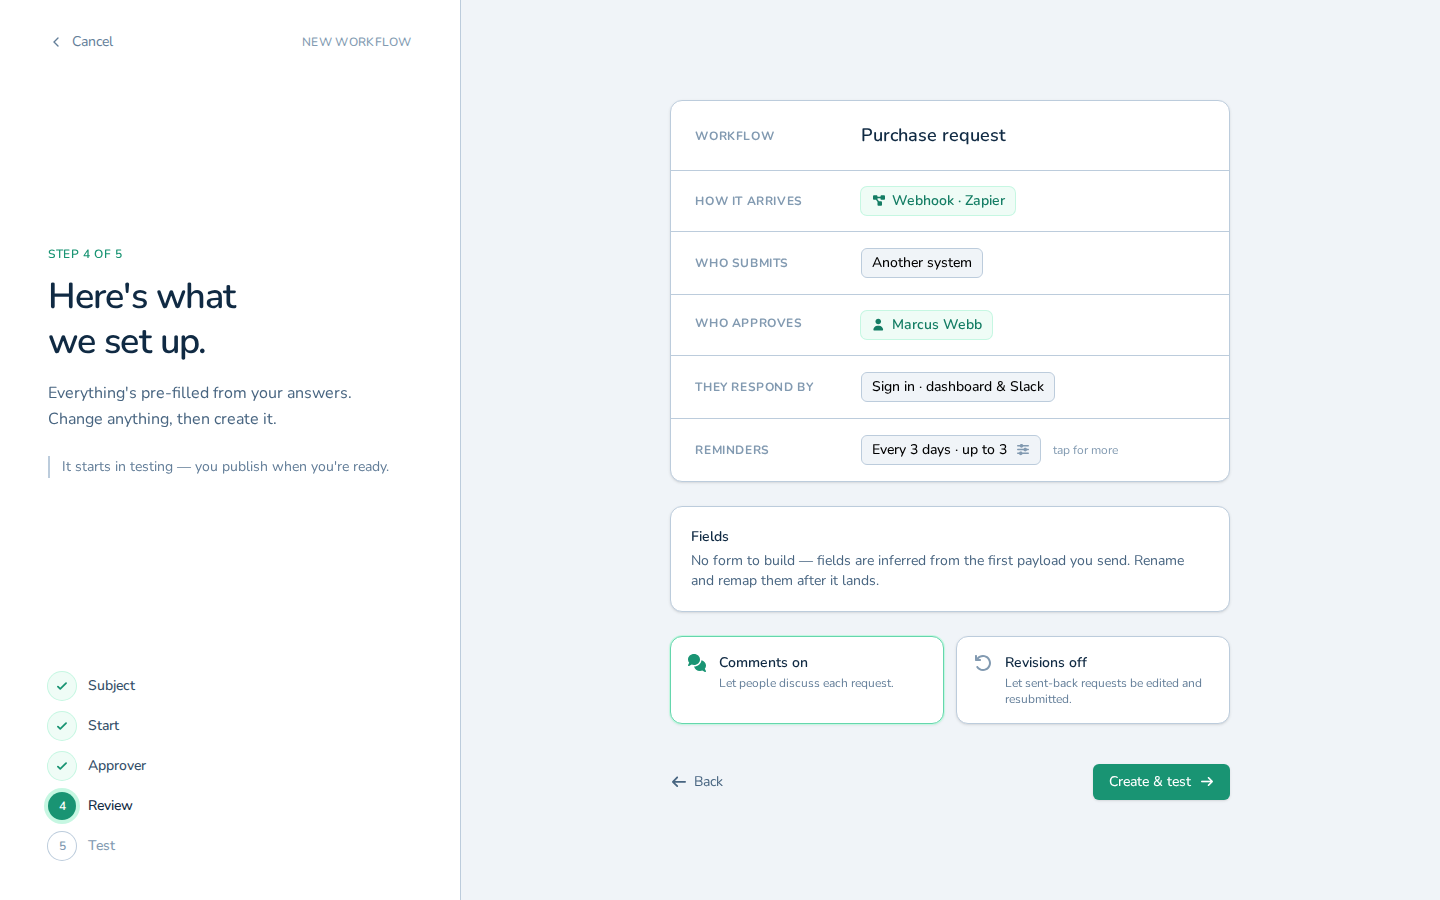
Click Review to check the workflow's setup before it is created. -
Click Create & test. While the workflow stays unpublished, arriving requests route back to you as its creator; publish it when you want the real approvers in the chain.
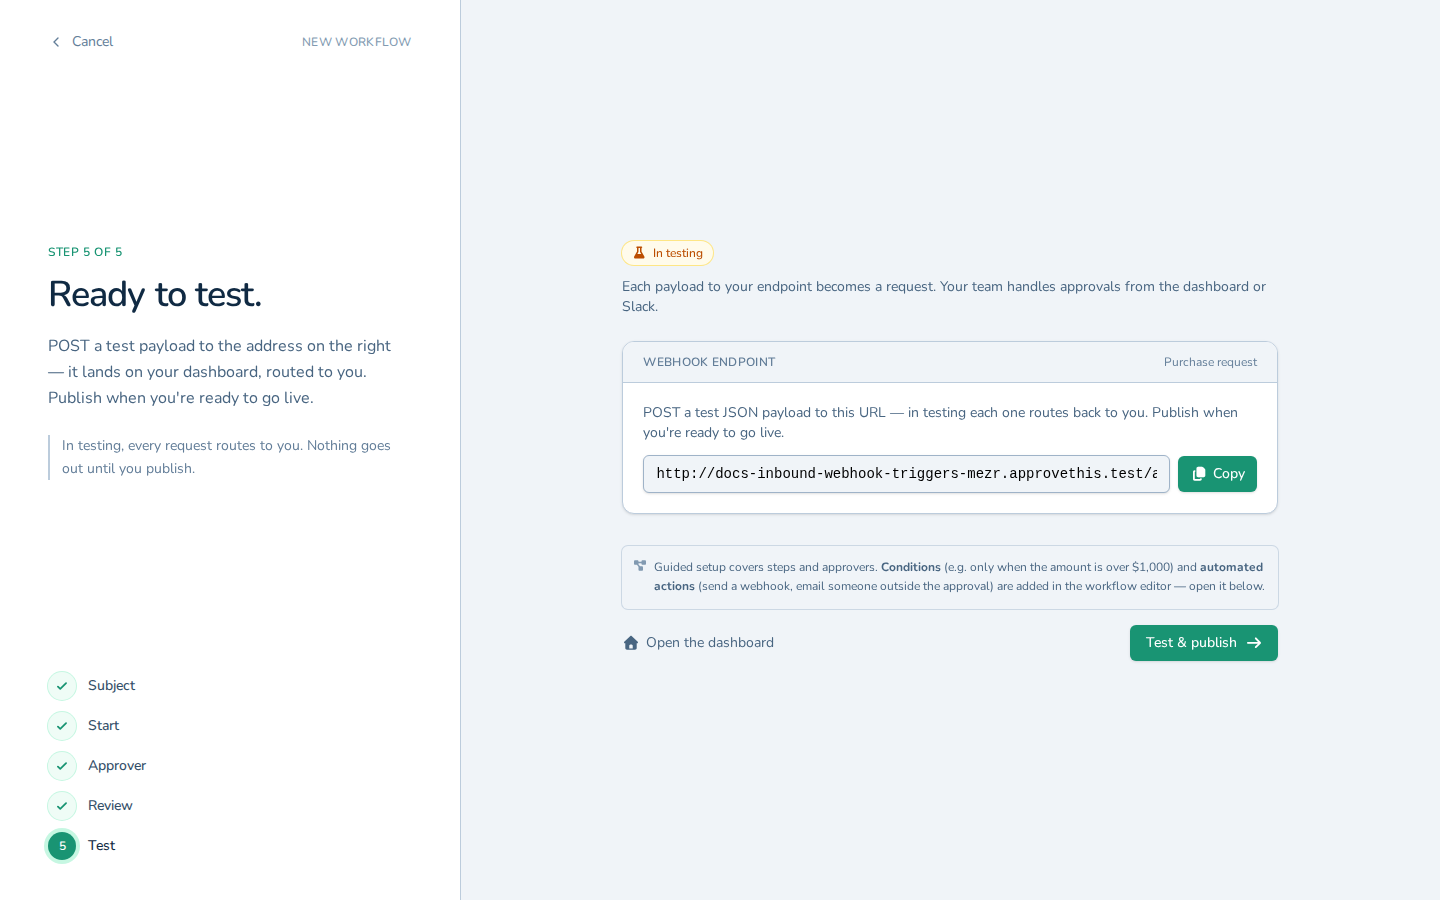
Click Create & test. While the workflow stays unpublished, arriving requests route back to you as its creator; publish it when you want the real approvers in…