Add an Approval Step
Add a step to a workflow's approval chain and set up everything about how it approves: who signs off, conditions that skip the step unless they're met, how many approvers must agree, and whether decisions need an e-signature. Everything saves as you go.
Updated
An approval chain rarely stays as simple as one person signing off. On the Workflow canvas you can insert a step, name the approvers it routes to, gate it behind conditions so it only runs on the requests that warrant it, decide how many approvers have to say yes, and require an electronic signature before the step completes. This guide is for Administrators editing a workflow, and it assumes you already have a workflow open on its canvas. Changes save as you go.
Who this is for: an Administrator.
Add an approval step and choose who approves it
A new step is only as useful as the people attached to it, and a single request often needs sign-off from more than one person. Adding approvers here defines exactly who the step routes to.
-
Sign in as the Administrator who maintains the workflow.
-
Click Add a new step below this one to insert a step into the approval chain.
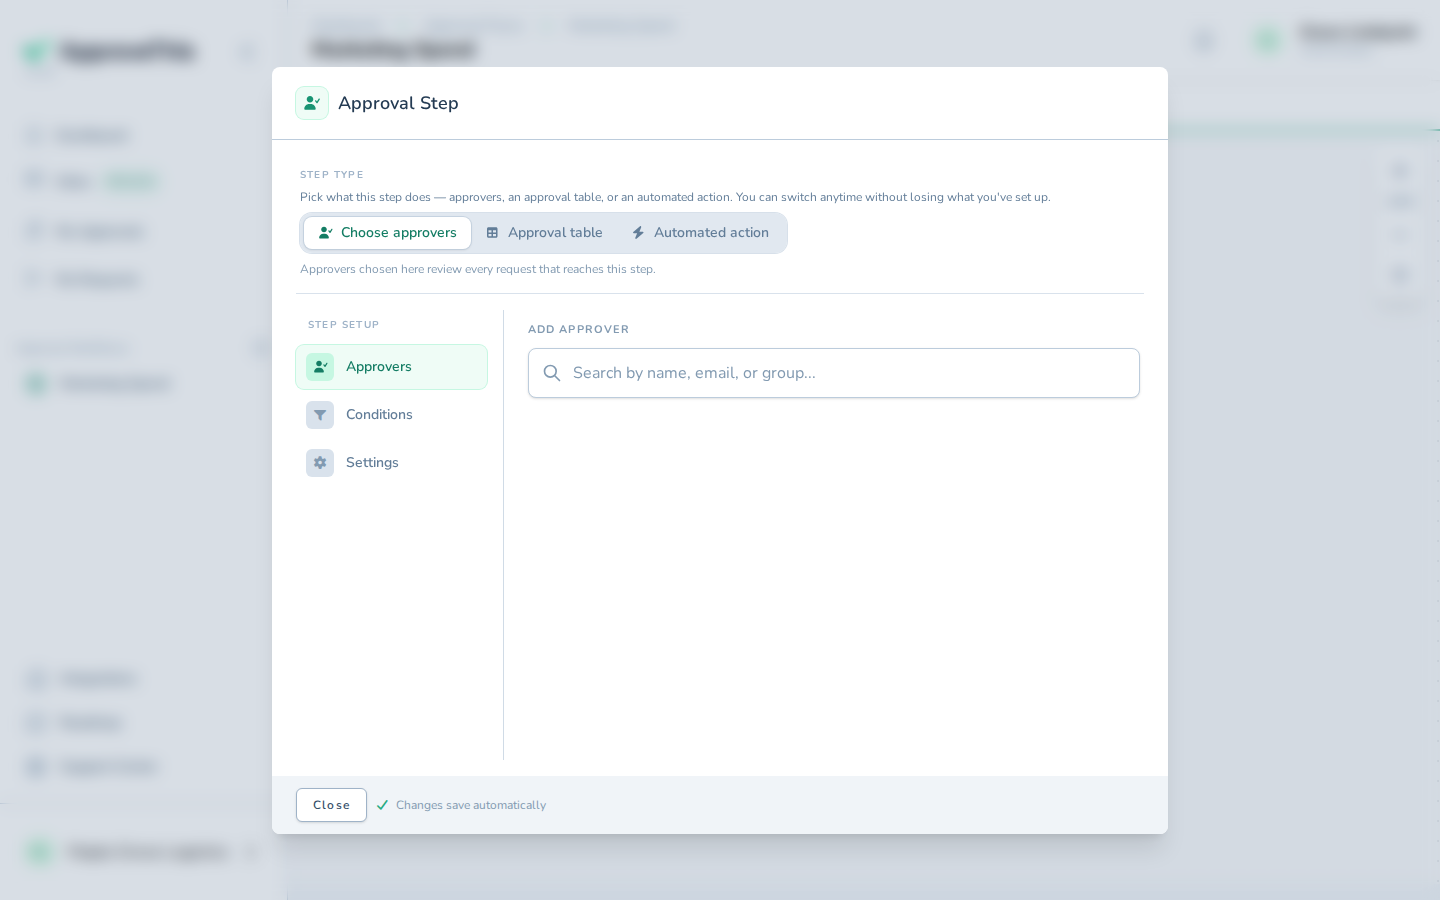
Click Add a new step below this one to insert a step into the approval chain. -
In Search for an approver, type the name of the person who should approve at this step — the example uses
Sam Porter.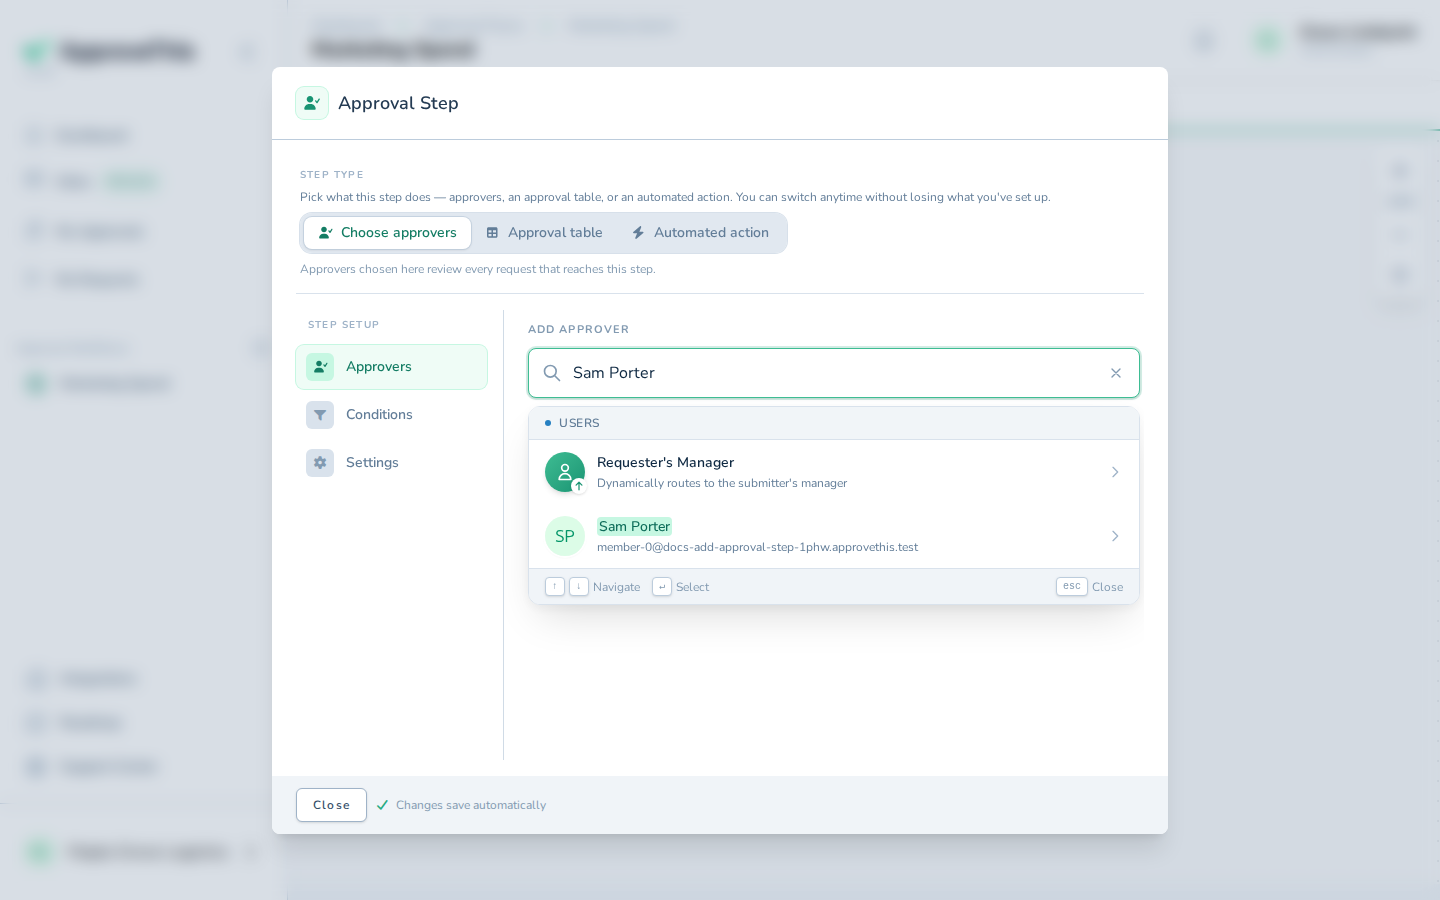
In Search for an approver, type the name of the person who should approve at this step — the example uses Sam Porter. -
Click the person you searched for in the results (Sam Porter in the example screenshots).
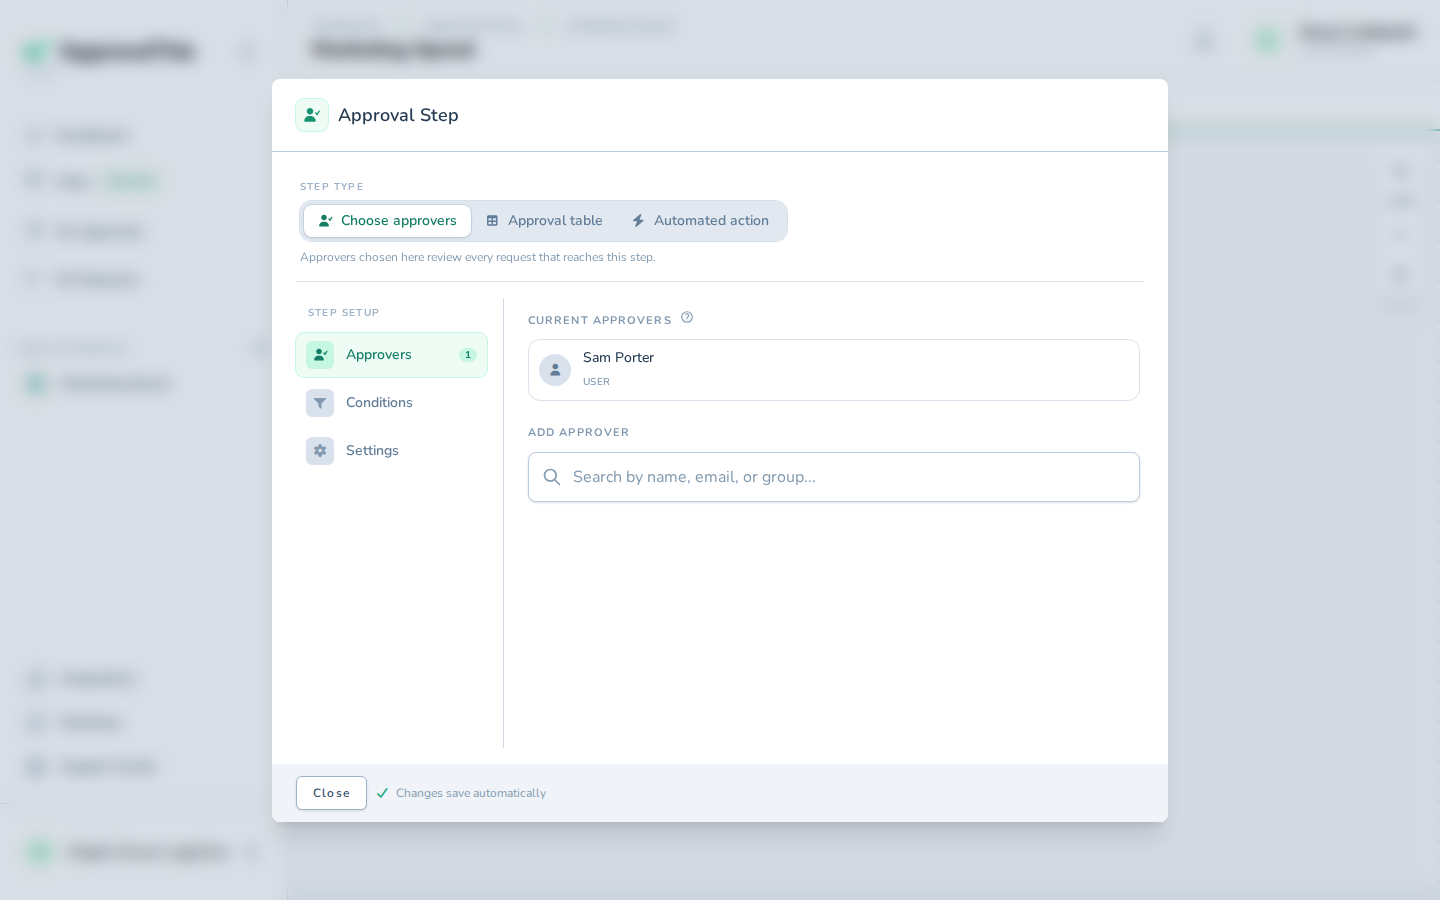
Click the person you searched for in the results (Sam Porter in the example screenshots). -
Search again in Search for an approver for the next approver you want on this step, such as
Priya Ramanin the example.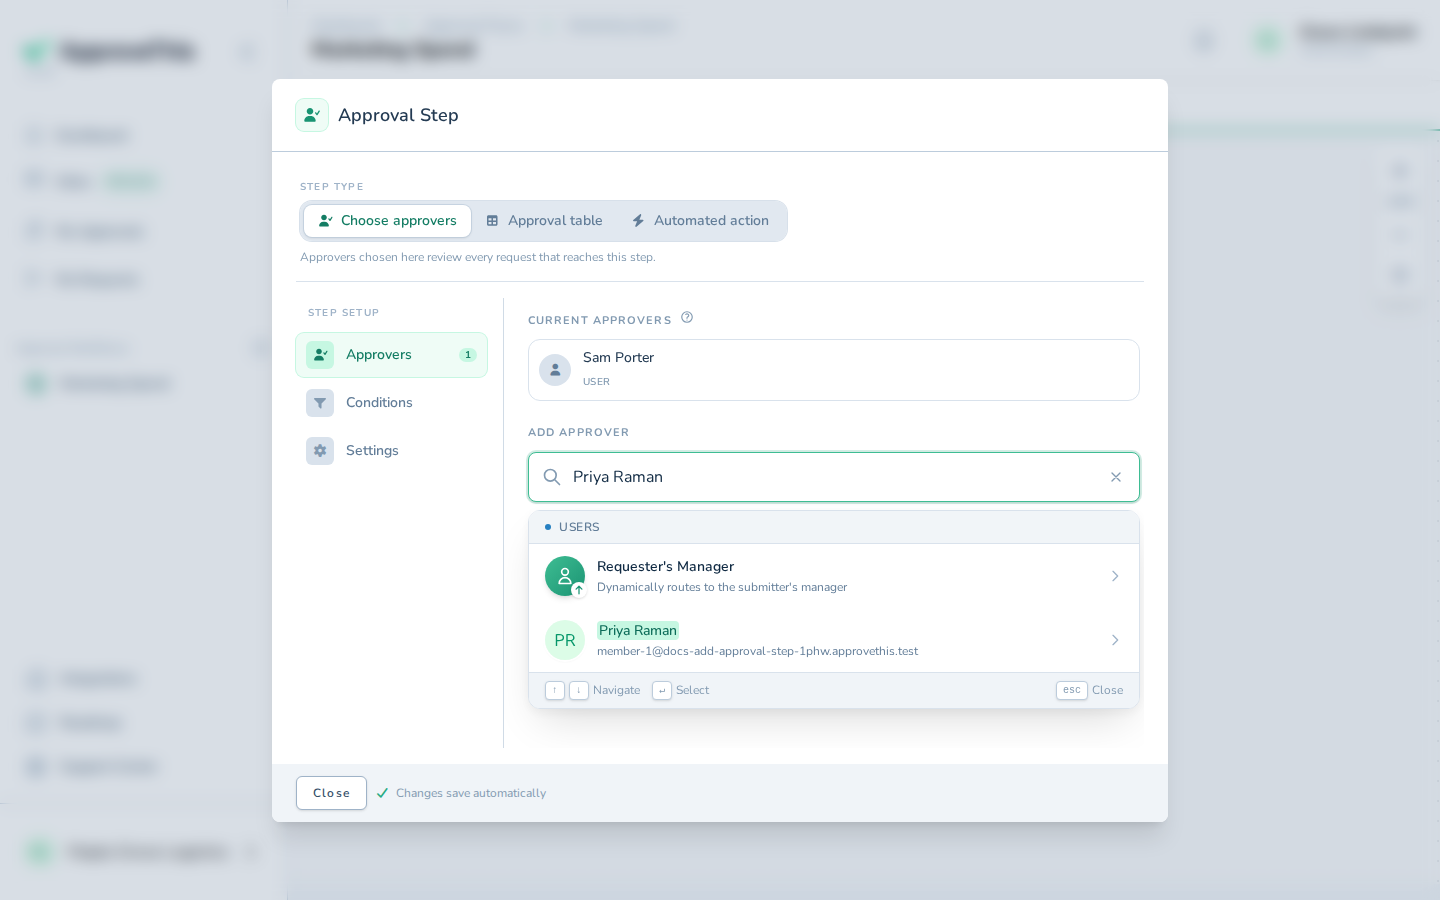
Search again in Search for an approver for the next approver you want on this step, such as Priya Raman in the example. -
Click that person in the results to add them alongside the first approver (the example adds Priya Raman).
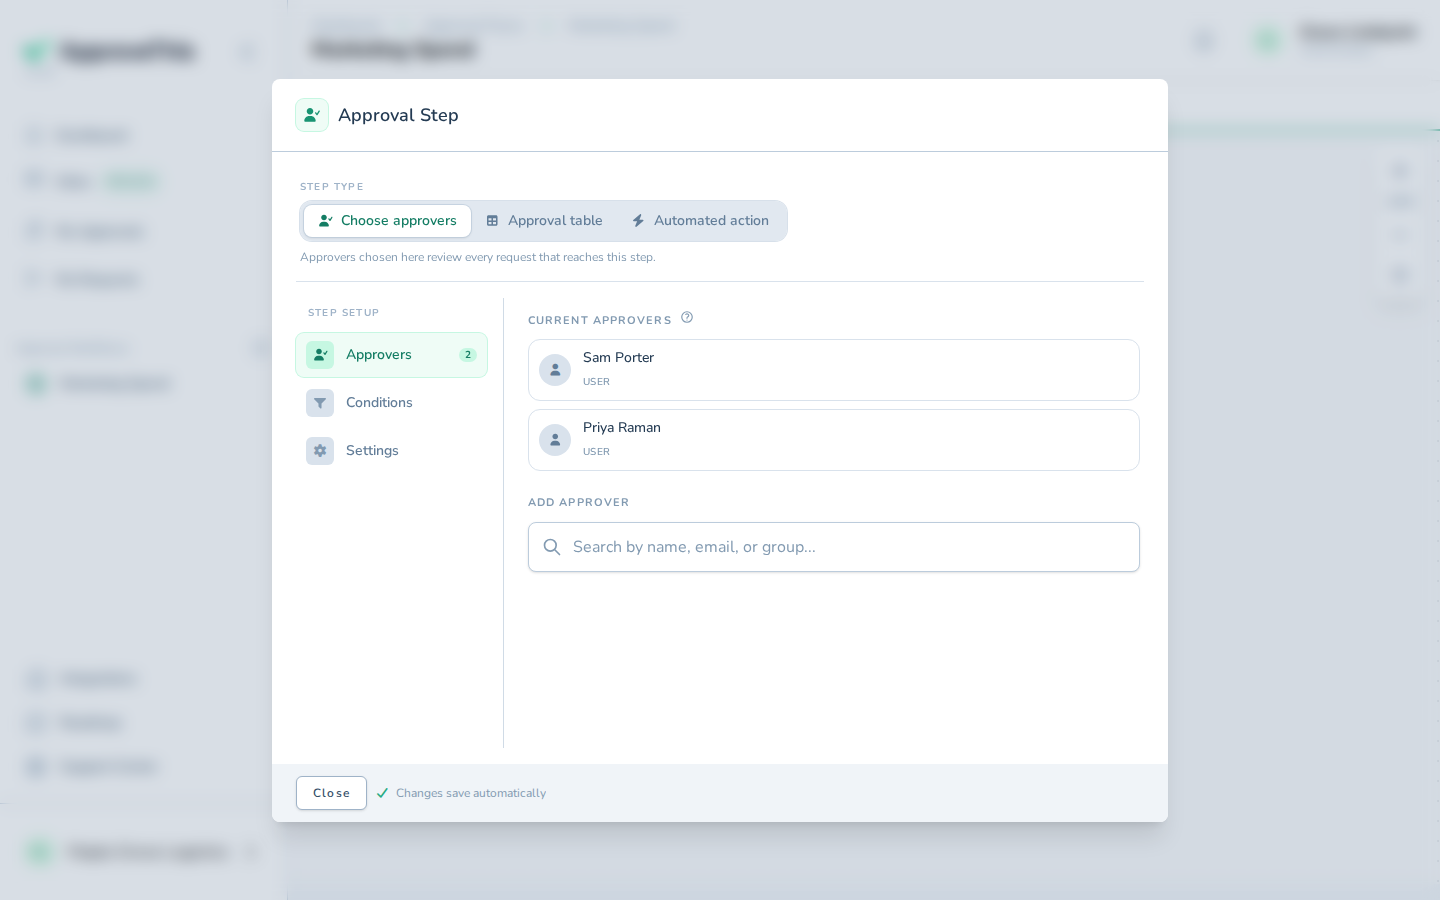
Click that person in the results to add them alongside the first approver (the example adds Priya Raman).
Add a condition so the step only runs when it matters
Some approvals only need a human when the numbers get big. Conditions keep the step out of the way on routine requests: the step is skipped unless all of its conditions are met.
-
Click Conditions to open the step's condition rules.
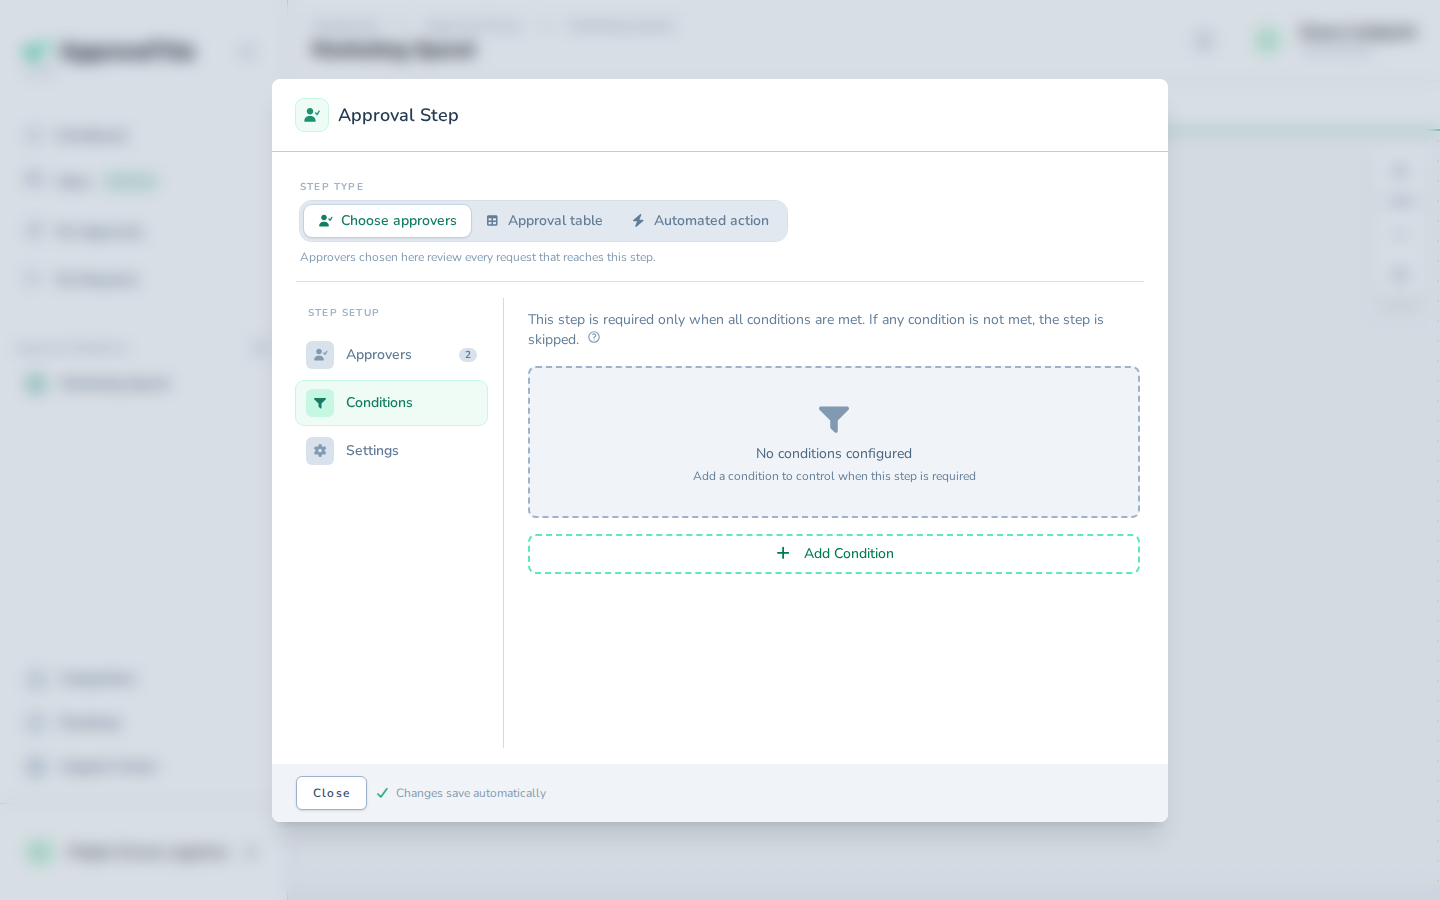
Click Conditions to open the step's condition rules. -
Click Add Condition to start a new rule.
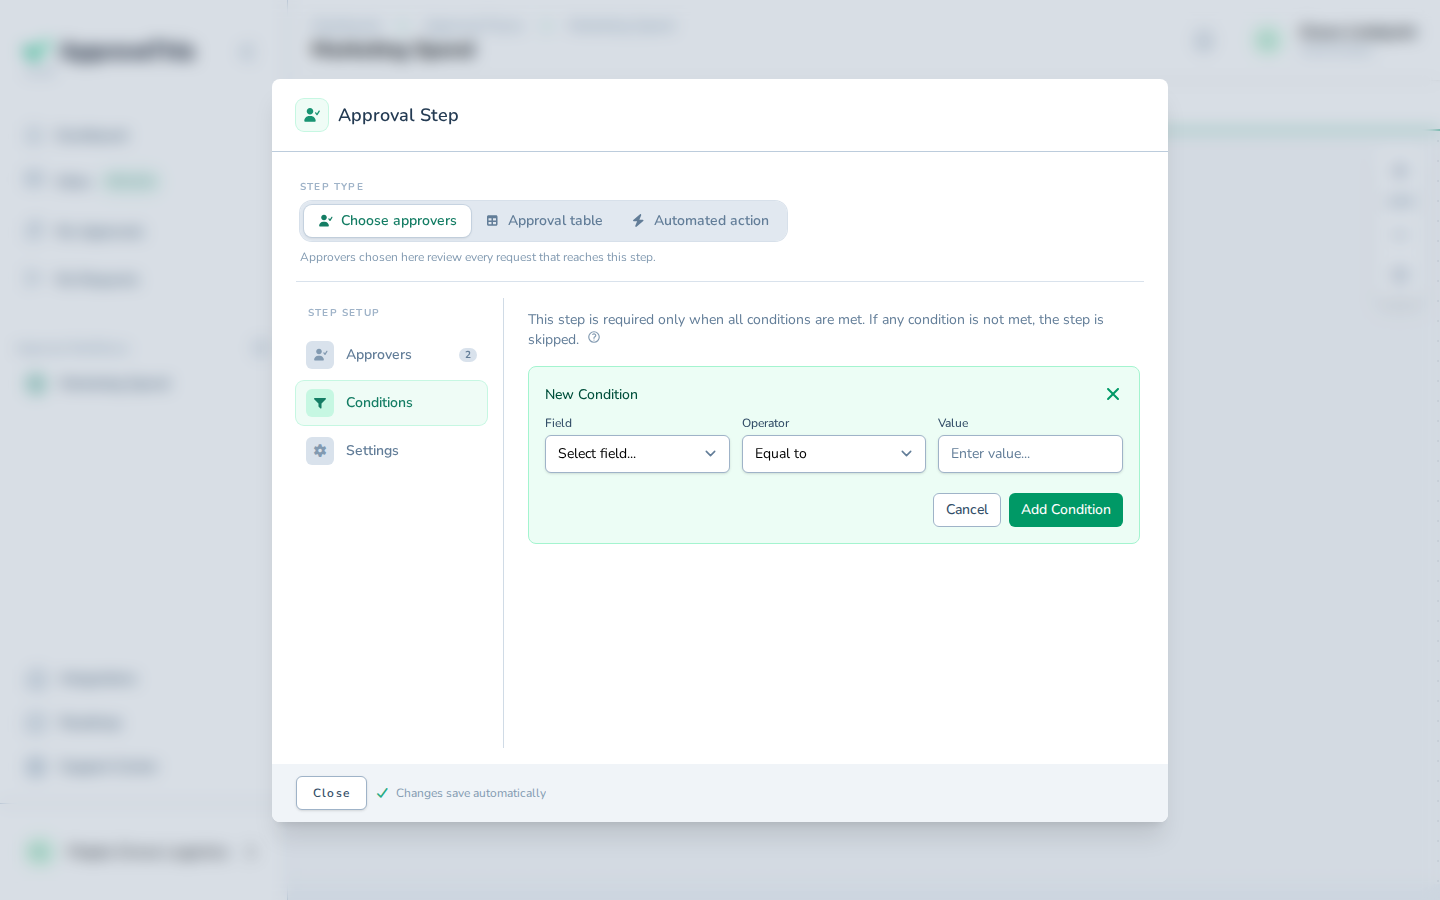
Click Add Condition to start a new rule. -
Choose the request field the rule should test from Field — e.g., Budget.
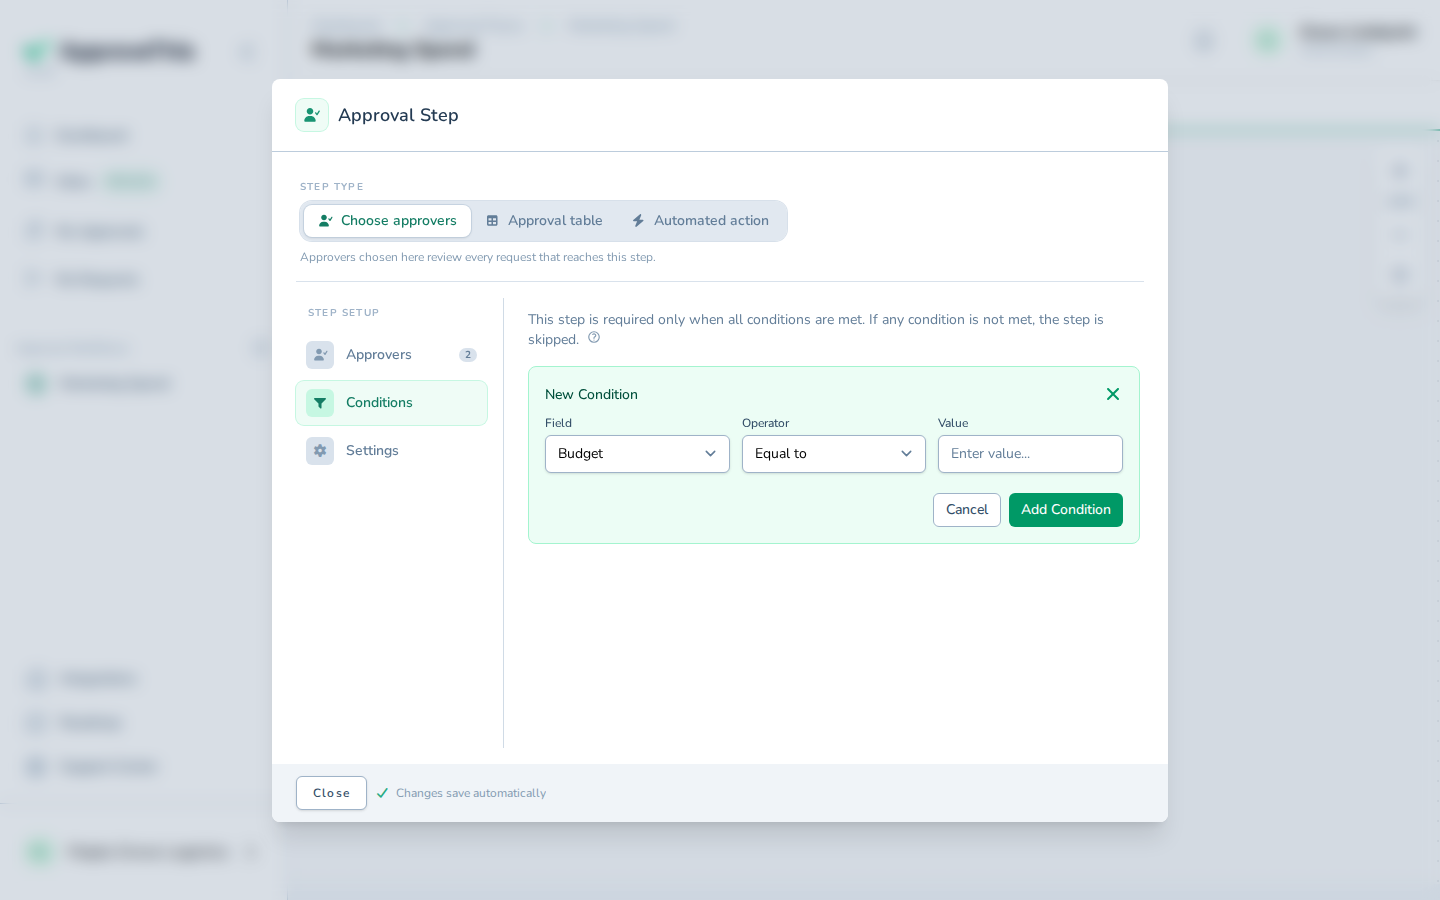
Choose the request field the rule should test from Field — e.g., Budget. -
Choose how the field should be compared from Operator, such as Greater than.
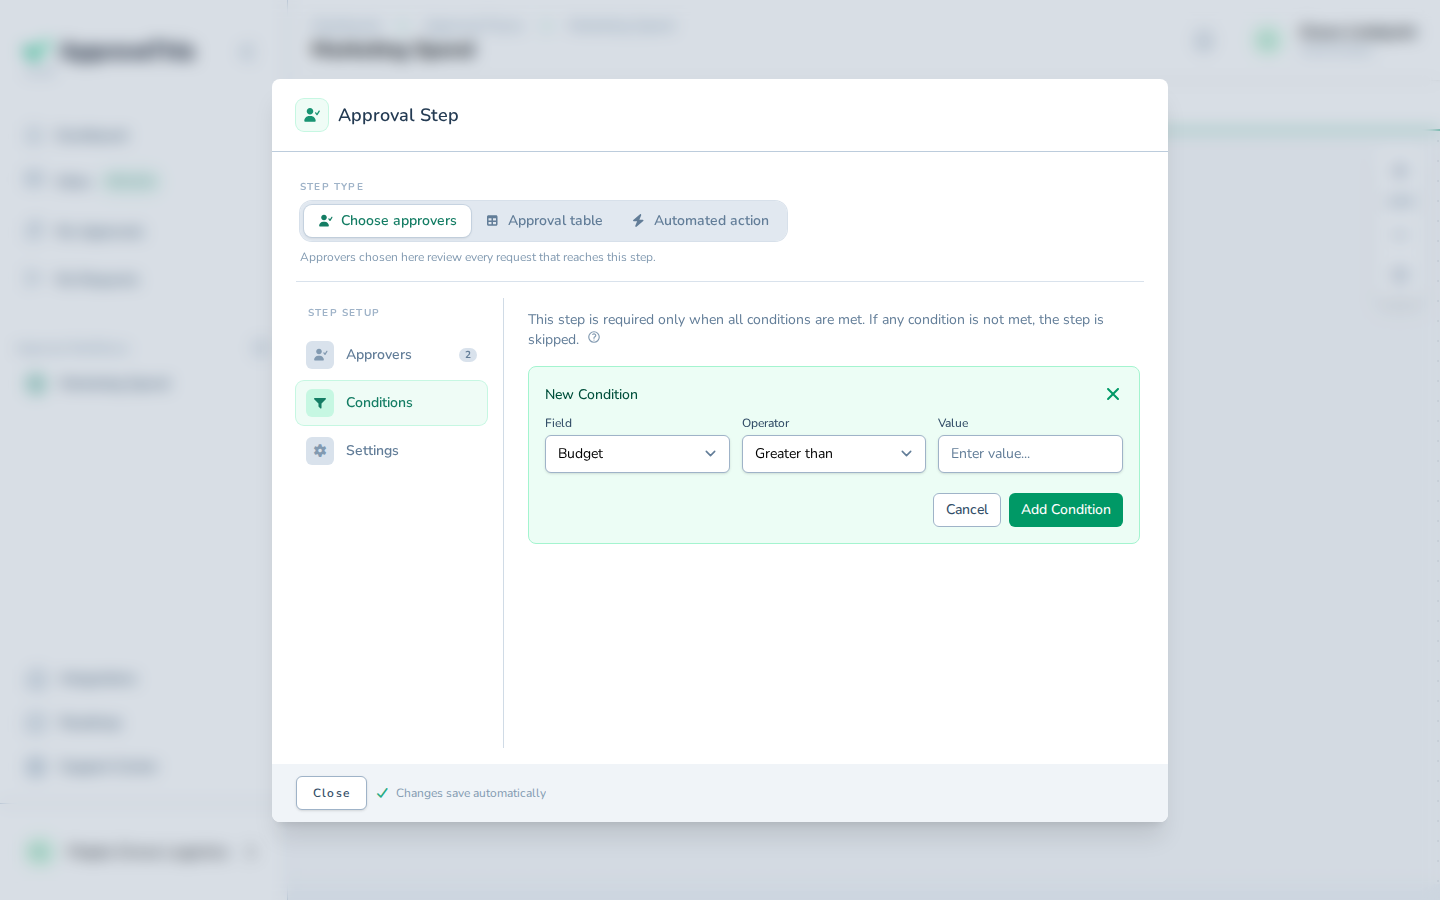
Choose how the field should be compared from Operator, such as Greater than. -
In Value, enter the threshold the field is compared against; the example uses
1000.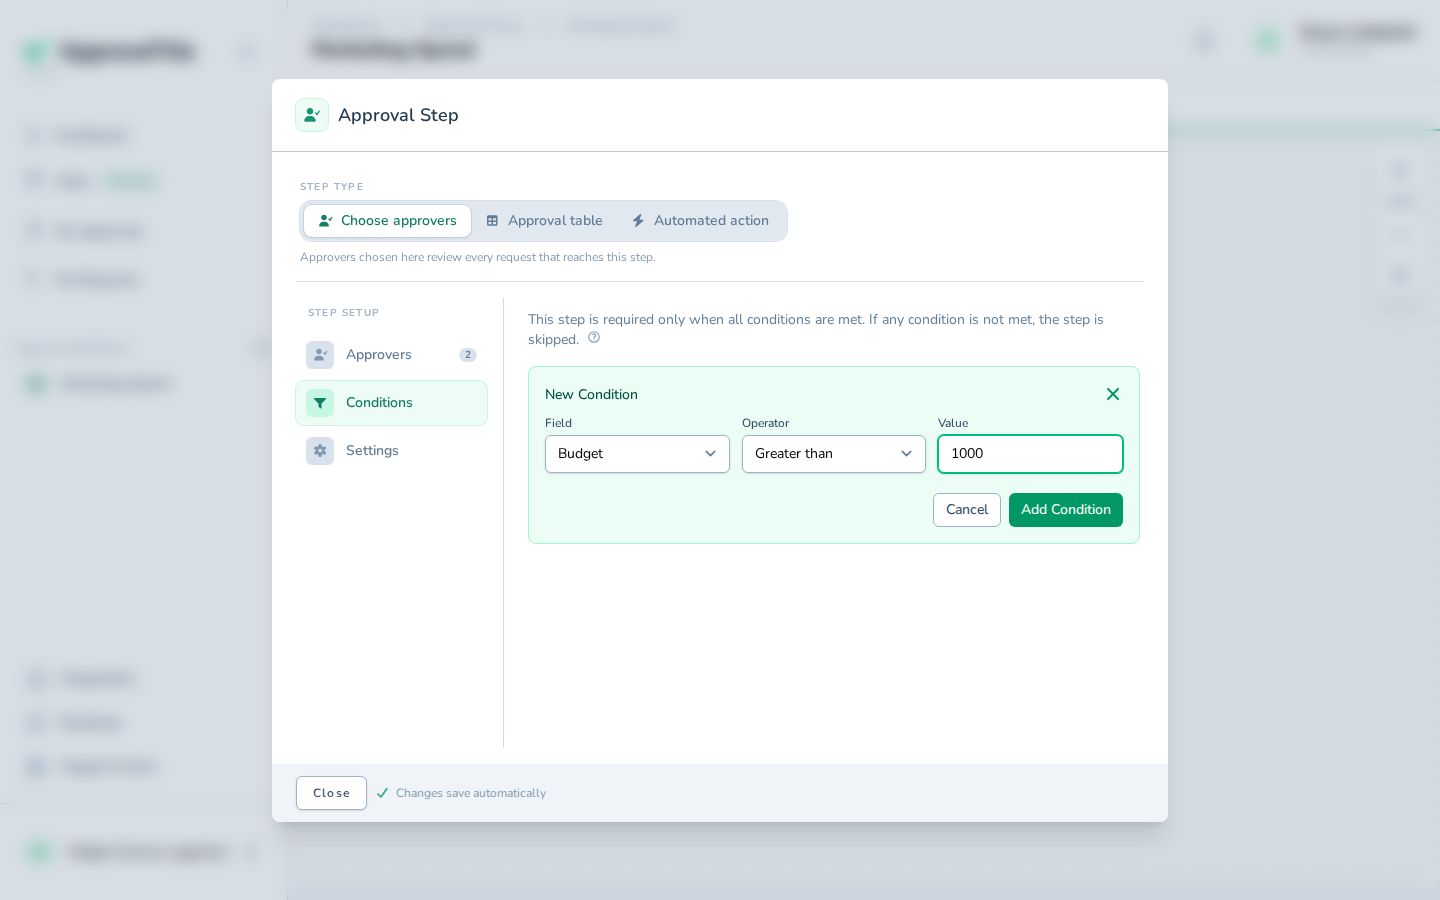
In Value, enter the threshold the field is compared against; the example uses 1000. -
Click Add Condition to save the rule onto the step.
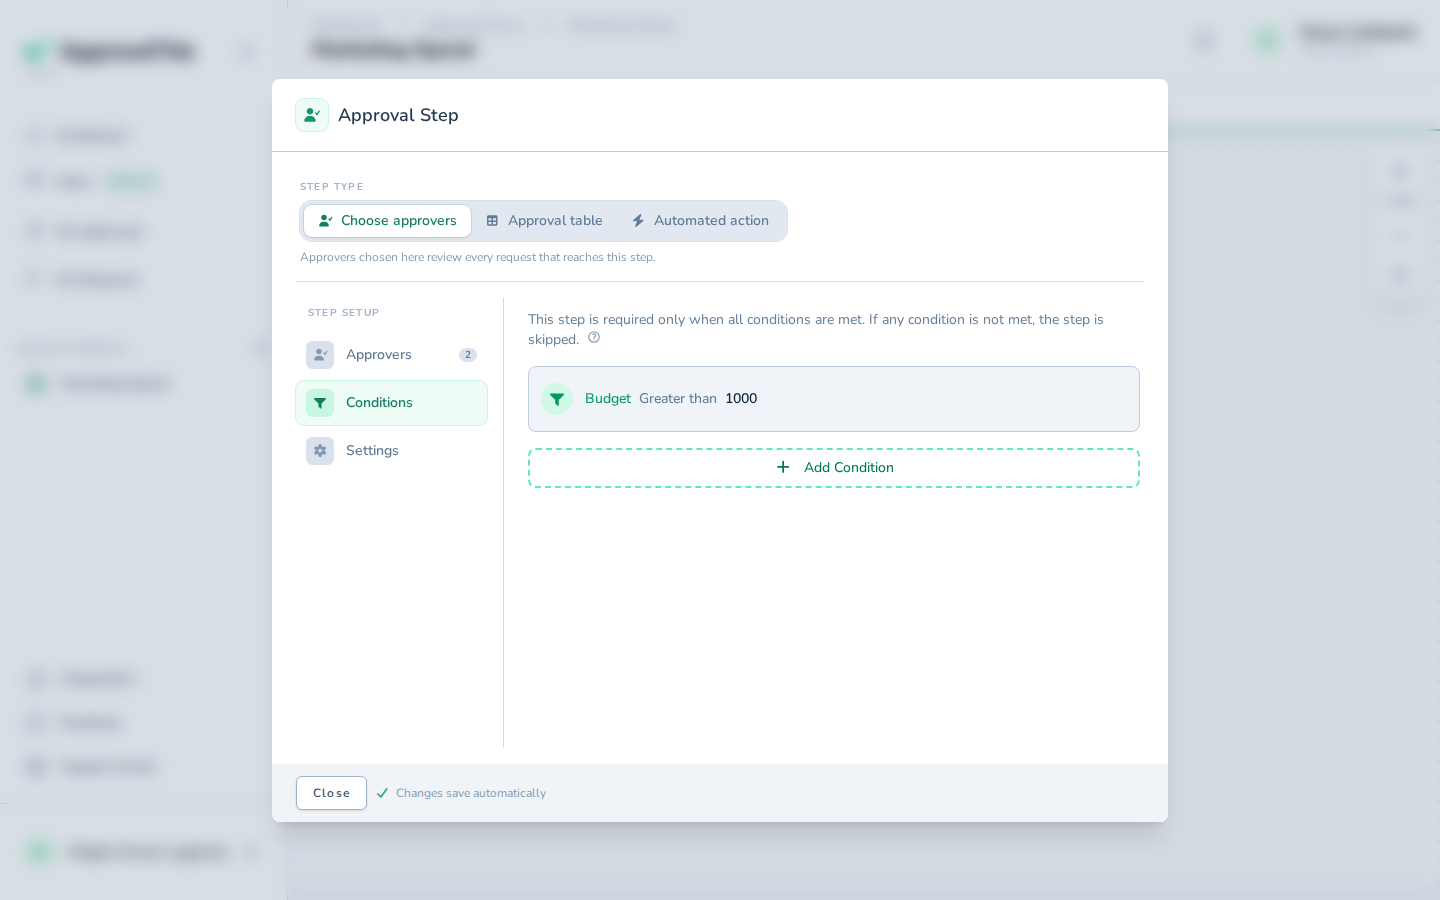
Click Add Condition to save the rule onto the step.
Set the approval requirement and signature rules
With several approvers on one step, you decide whether every one of them has to respond or a majority is enough, and whether their decision must carry a signature. Requiring an e-signature means approvers sign — drawn or typed — before the step can complete.
-
Click Settings to open the step's approval options.
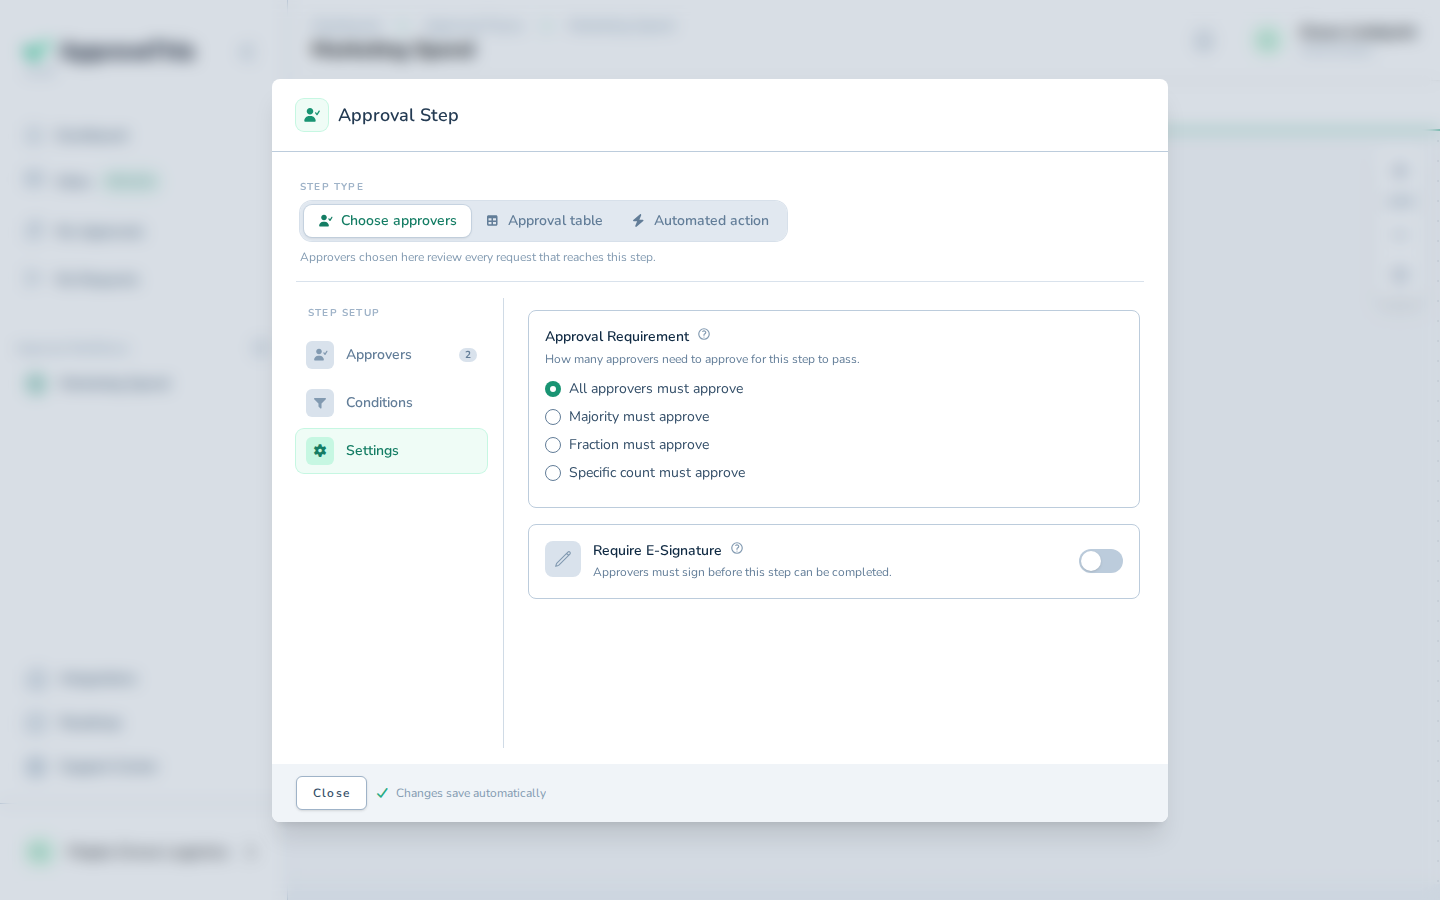
Click Settings to open the step's approval options. -
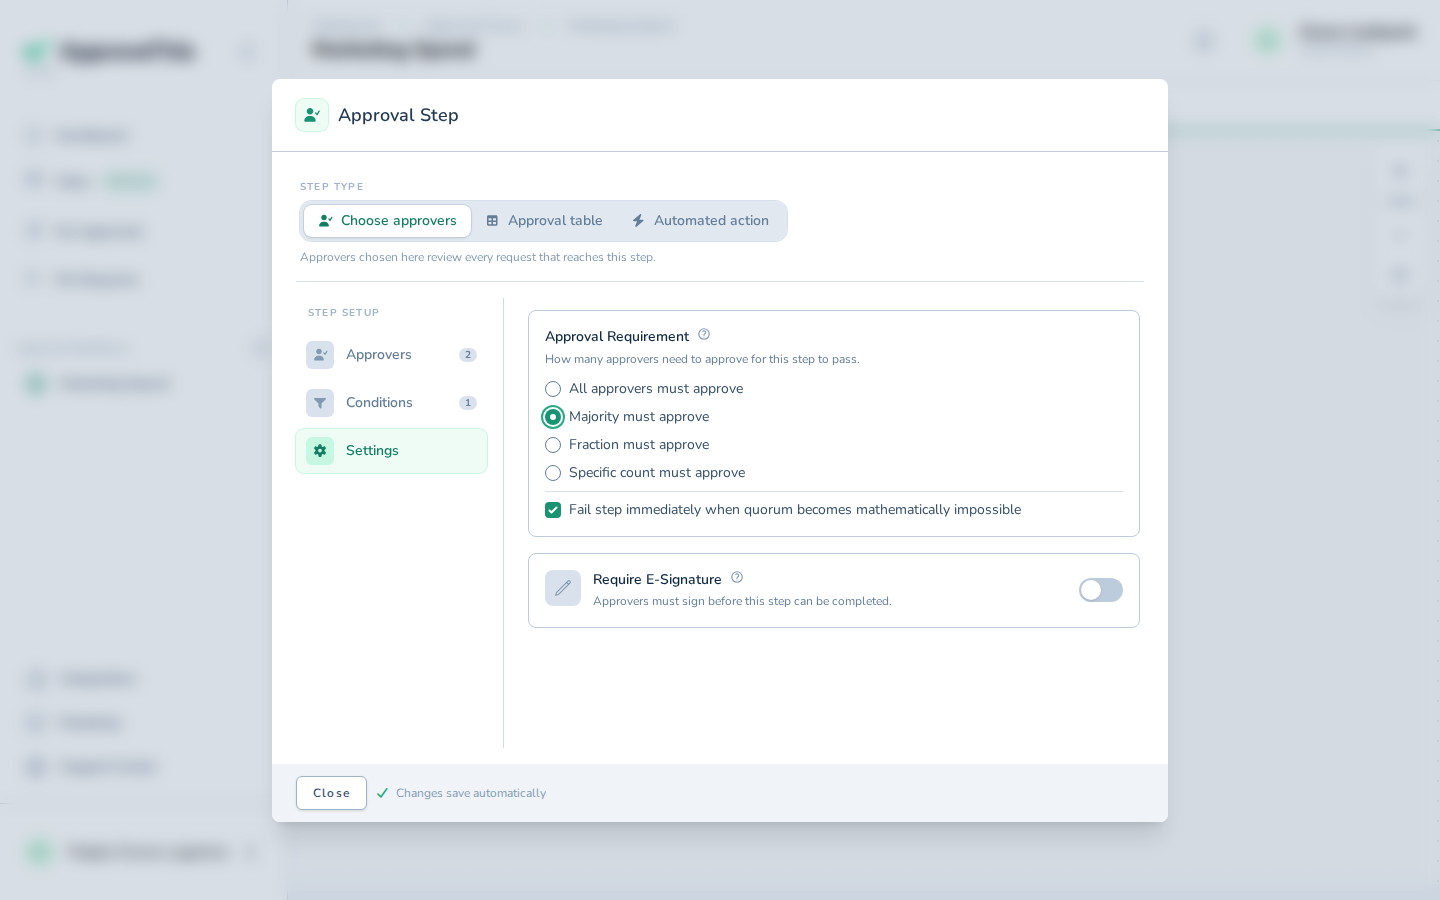
Click Majority must approve to set the approval requirement for the step.
Click Majority must approve to set the approval requirement for the step. -
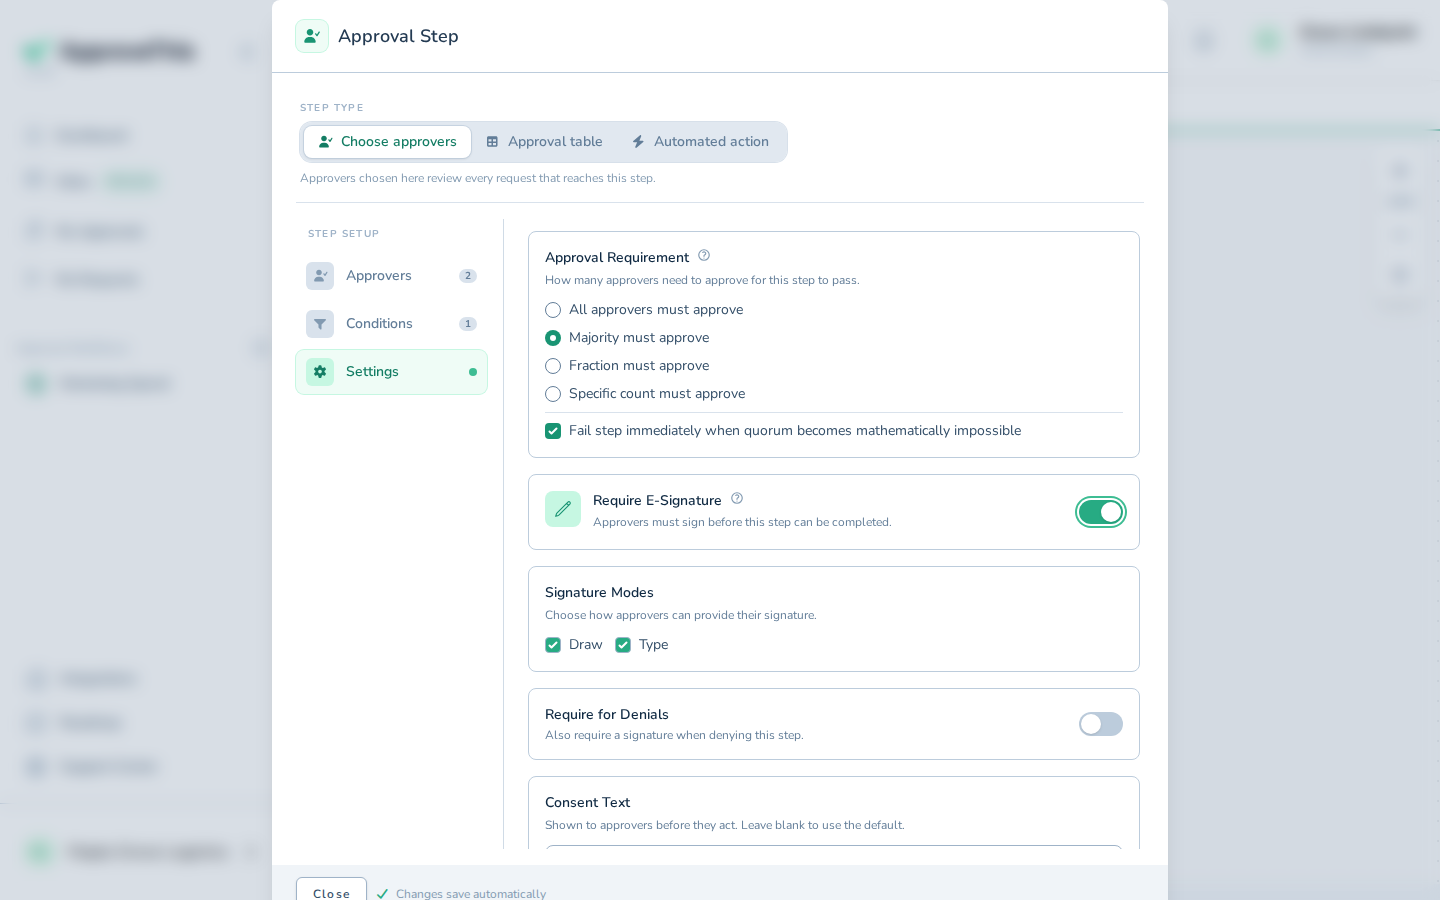
Click Require E-Signature so approvers must sign electronically before the step completes.
Click Require E-Signature so approvers must sign electronically before the step completes. -
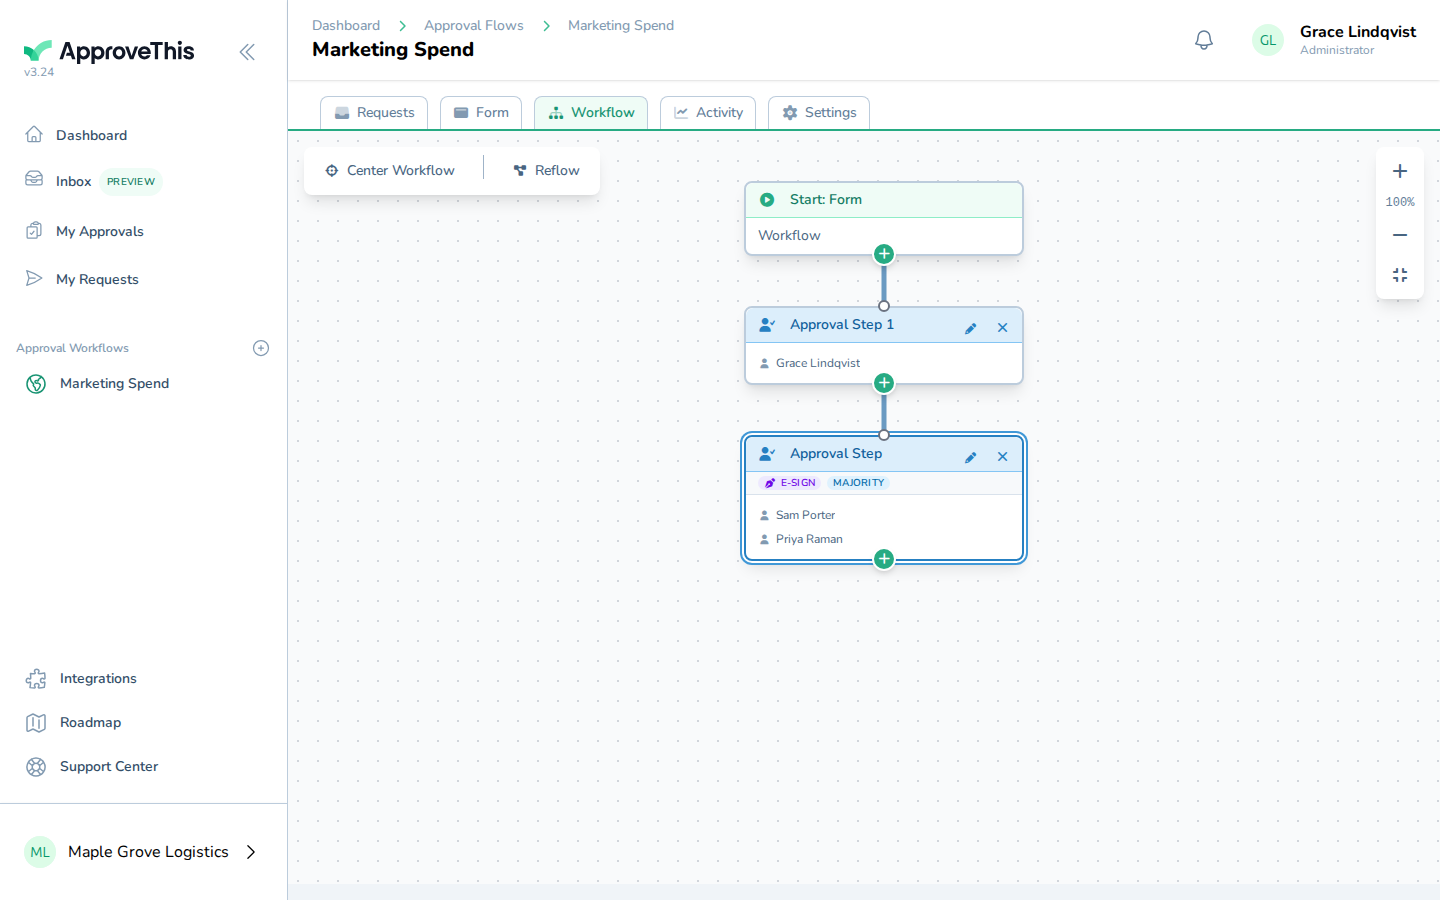
Click Close to return to the canvas.
Click Close to return to the canvas.