REST API & Personal API Tokens
Drive ApproveThis from your own systems: create workflows, submit requests, approve or deny them, and register webhooks through an authenticated REST API.
Updated
Personal API tokens are how an admin gets ApproveThis talking to another system. A token authenticates calls to the v1 REST API, where your code can create workflows, submit requests against a published workflow, record approvals or denials, and manage outbound webhook subscriptions. Tokens are created on the Integrations page, and the token value appears exactly once — at creation. You'll need admin access and the Integrations page open in your workspace.
Who this is for: an Administrator.
On the 'API Tokens' tab, create a token named for what will use it, and copy it from the one-time reveal
Any script or service that calls the v1 REST API needs a bearer token, and naming it after its consumer keeps the list readable when several systems are connected. Two things to plan for: tokens are all-or-nothing (there are no scoped or least-privilege keys), and every v1 call requires an active subscription — teams without billing access get a 402 response.
-
Sign in as an admin, since the Integrations page and its token controls are shown to admins.
-
Click API Tokens to switch to the token tab.
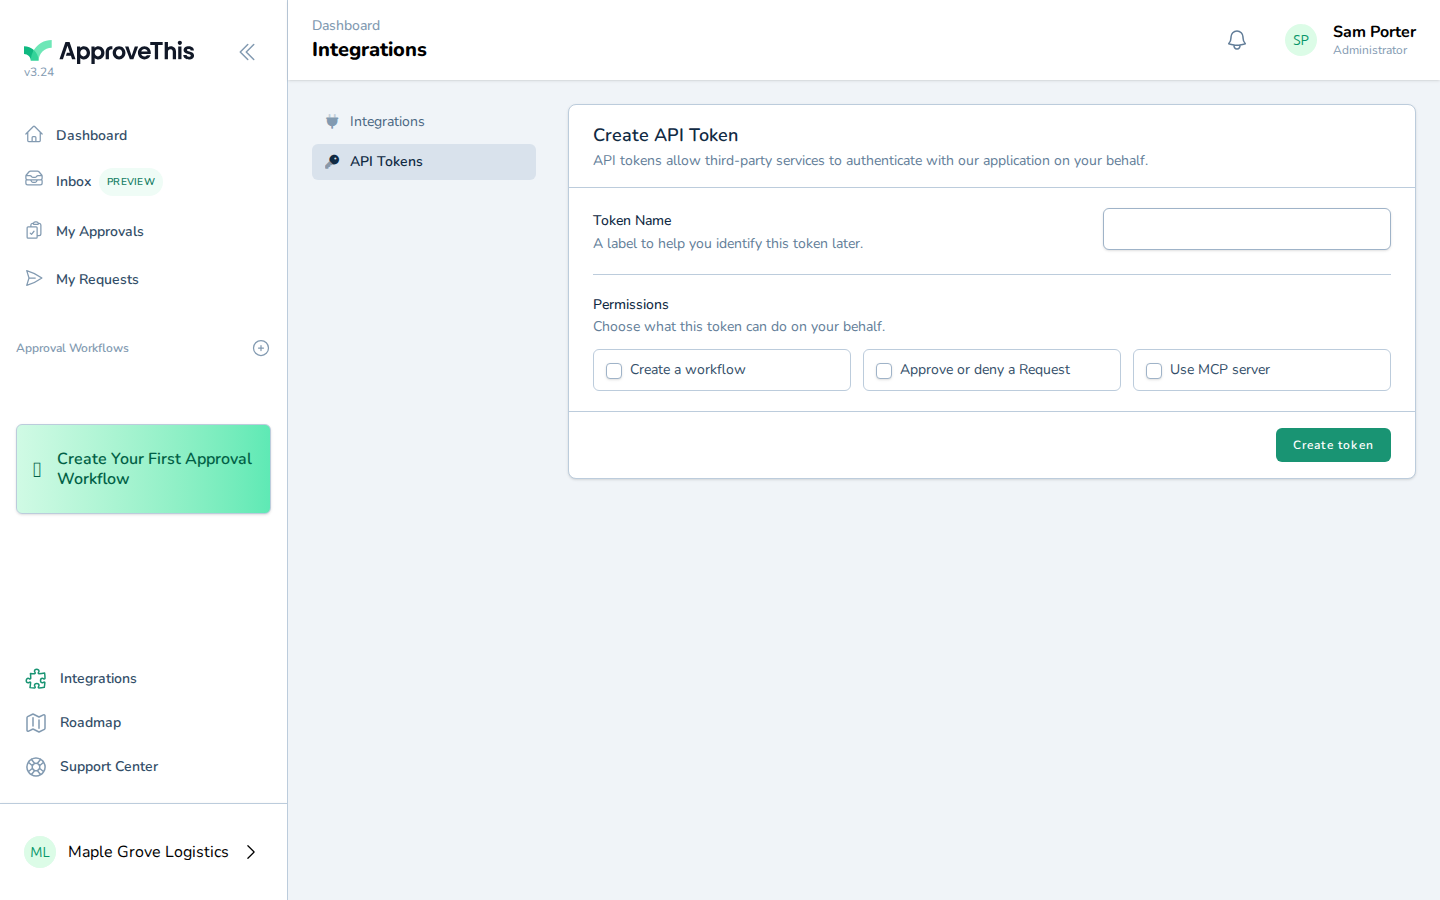
Click API Tokens to switch to the token tab. -
In Token Name, type a name identifying the system or script that will use this token; the example uses
Reporting script.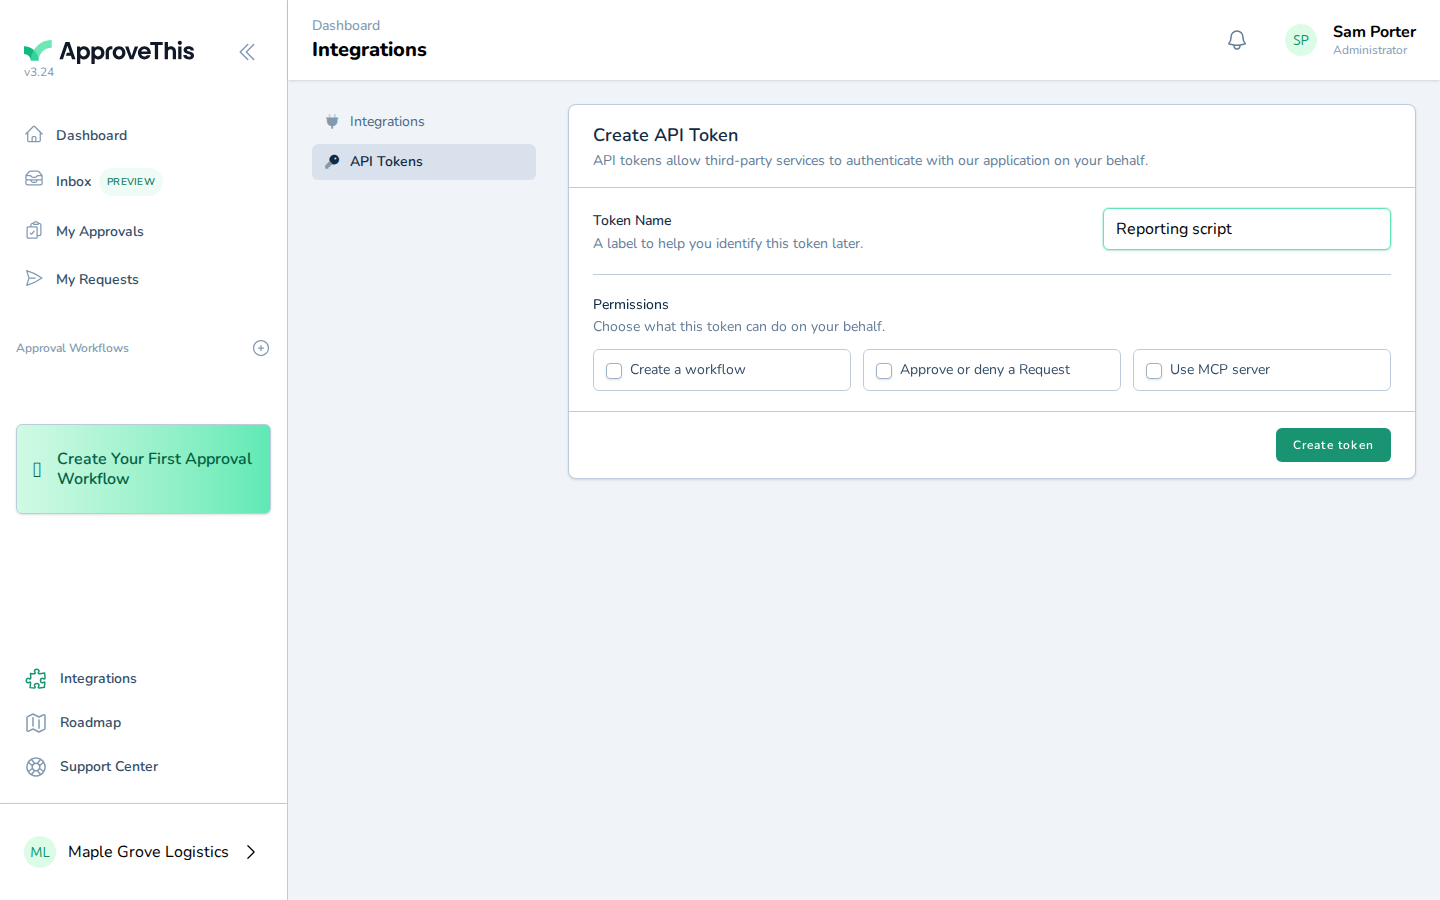
In Token Name, type a name identifying the system or script that will use this token; the example uses Reporting script. -
Click Create token.
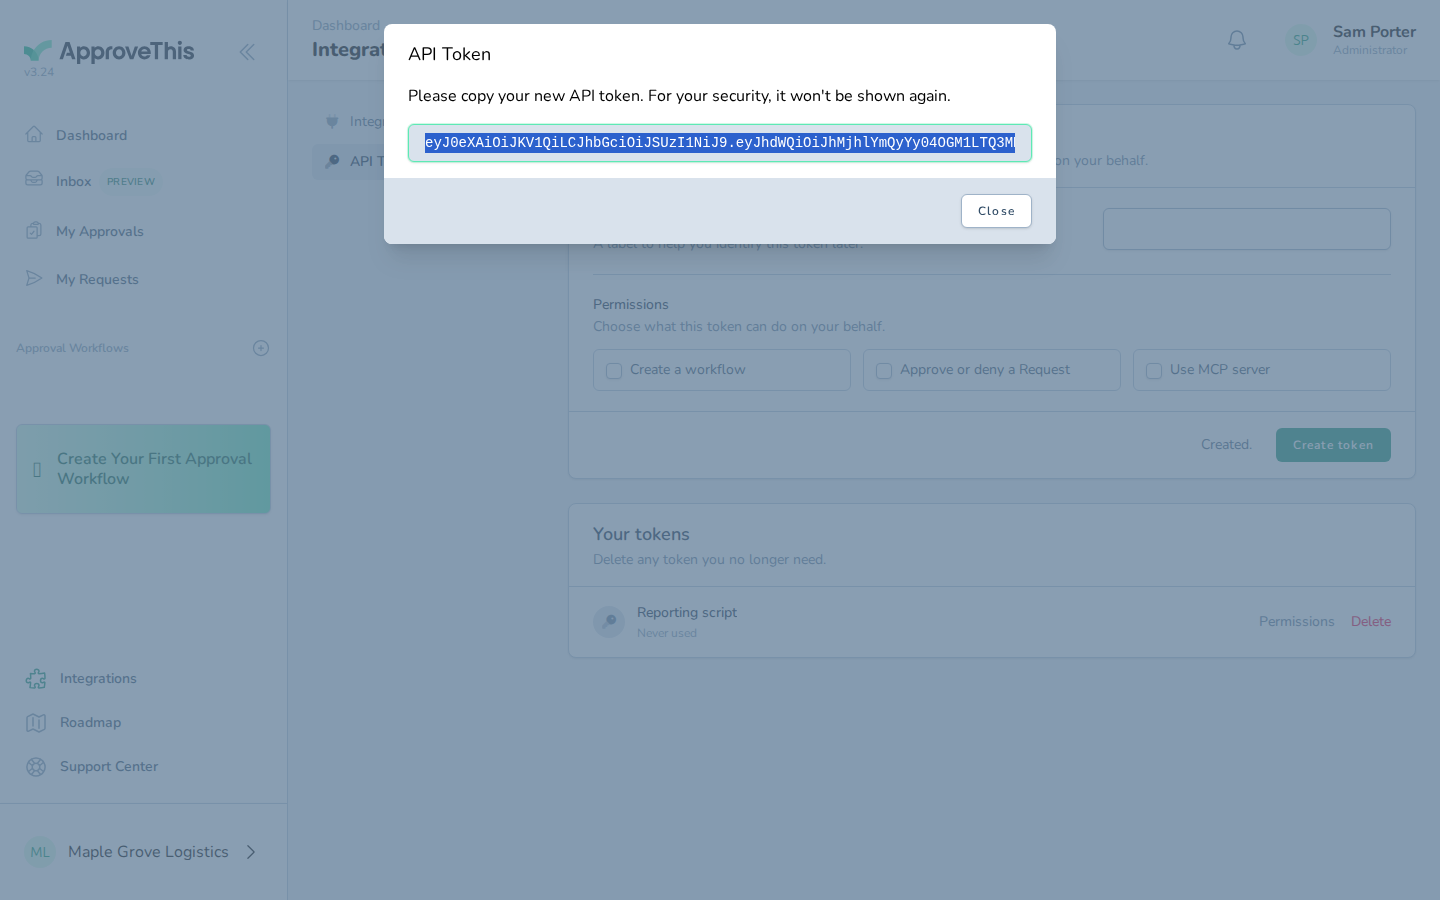
Click Create token.