Automated Actions
Give a workflow steps that run themselves: an action step sends a webhook to a URL you choose or emails a third party a view-only link to the request, with no approver votes and no waiting. Failures retry automatically and surface to the workflow's editors; requesters only ever see a neutral waiting state.
Updated
Some steps in a workflow don't wait on a human: a downstream system needs to be pinged, or someone outside the approval chain needs to see what was decided. An automated action step handles both, sending a webhook to a URL you choose or emailing a third party a view-only link to the request. This guide is for Administrators working on a flow's Workflow canvas, and assumes you already have a workflow open there with its approval steps in place. The picker offers two actions today, a webhook and an email; there is no create-task action yet.
Who this is for: an Administrator.
Add an automated action step that sends a webhook, and send a test delivery to prove the endpoint answers
A webhook step hands the request summary to whatever system needs to hear about the decision, and the test delivery tells you the endpoint answers before any real request depends on it. Deliveries are unsigned, so the receiving system should treat them as notifications and fetch trusted details from the API.
-
Sign in as an Administrator.
-
Click Add a new step below this one at the position in the workflow where the action belongs.
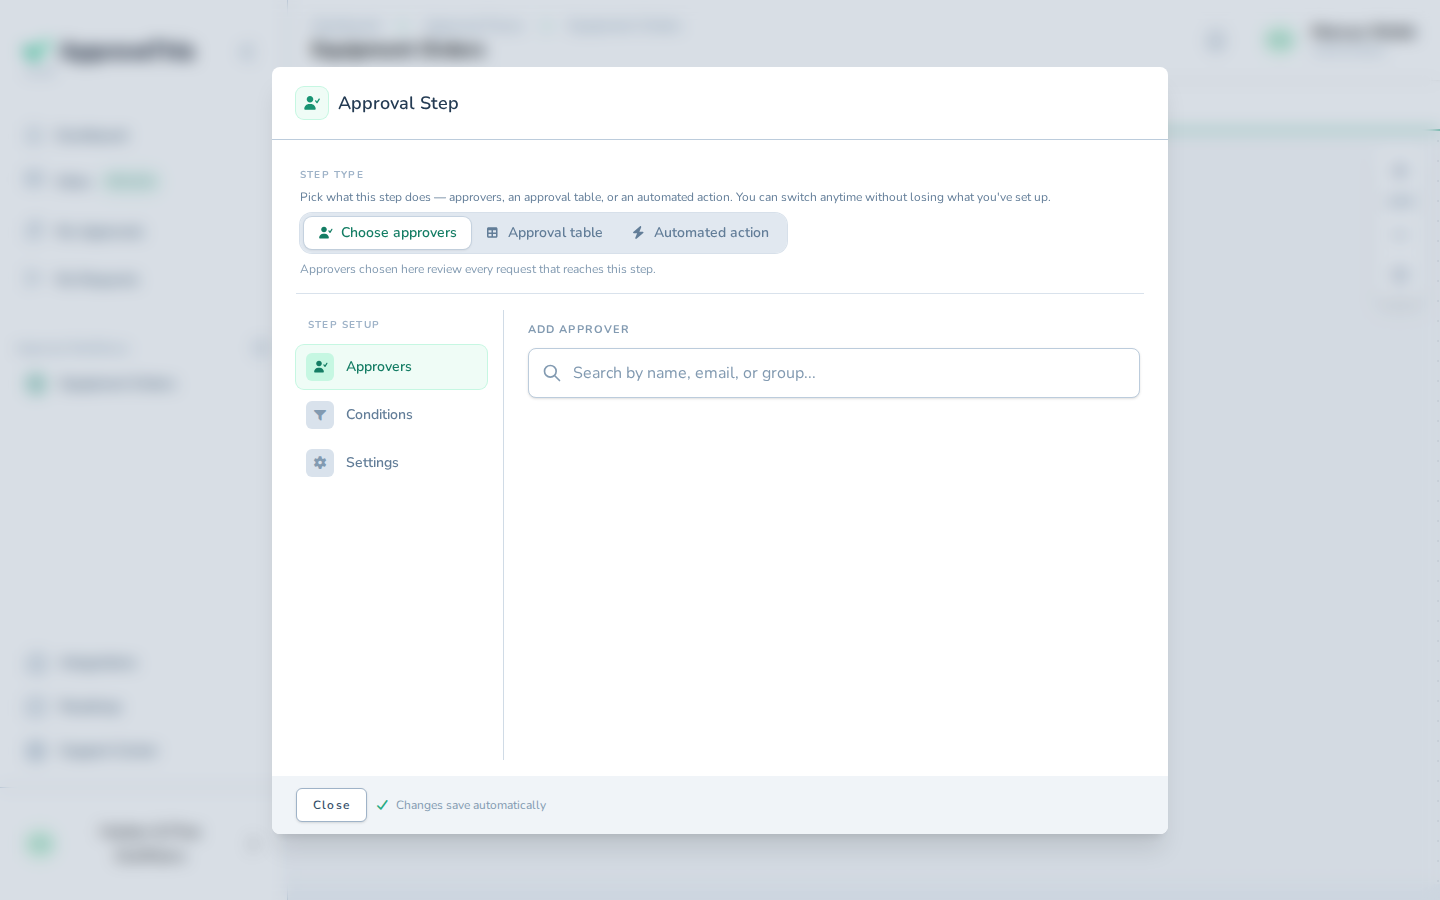
Click Add a new step below this one at the position in the workflow where the action belongs. -
Click Automated action, the third step mode beside the approver options.
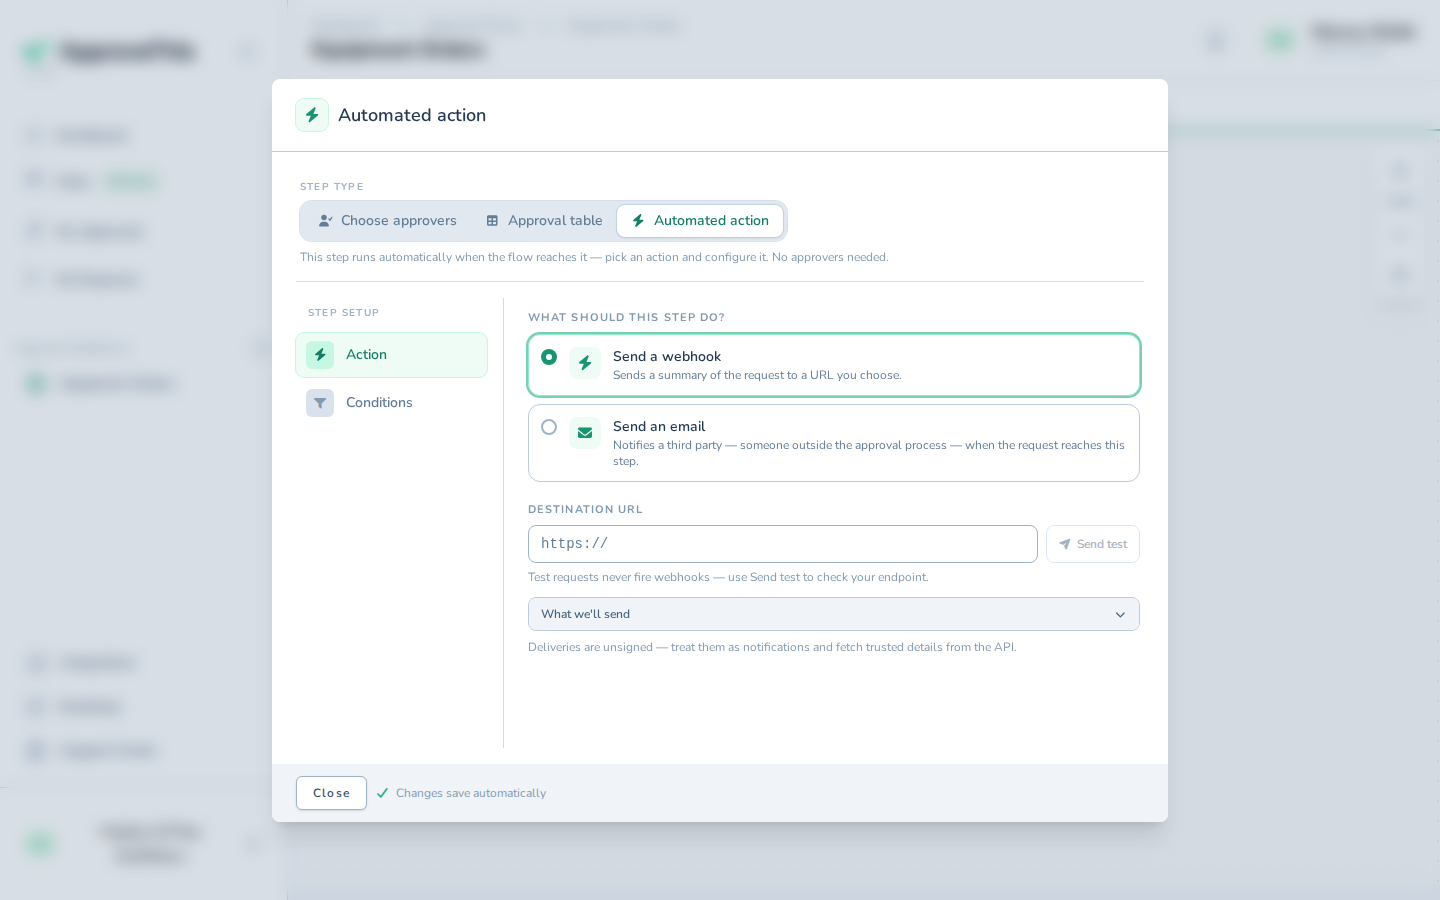
Click Automated action, the third step mode beside the approver options. -
Click Send a webhook Sends a summary of the request to a URL you choose.
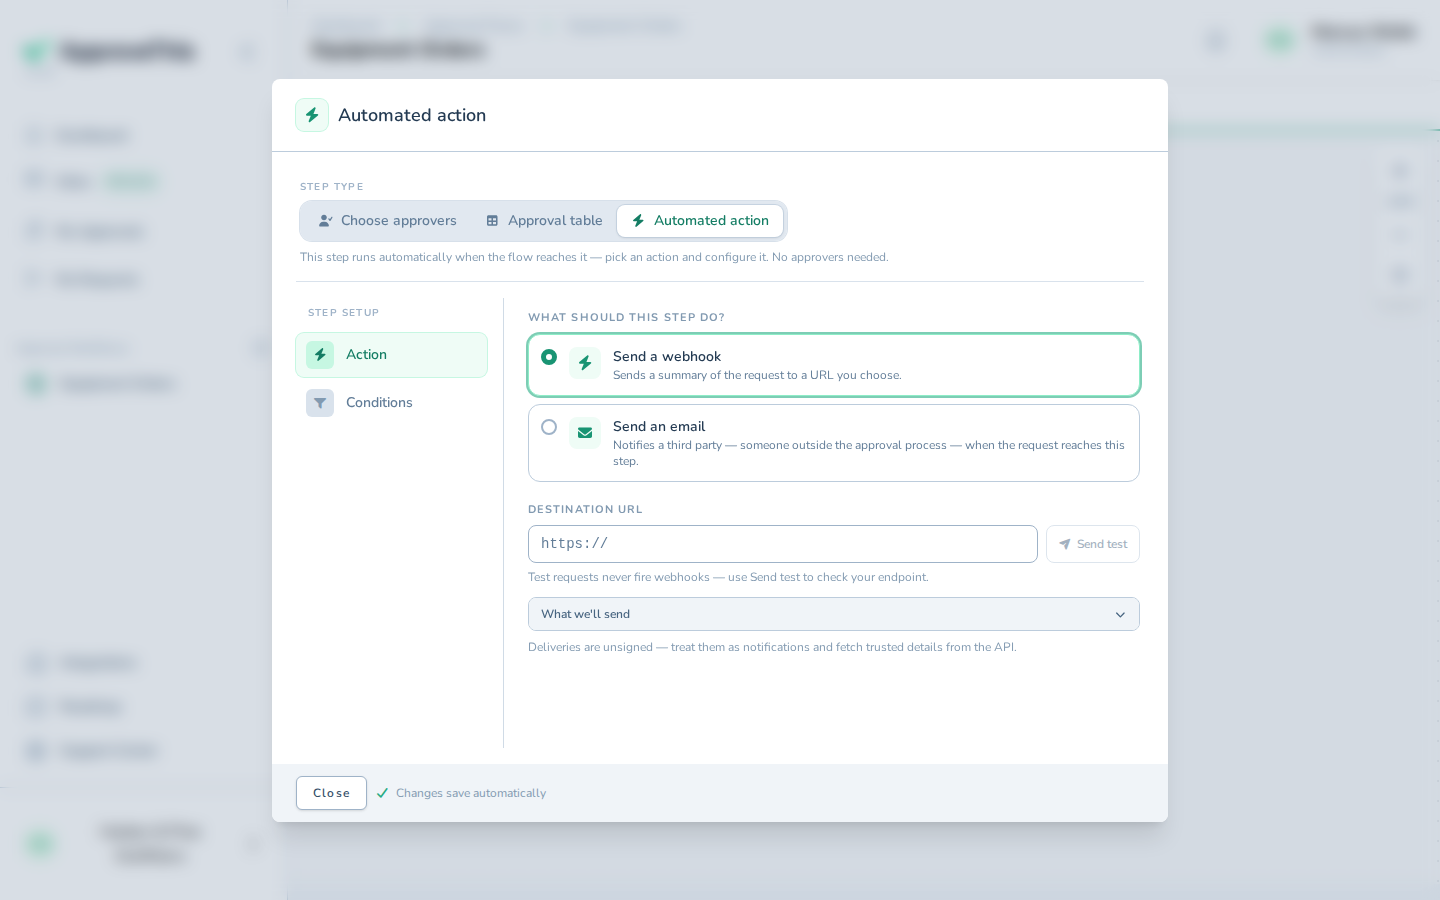
Click Send a webhook Sends a summary of the request to a URL you choose. -
In Destination URL, enter the endpoint that should receive the request summary.
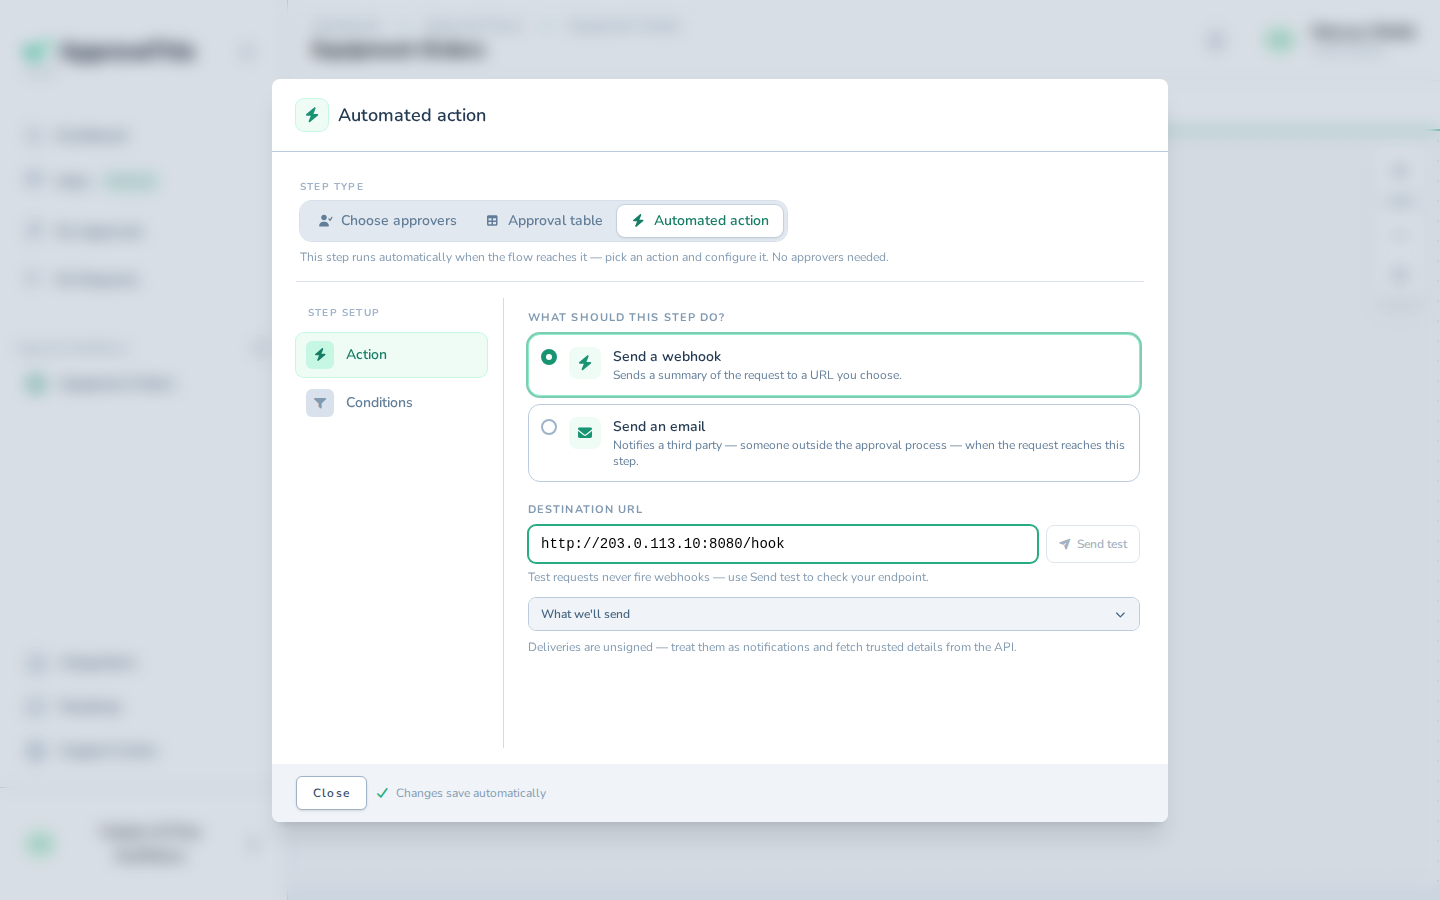
In Destination URL, enter the endpoint that should receive the request summary. -
Press
Tabto move focus out of the field so the URL is validated inline.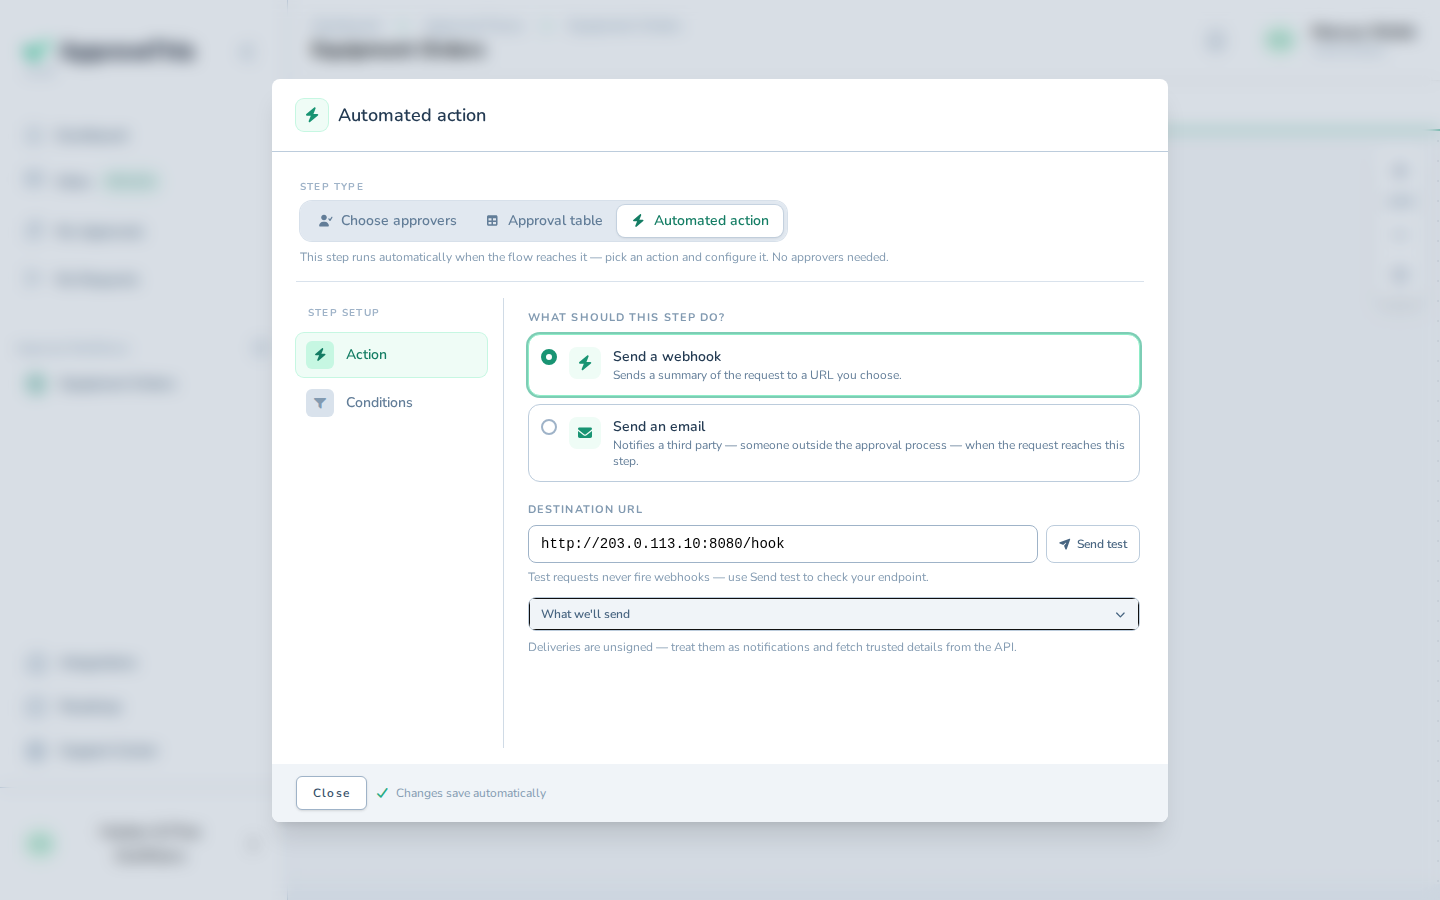
Press Tab to move focus out of the field so the URL is validated inline. -
Click Send test to fire a test delivery at that endpoint. Test sends are rate-limited to 5 per minute per user and step.
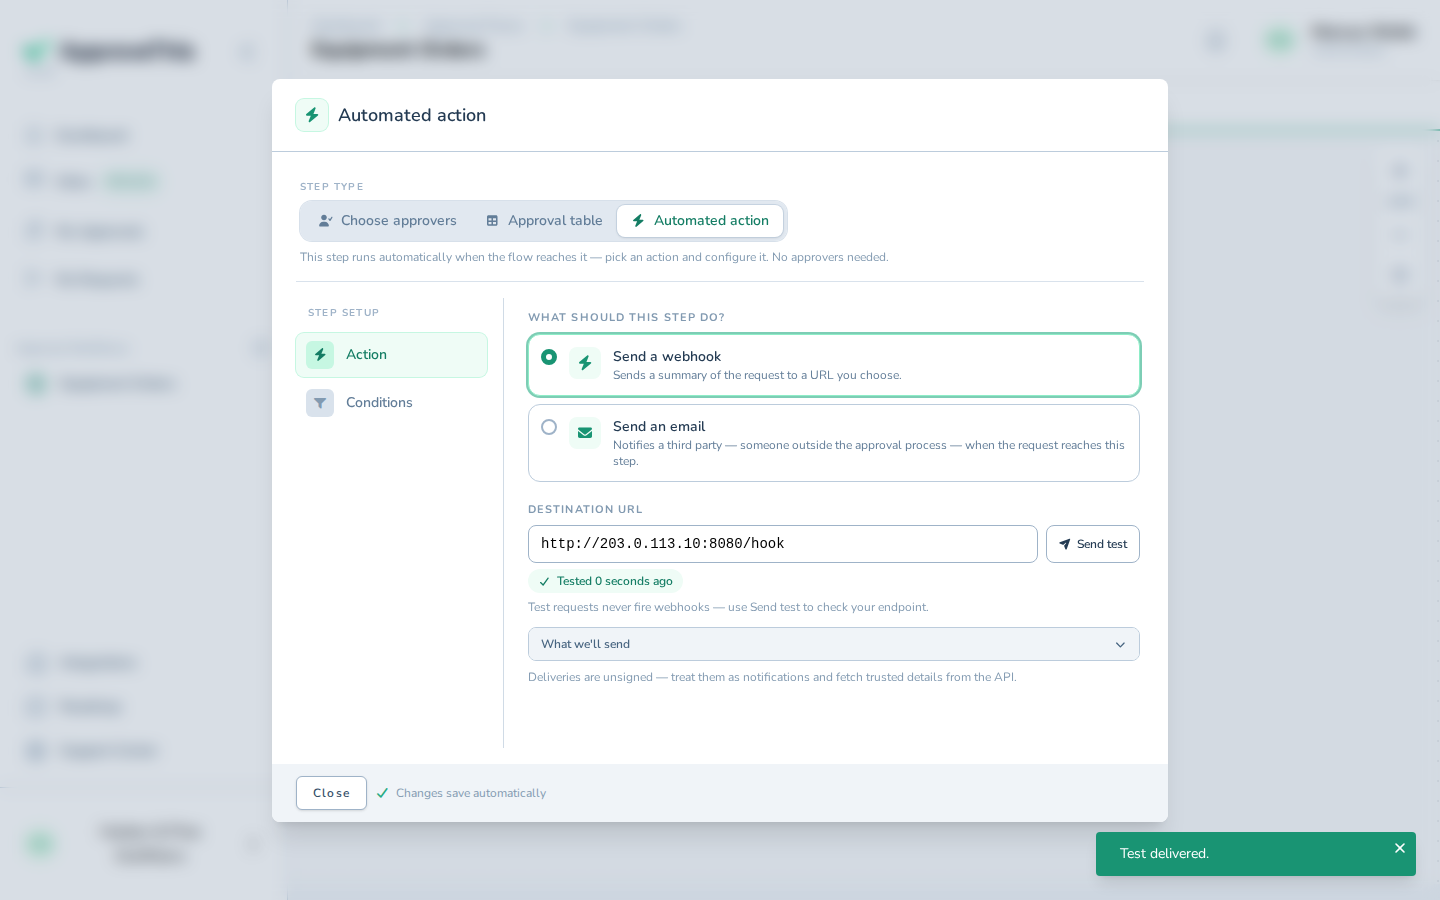
Click Send test to fire a test delivery at that endpoint. Test sends are rate-limited to 5 per minute per user and step. -
Click Close to return to the canvas.
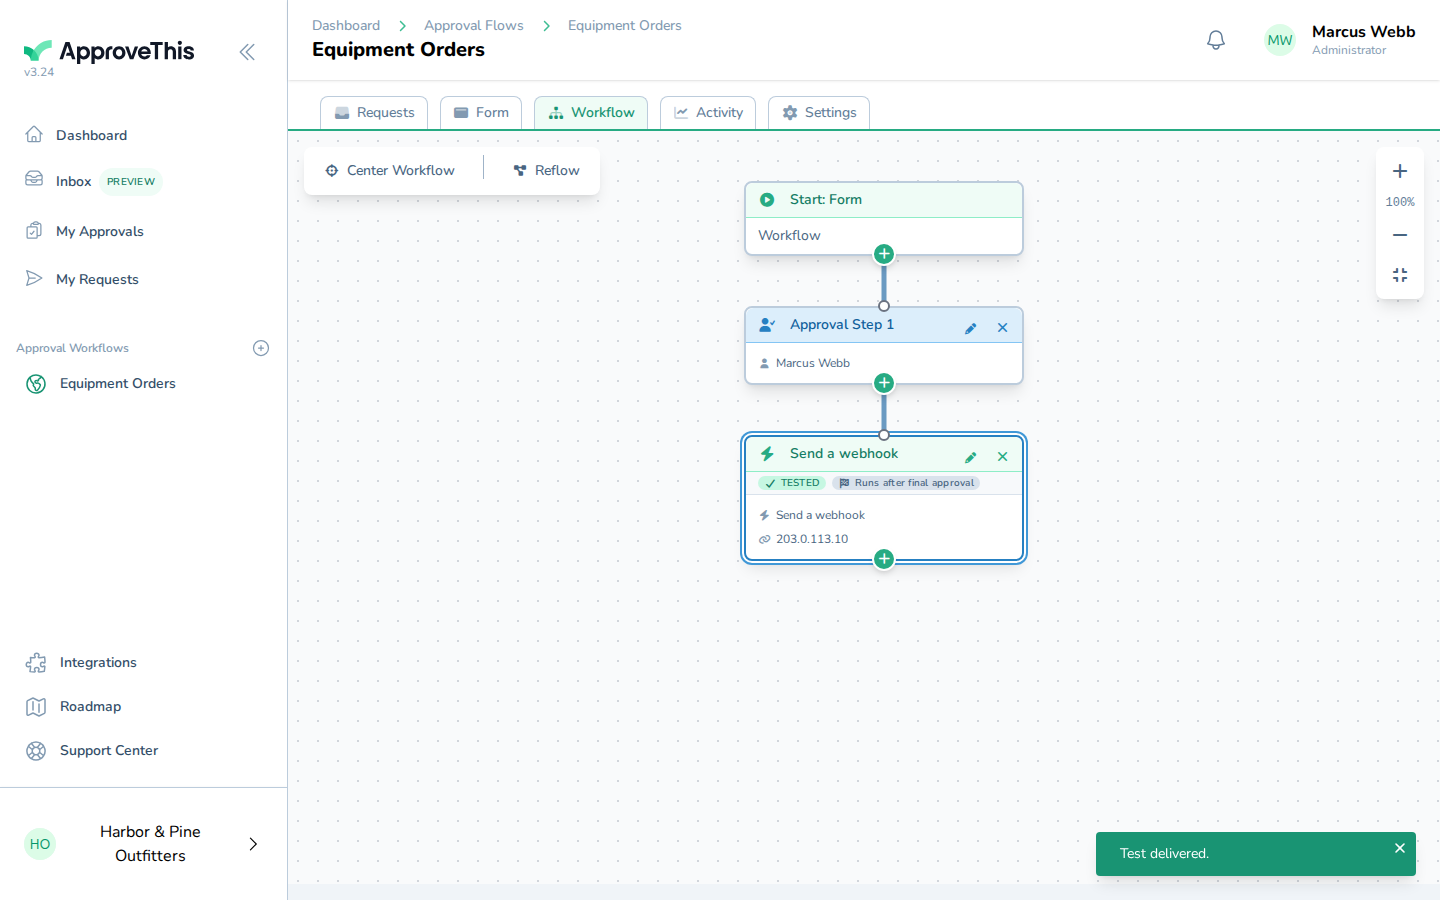
Click Close to return to the canvas.
Add a second automated action step that emails a third party when the request is approved
Vendors, finance contacts, and other outsiders often need to see an approved request without being given an account or a vote. An email action sends them a branded notification carrying a signed view-only link, and each address you add becomes an external recipient rather than a workspace member.
-
Click Add a new step below this one.
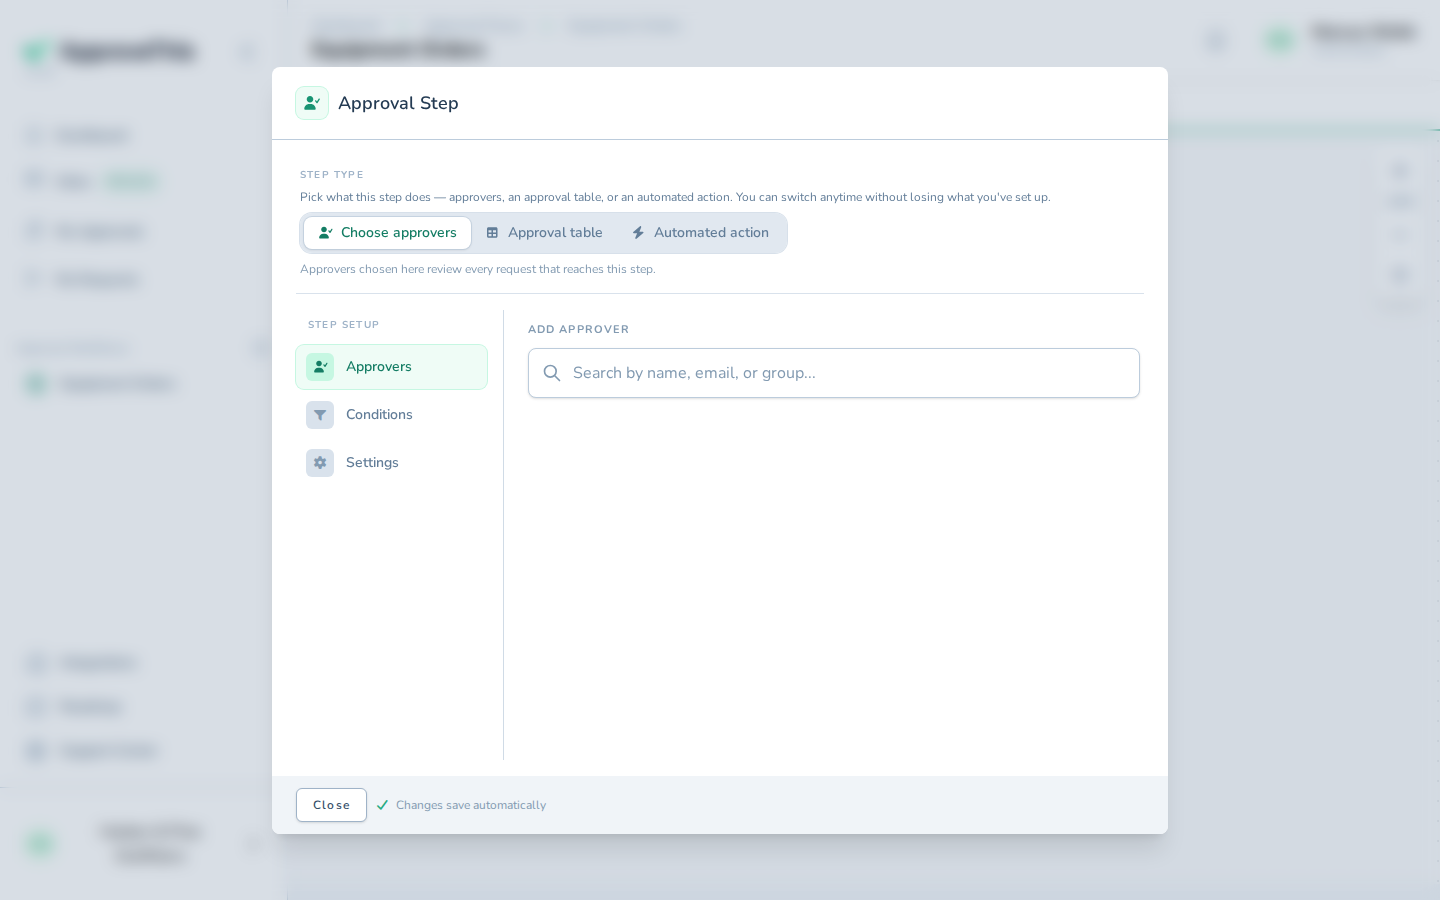
Click Add a new step below this one. -
Click Automated action.
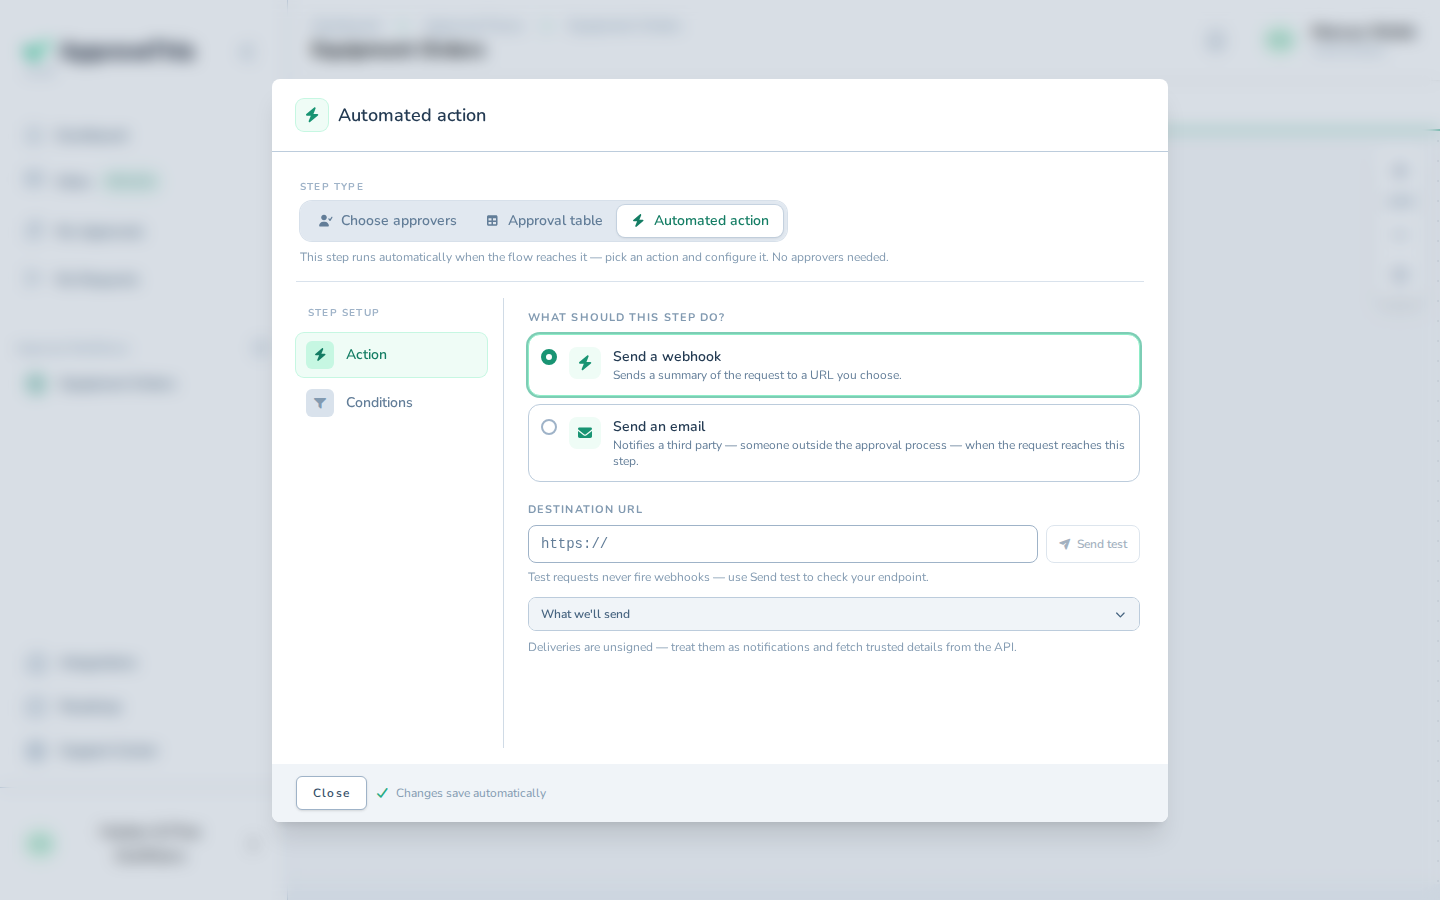
Click Automated action. -
Click Send an email Notifies a third party — someone outside the approval process — when the request reaches this step.
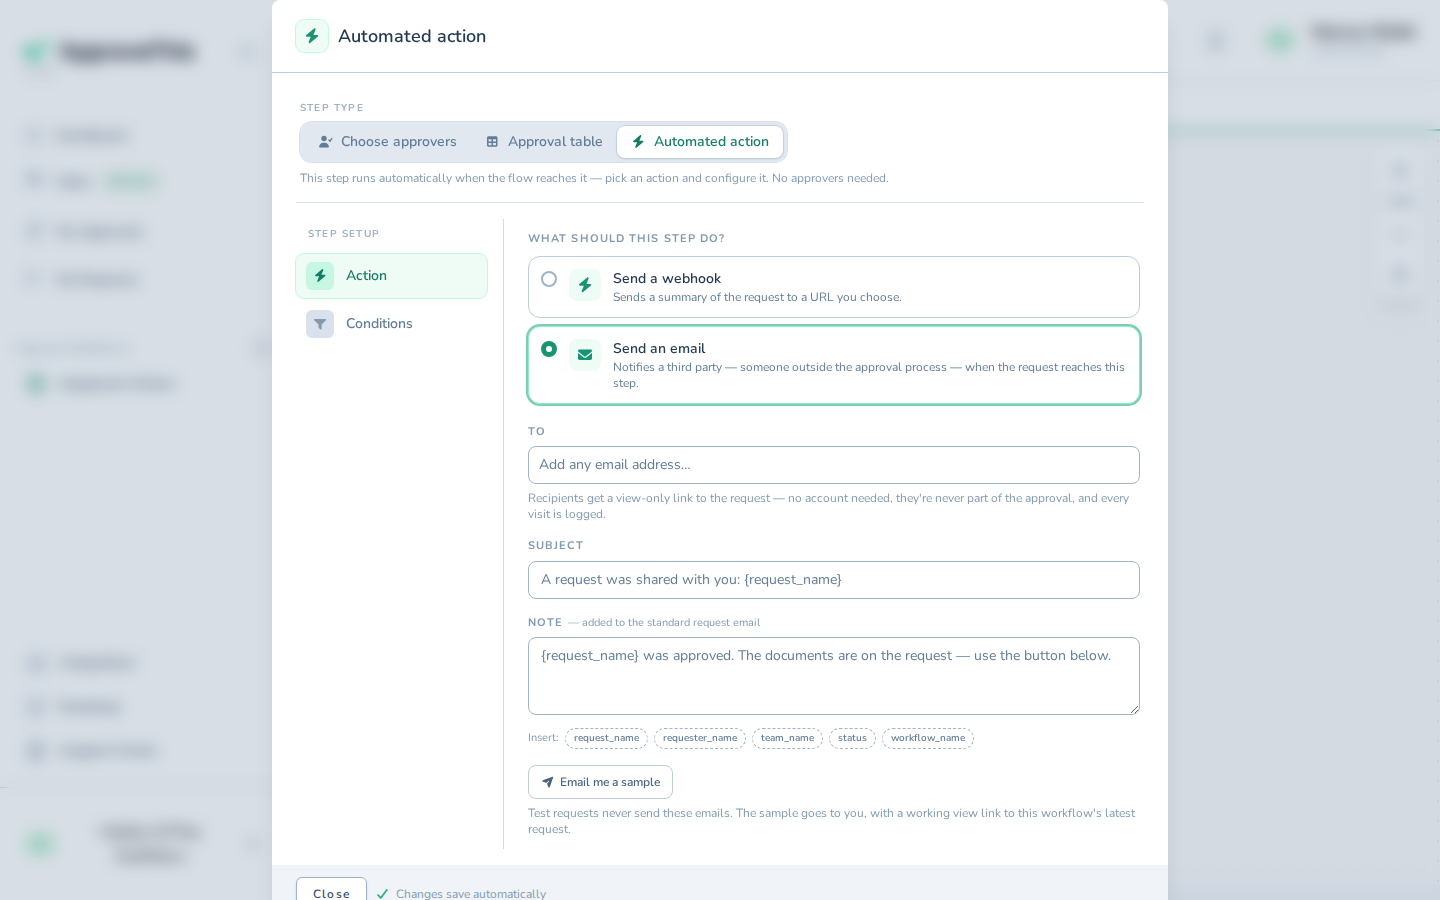
Click Send an email Notifies a third party — someone outside the approval process — when the request reaches this step. -
In Add any email address…, type the outside address that should receive the view-only link; the example uses
orders@harborsupply.example.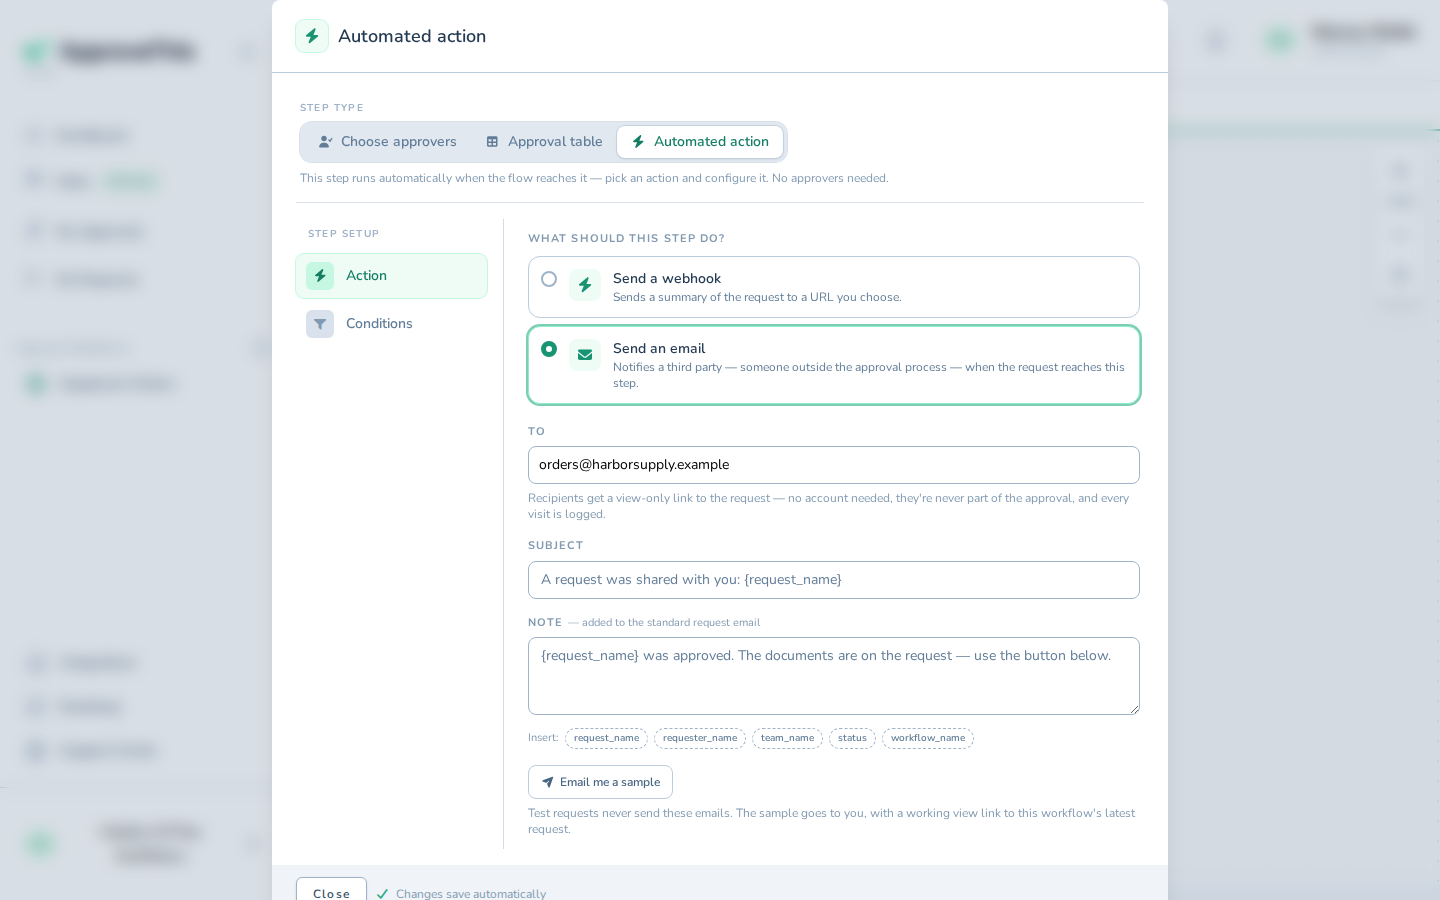
In Add any email address…, type the outside address that should receive the view-only link; the example uses orders@harborsupply.example. -
Press
Enterto turn the address into a recipient chip.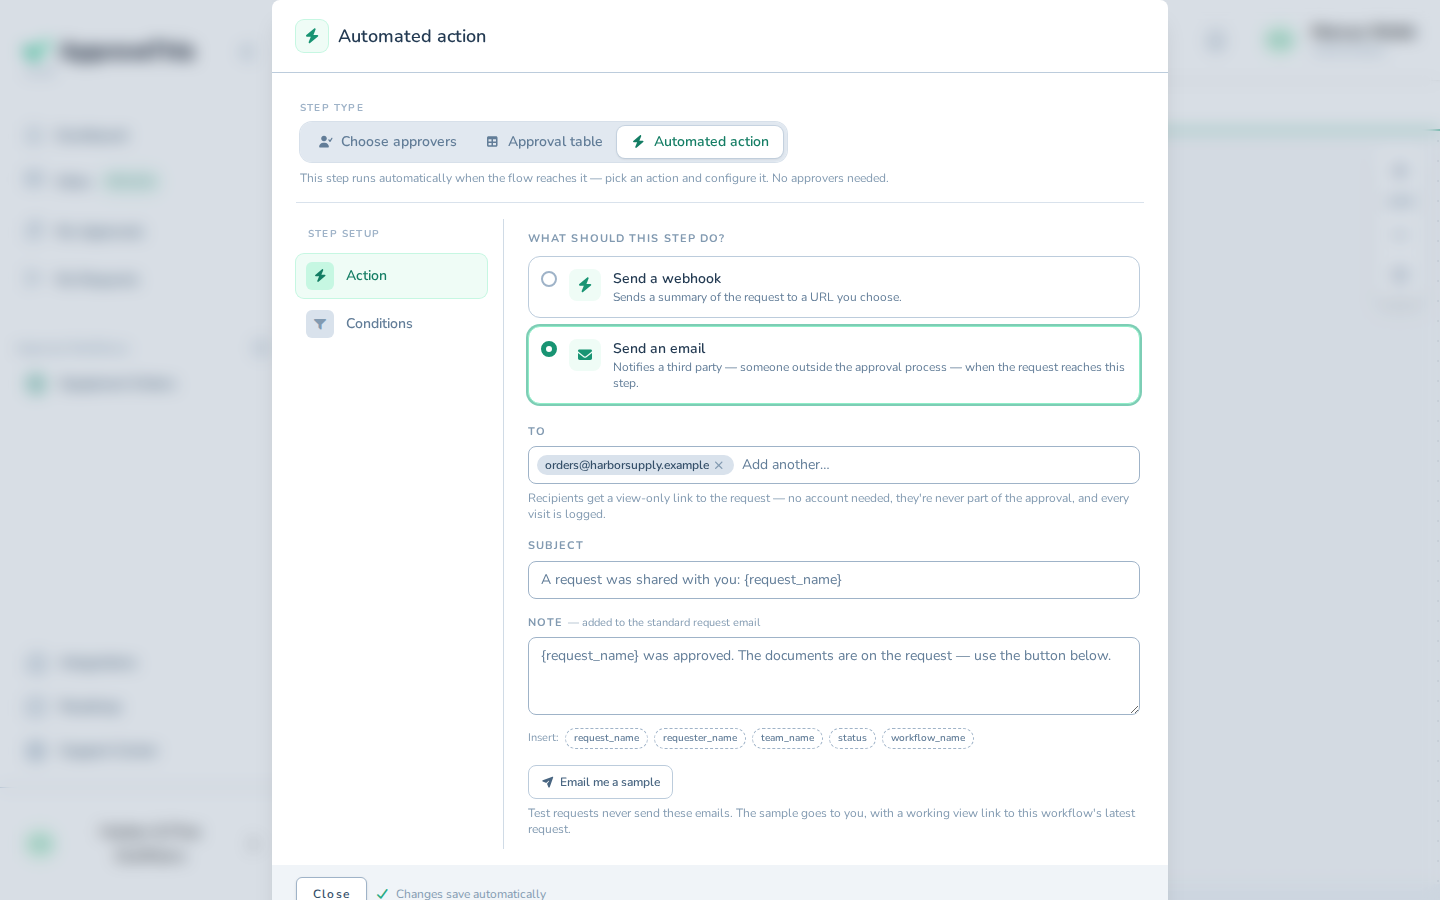
Press Enter to turn the address into a recipient chip. -
Click Close to return to the canvas.
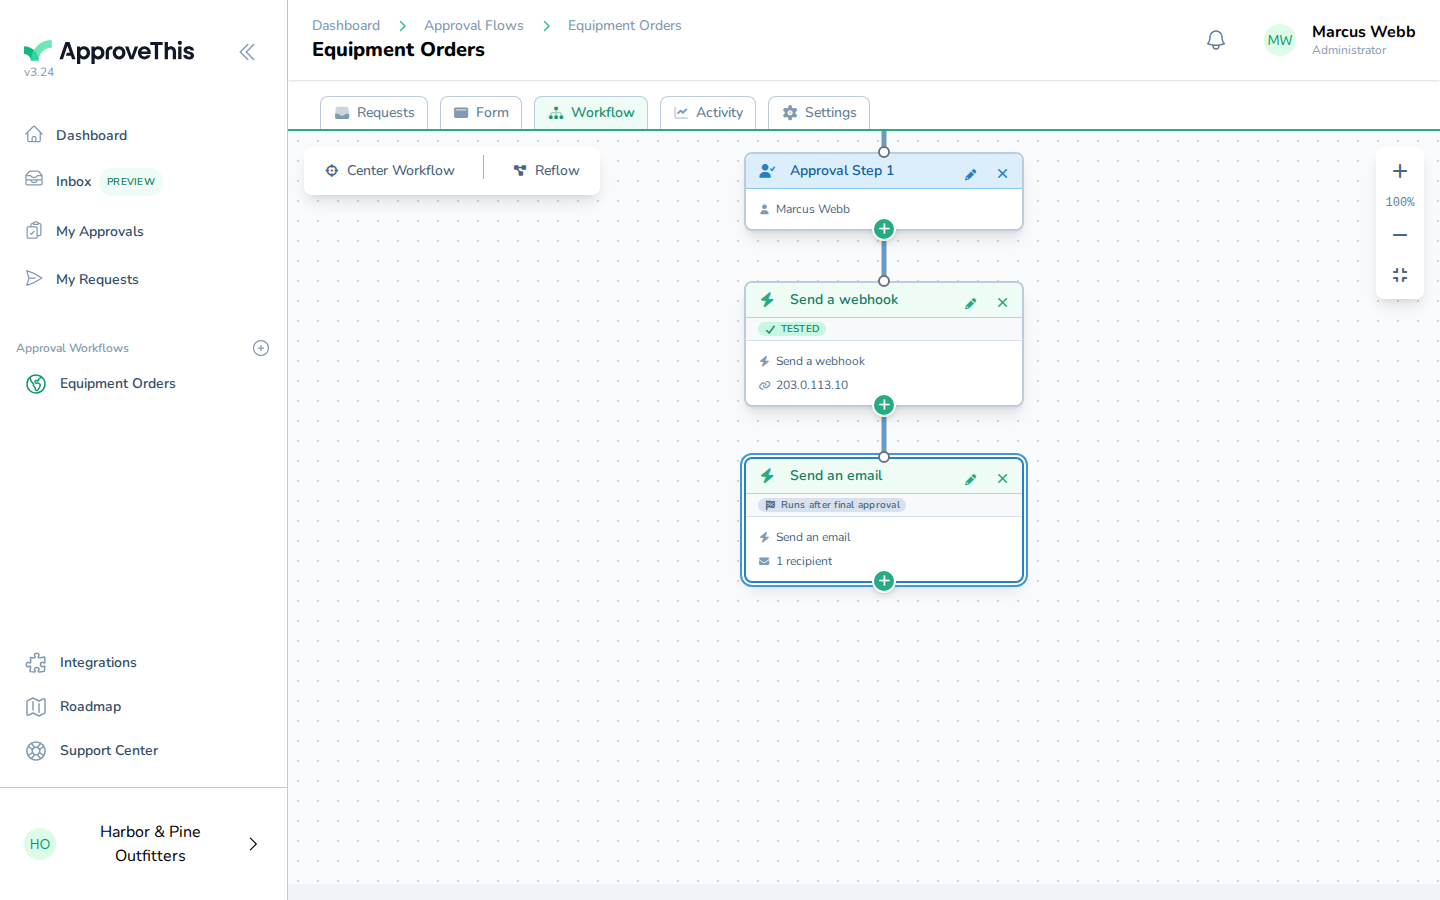
Click Close to return to the canvas.
Submit a request and approve it — the webhook delivers and the email goes out
Running one request all the way through is how you find out that both action steps behave on real data rather than on a test send. Note that a failed final action leaves the request Approved by design: the status does not guarantee delivery, and any failure surfaces separately to the workflow's editors for retry.
-
Go to
@artifact:form_urlto open the request form.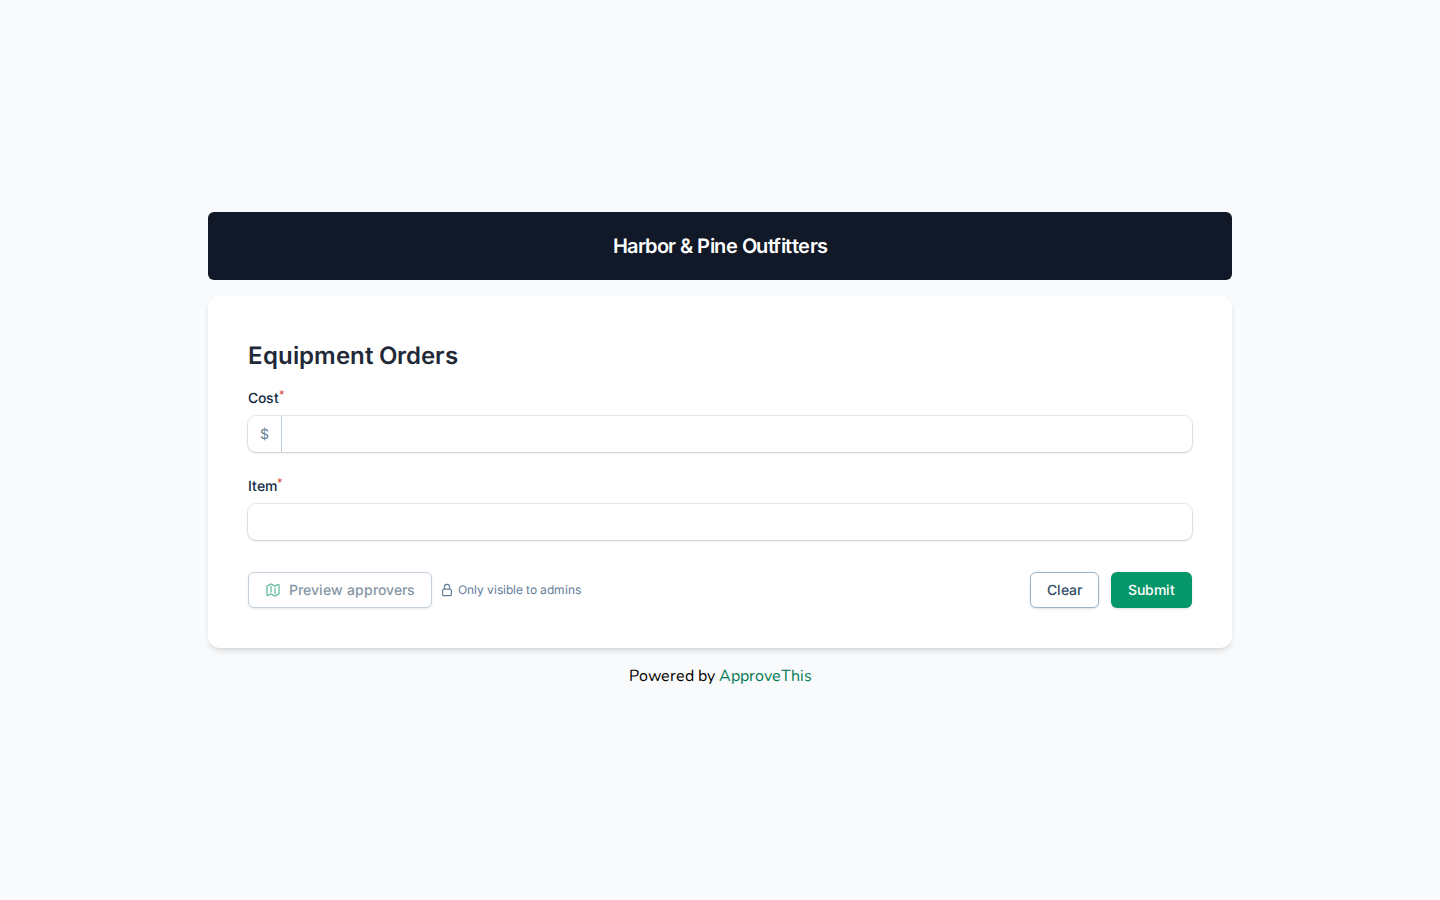
Go to @artifact:form_url to open the request form. -
In Cost, enter the amount the request is for, e.g.
1849.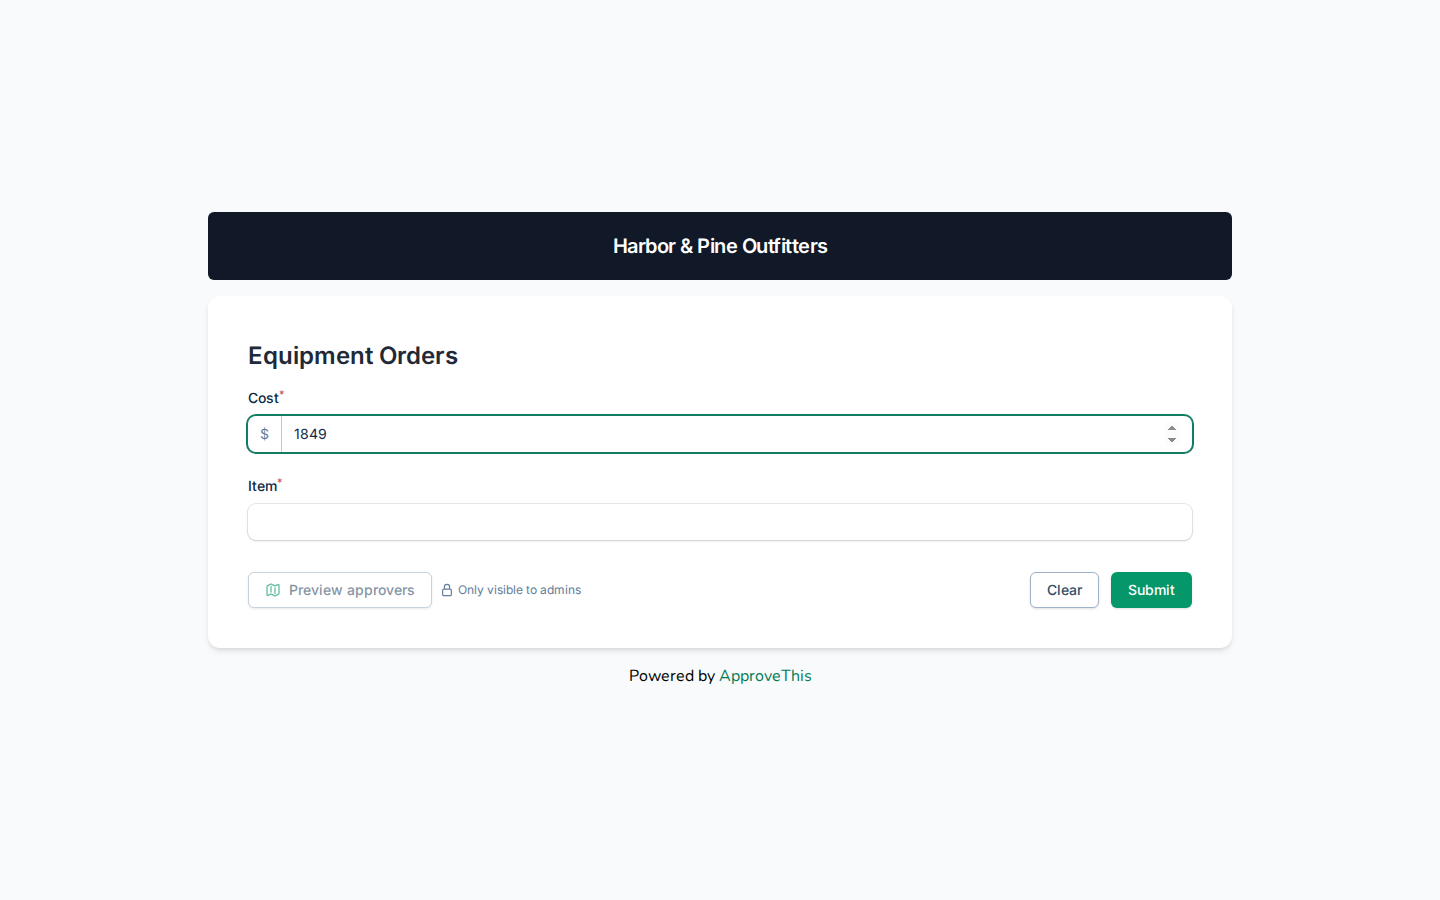
In Cost, enter the amount the request is for, e.g. 1849. -
In Item, enter what is being requested;
Warehouse label printerin the example screenshots.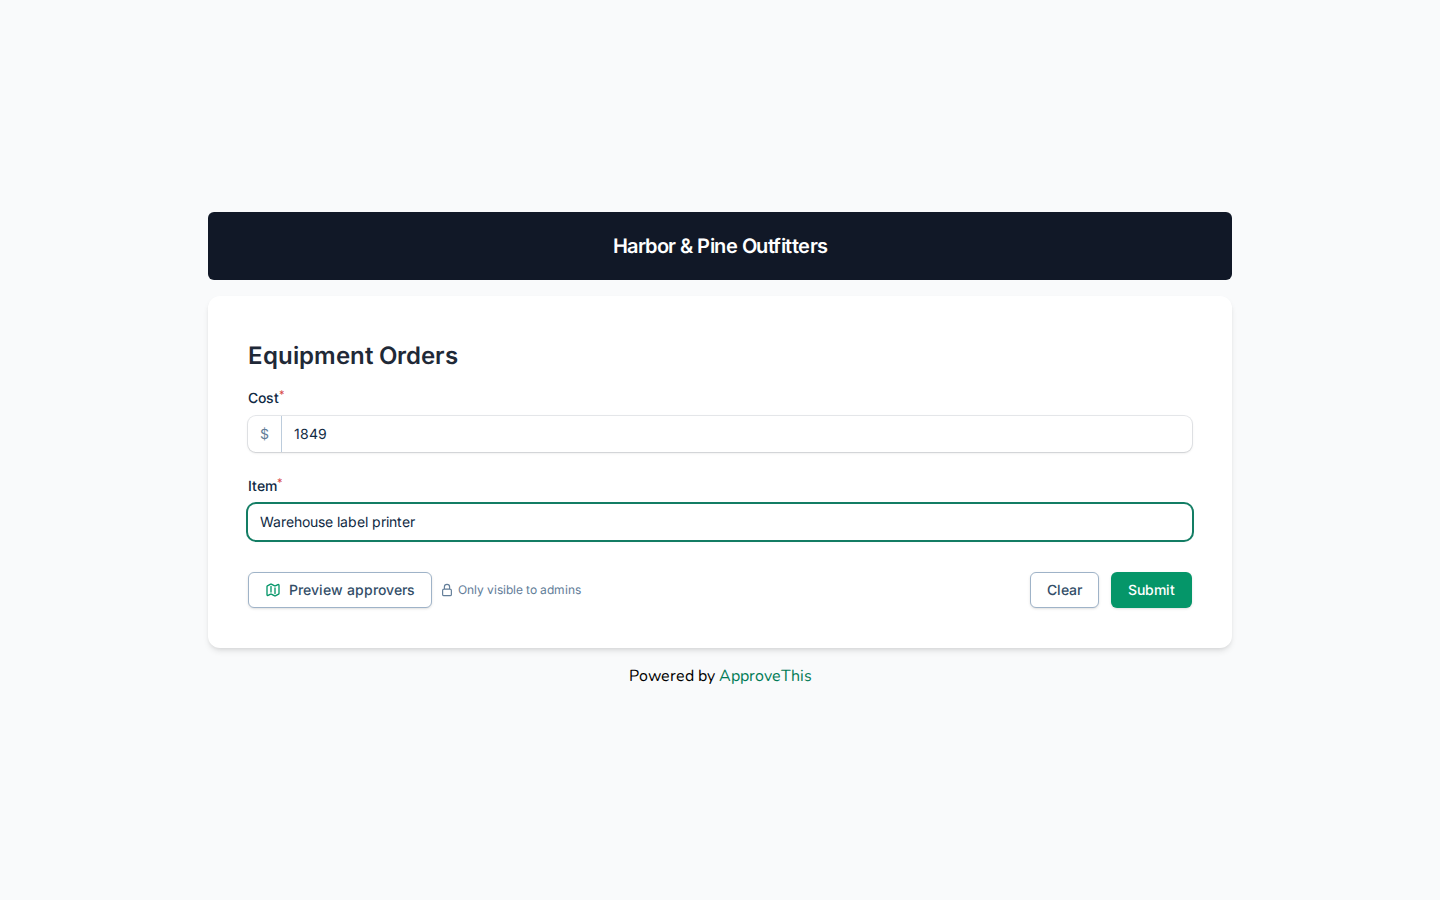
In Item, enter what is being requested; Warehouse label printer in the example screenshots. -
Click Submit.
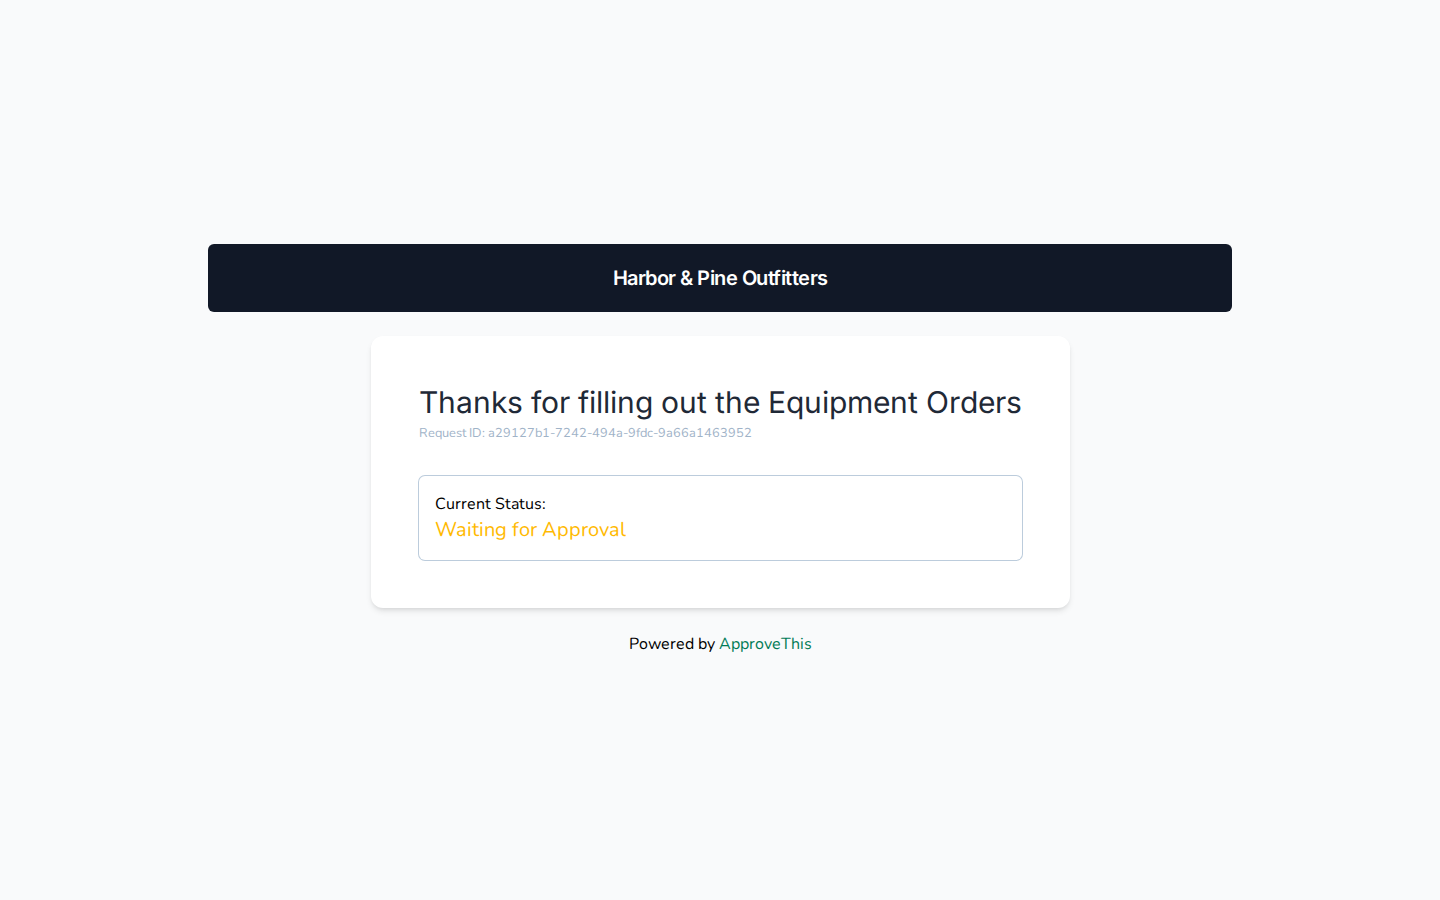
Click Submit. -
Go to
@artifact:flow_urlto open the workflow's requests.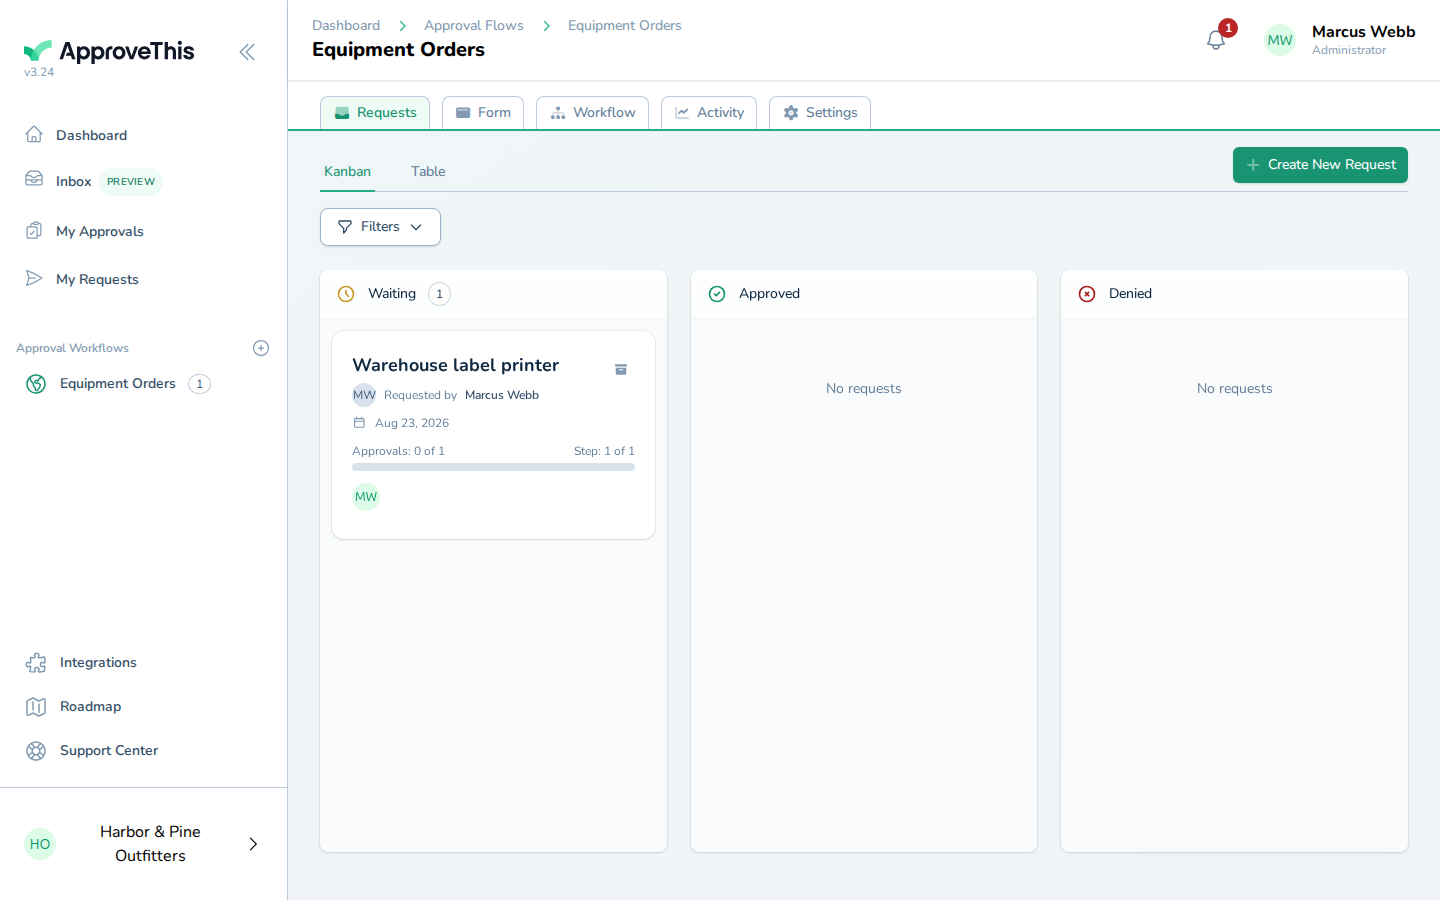
Go to @artifact:flow_url to open the workflow's requests. -
Click the request you just submitted, such as Warehouse label printer in the example.
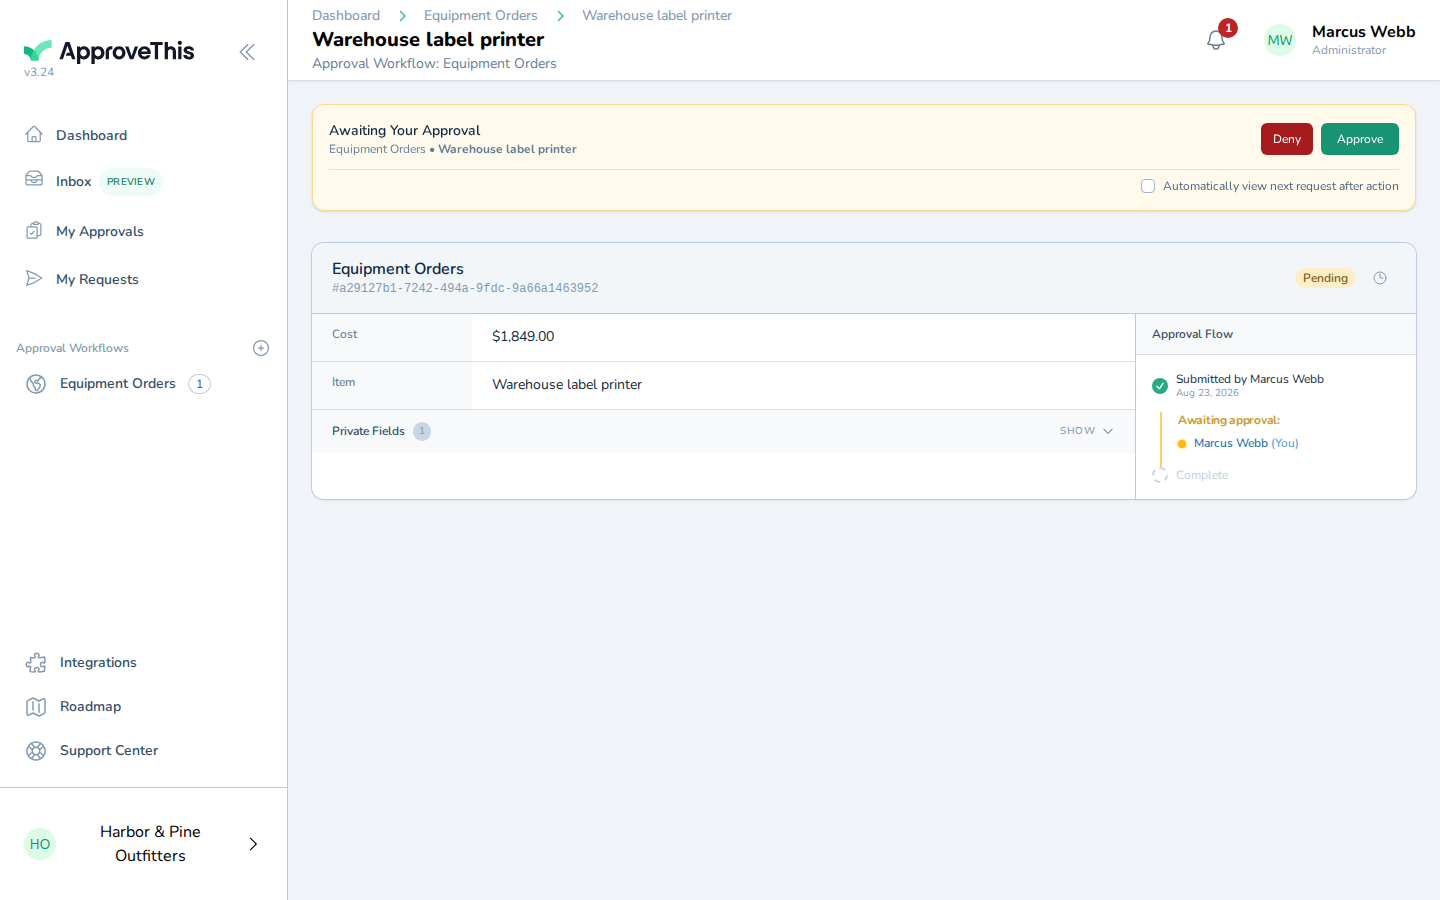
Click the request you just submitted, such as Warehouse label printer in the example. -
Click Approve.
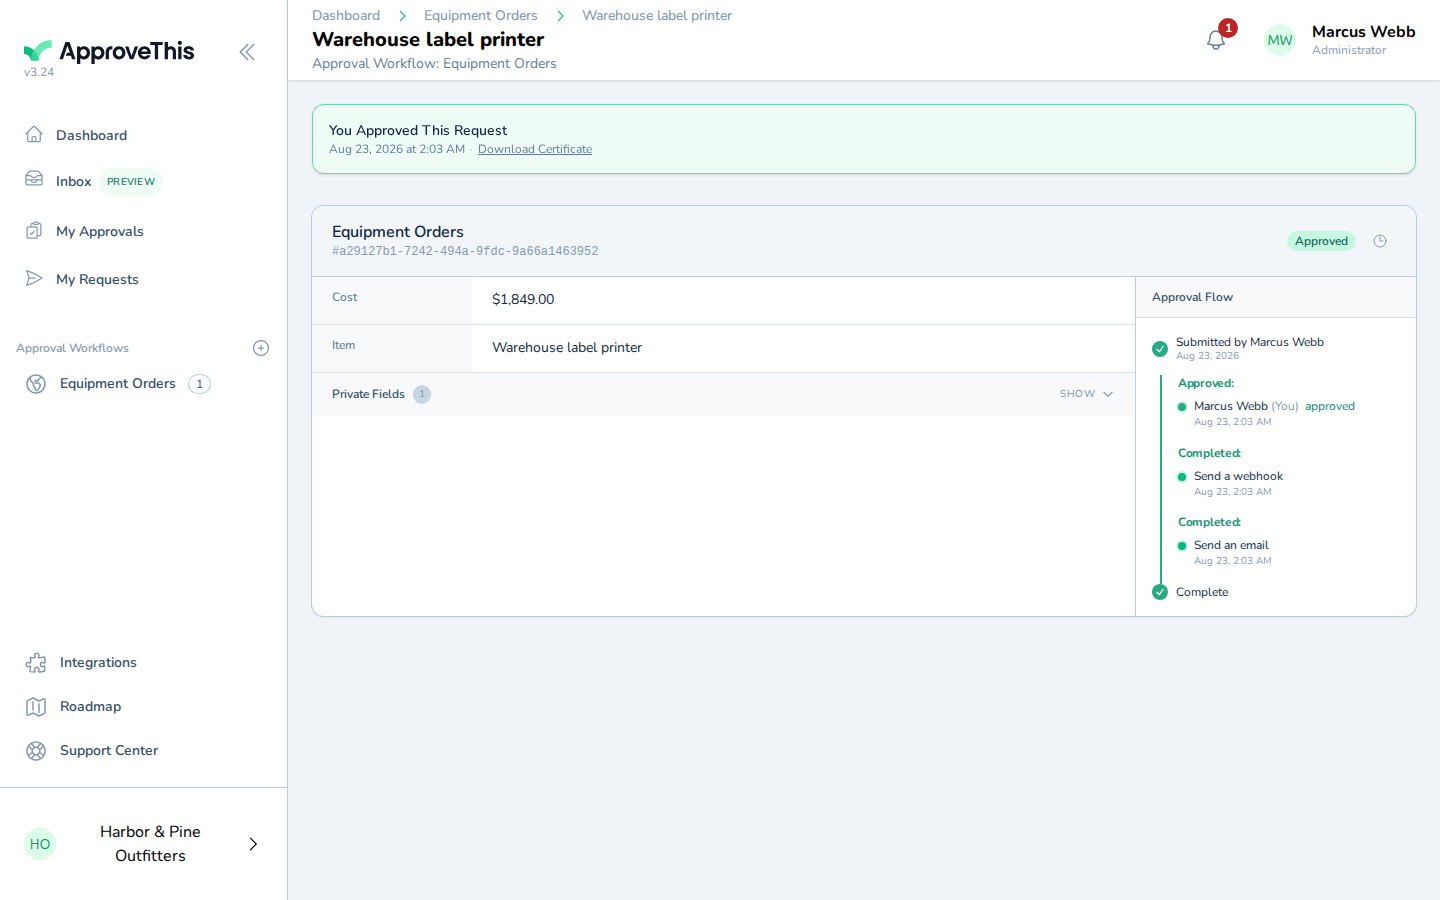
Click Approve.
Open the emailed view-only link as the recipient
Checking the link the way the recipient receives it is the only way to see what an outsider actually gets: a no-login view of the request, with files downloaded from the view page rather than attached to the mail. The signed link expires on the workflow's configured schedule (7 days by default), though the viewer grant itself does not expire in this version.
-
Click Account menu.
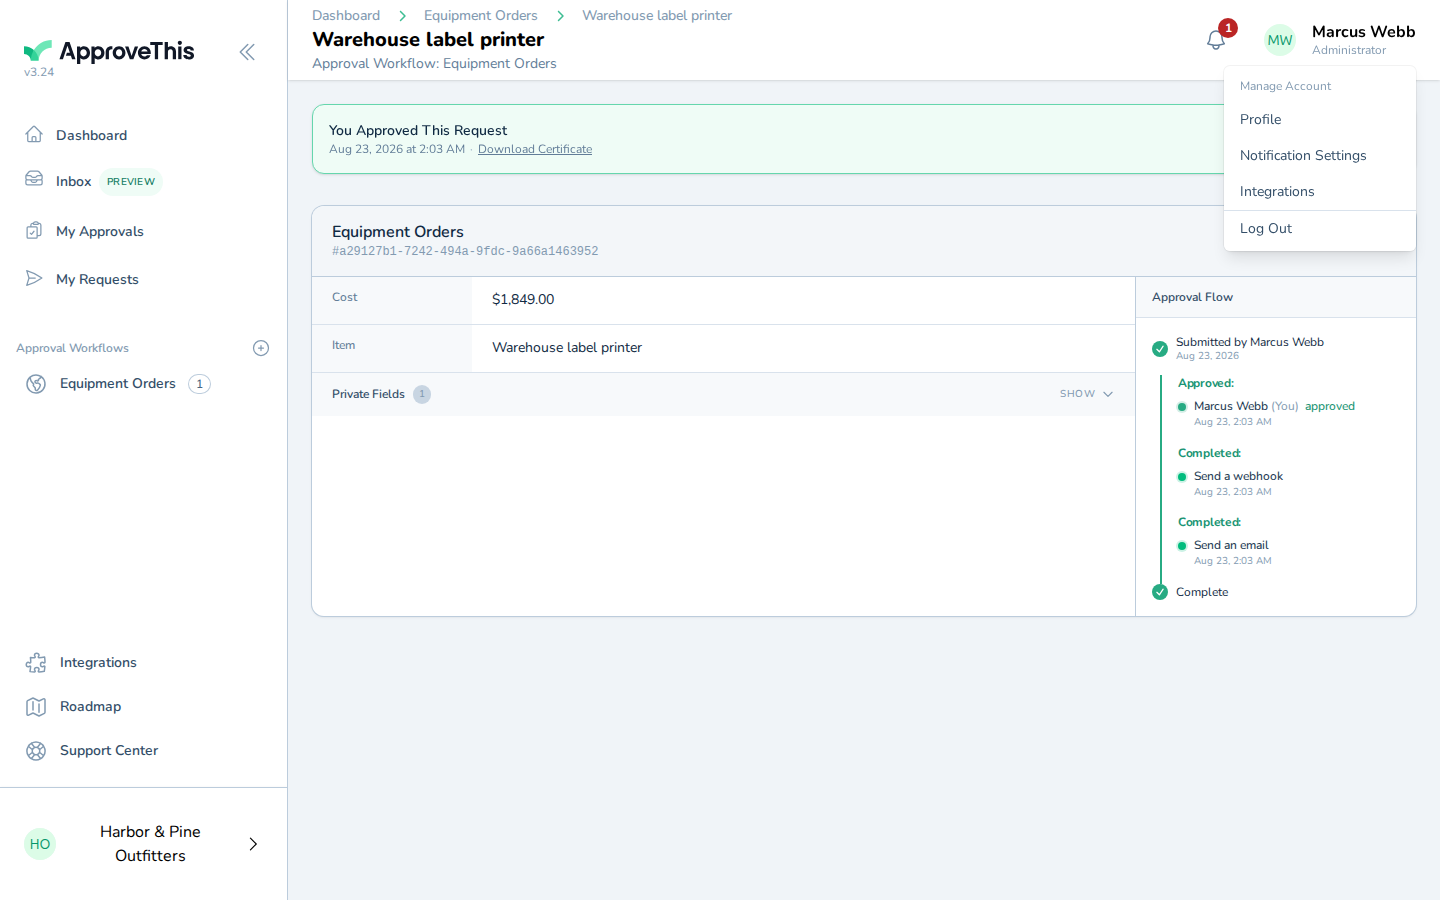
Click Account menu. -
Click Log Out, since the view-only link is meant to work without an ApproveThis sign-in.
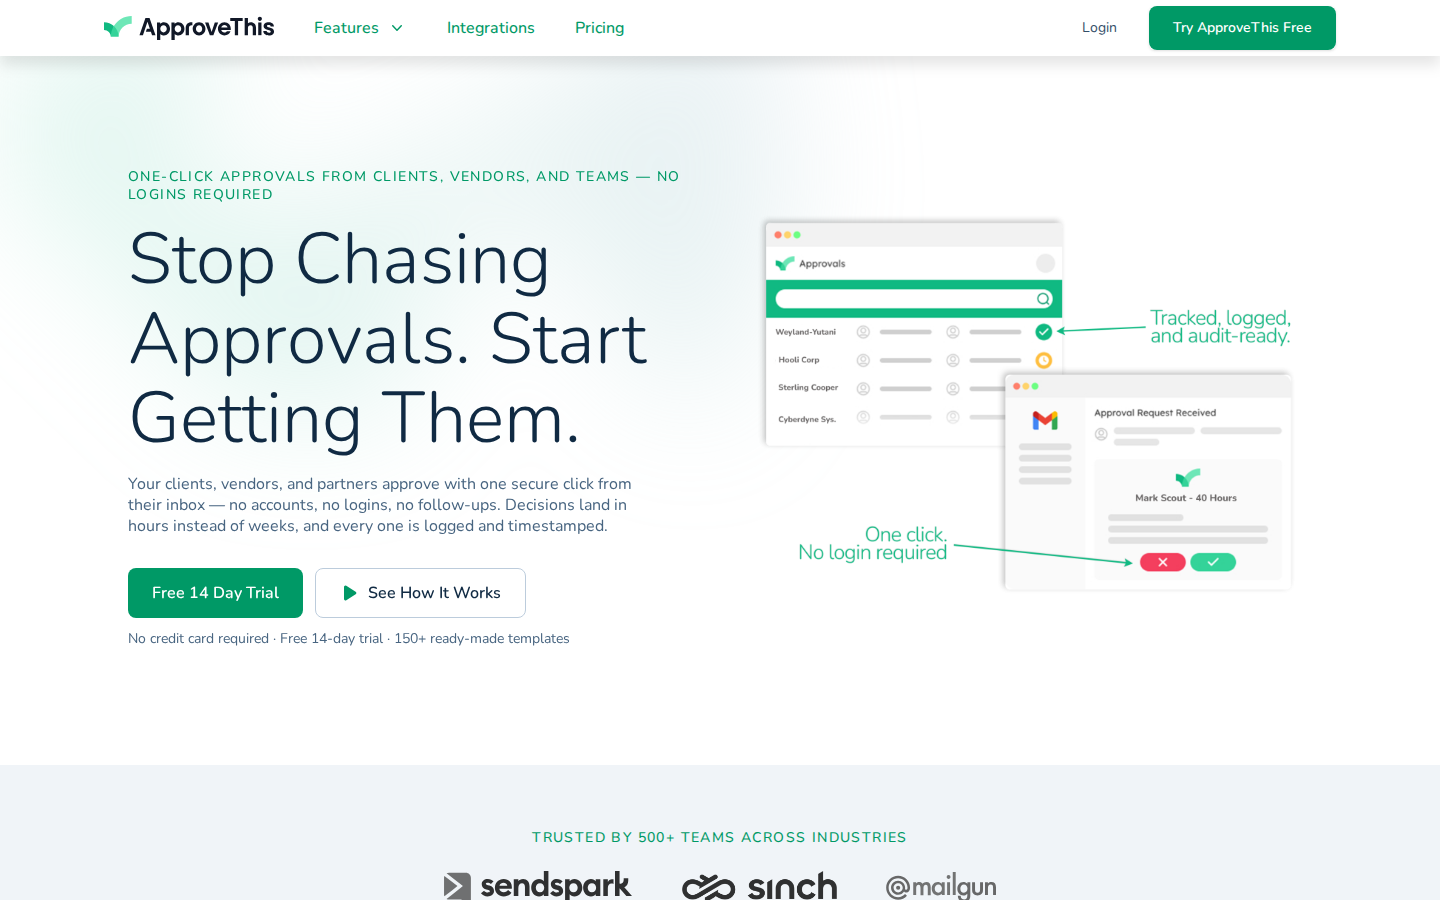
Click Log Out, since the view-only link is meant to work without an ApproveThis sign-in. -
Open the email inbox for the recipient address you added to the step.
Open the email inbox for the recipient address you added to the step. -
Open the shared-request notification, with a subject such as A request was shared with you: Warehouse label printer.
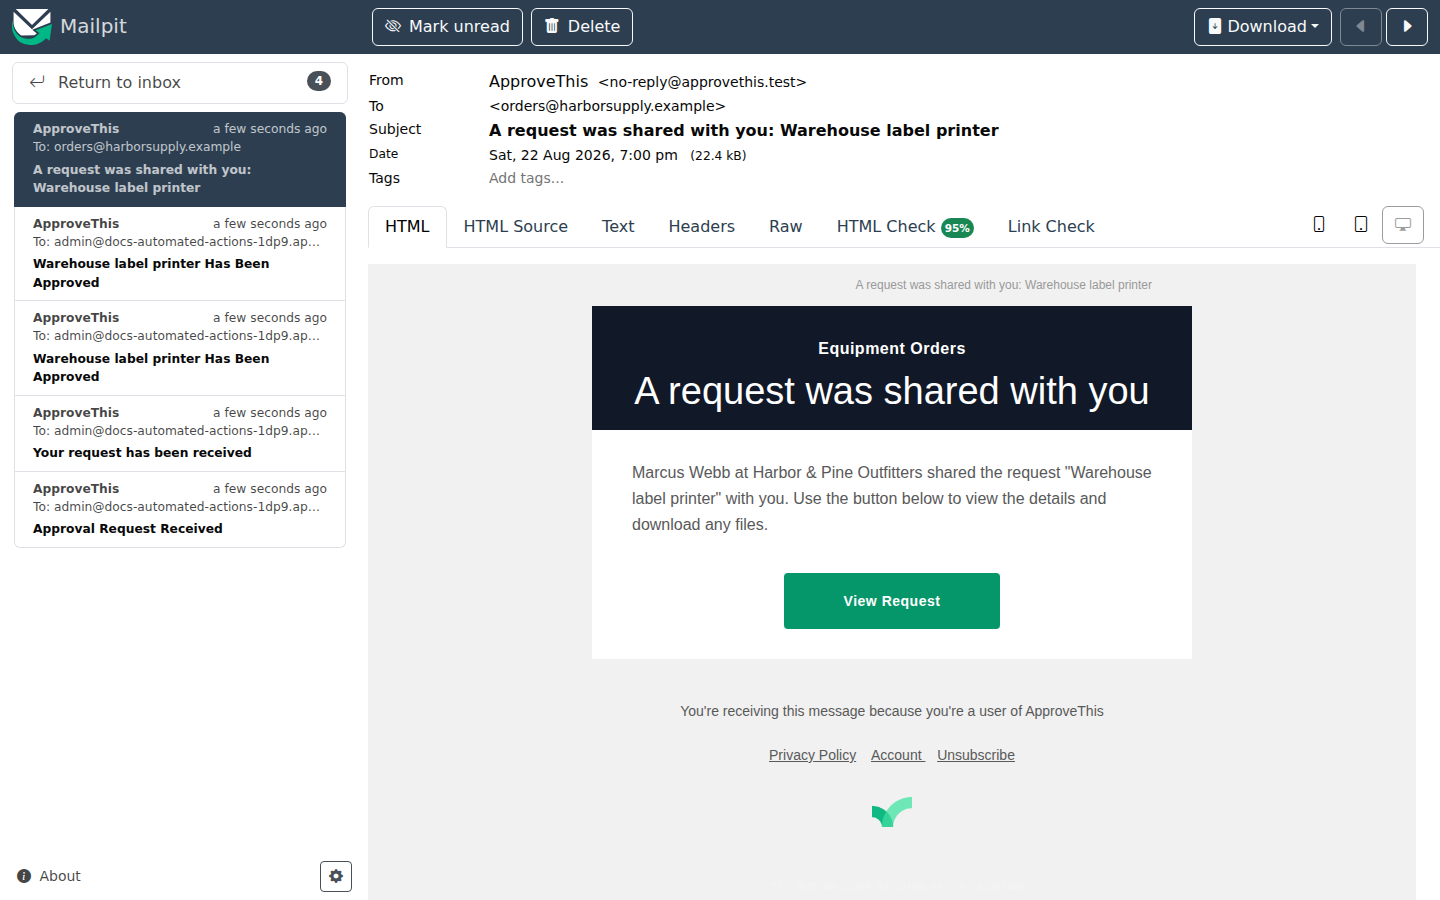
Open the shared-request notification, with a subject such as A request was shared with you: Warehouse label printer. -
Click View Request.
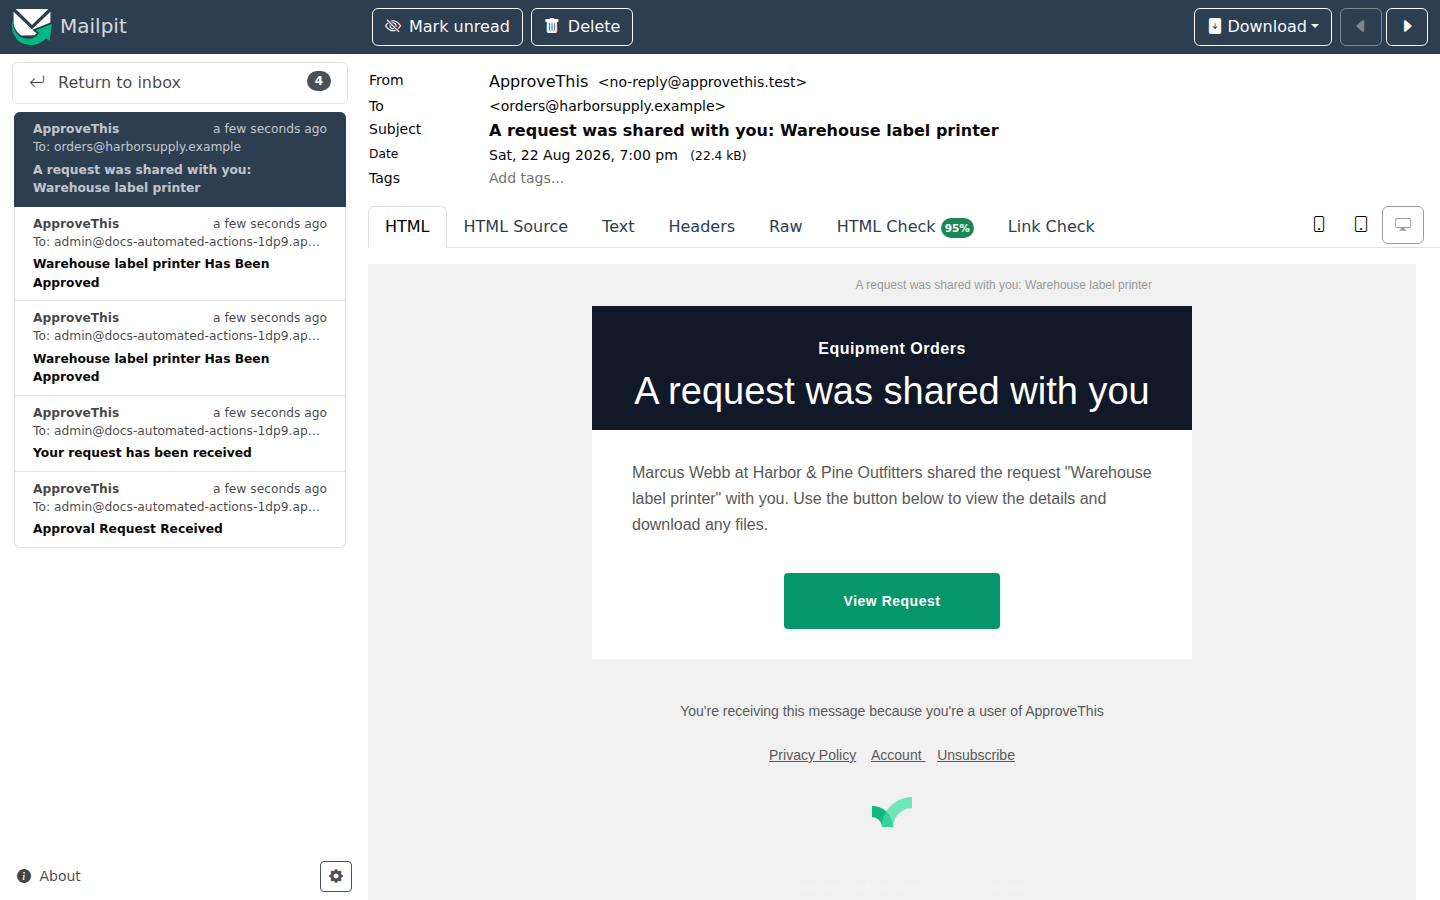
Click View Request.