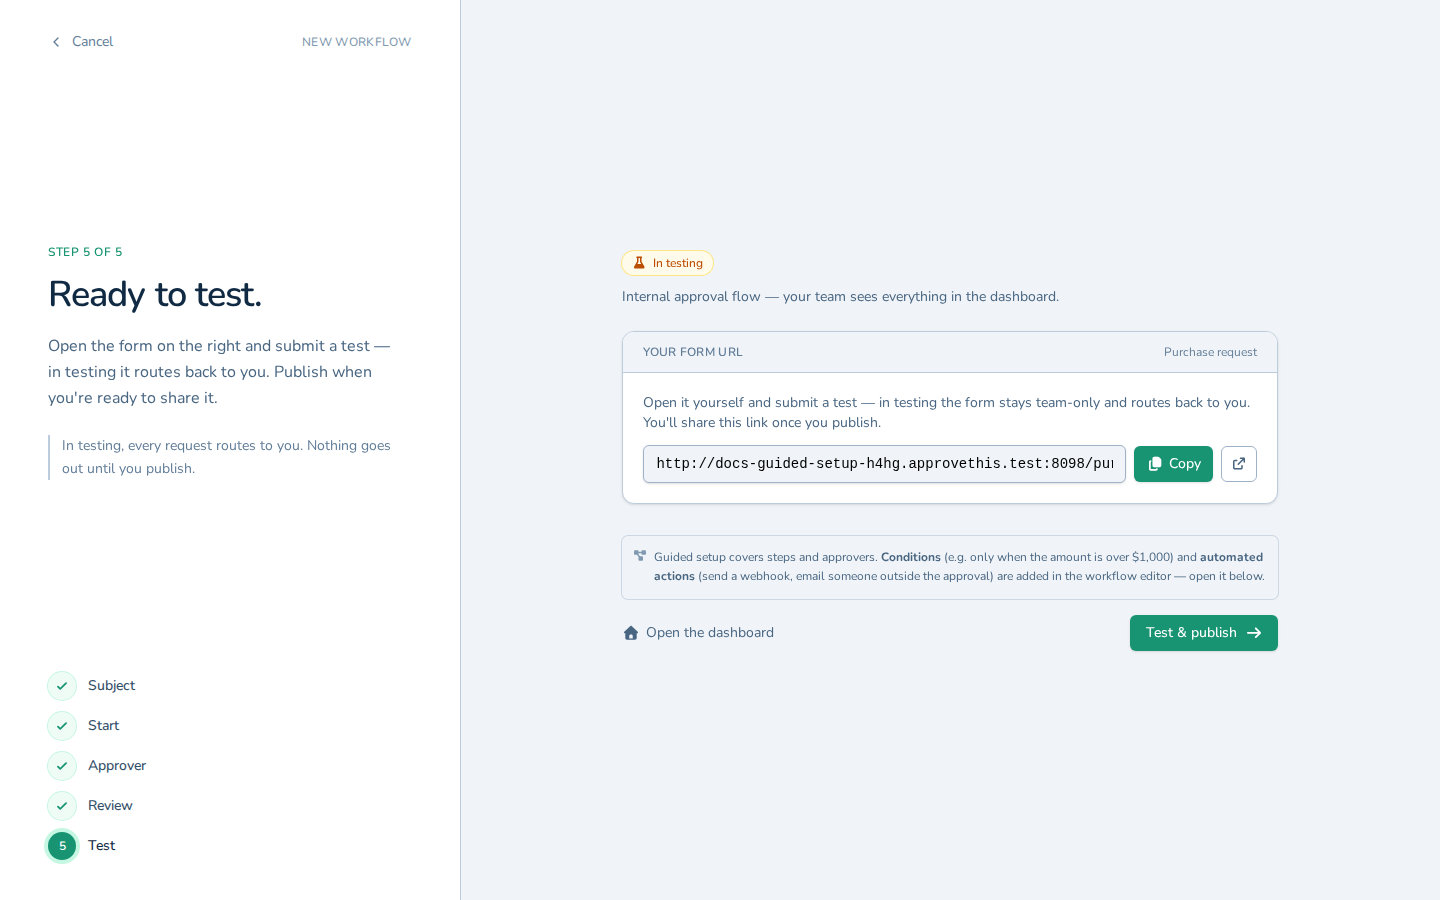
The Guided Setup
Answer four questions — what you're approving, how requests arrive, who approves, and what the form asks — and the guided setup assembles a working workflow, drafted form included, ready to test before anything goes live.
Updated
Building an approval workflow from scratch means deciding its shape, its intake, its approvers, and its form fields all at once. The guided setup breaks that into four questions and assembles the workflow — draft form included — from your answers. This walkthrough is for Administrators setting up a new workflow in their workspace, and it ends at the point where the workflow is ready to test rather than live.
Who this is for: an Administrator.
Create a workflow by answering the wizard's questions
Starting a workflow from a blank canvas invites guesswork about what to configure first; the wizard asks for the approval type, the intake channel, the approver, and the form fields in order, then hands back a draft you can try before publishing.
-
Sign in as an Administrator.
-
Go to
https://app.approvethis.com/flows/new.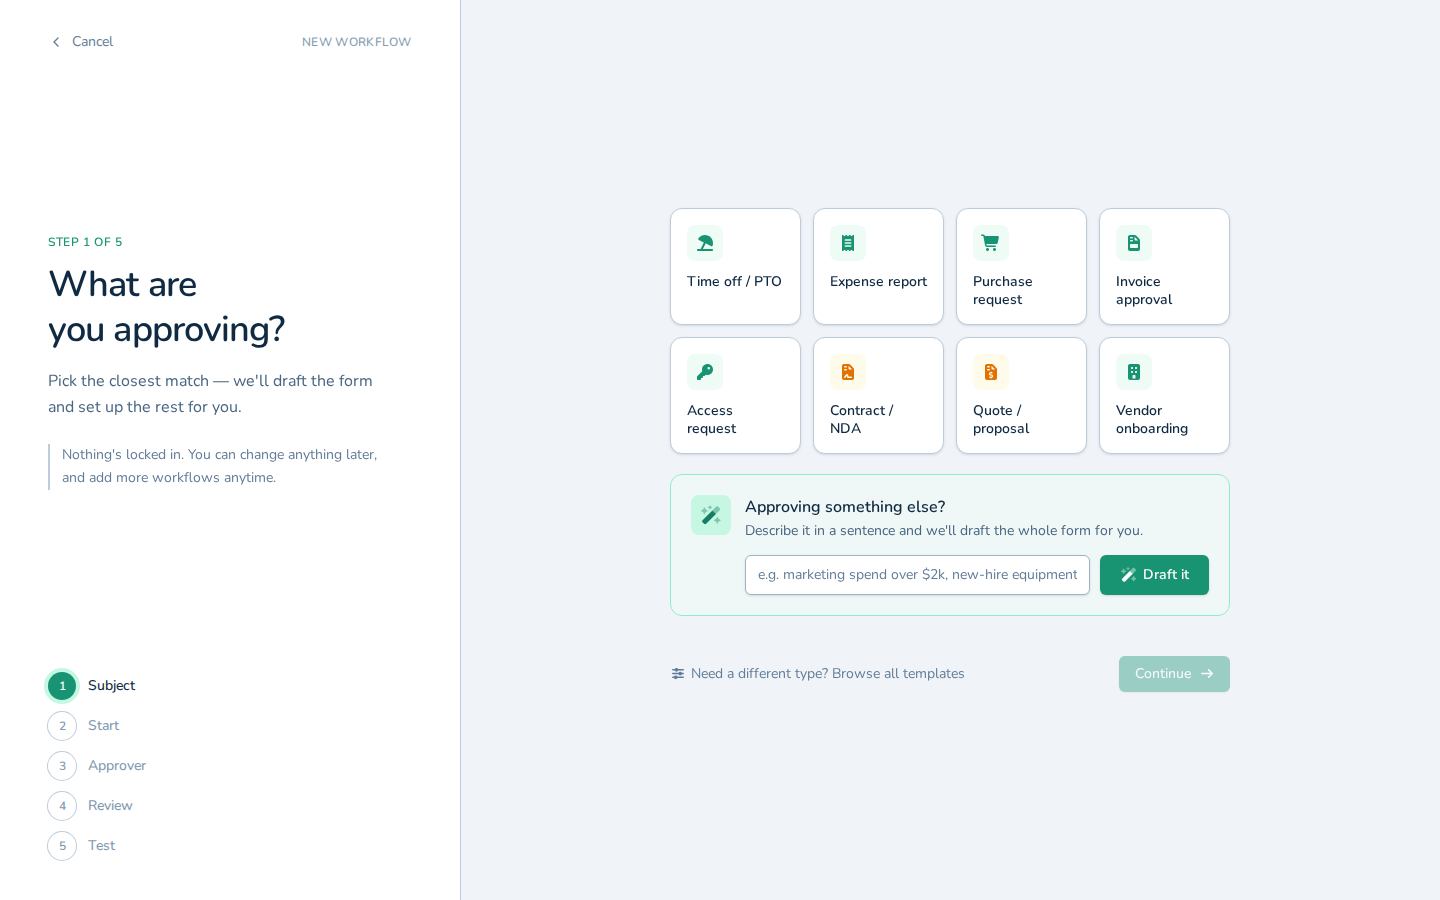
Go to https://app.approvethis.com/flows/new. -
Choose the kind of approval you're setting up — the example screenshots show Purchase request selected.
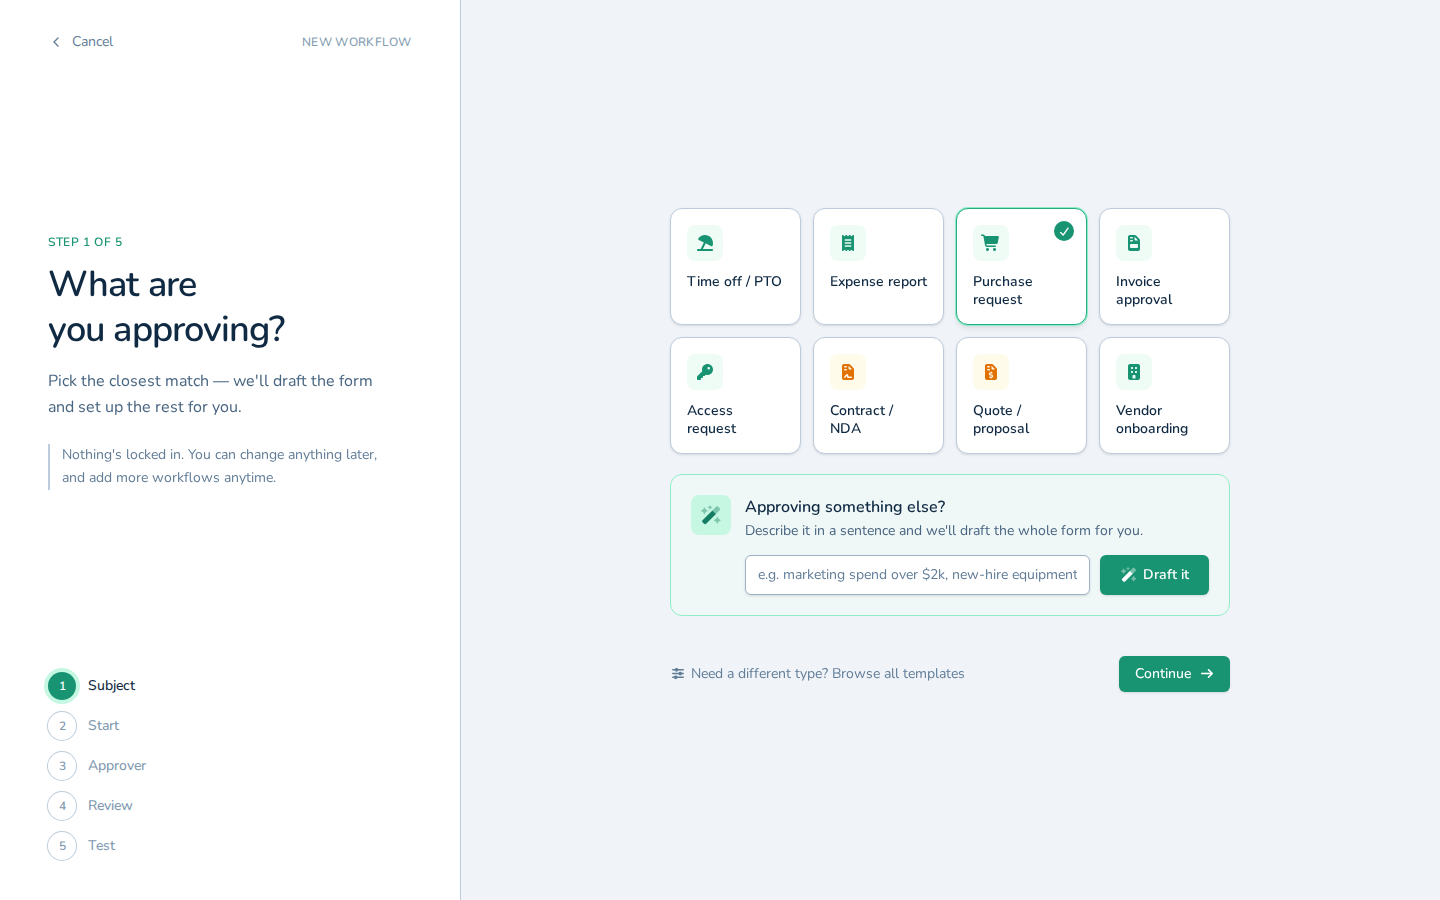
Choose the kind of approval you're setting up — the example screenshots show Purchase request selected. -
Click Continue.
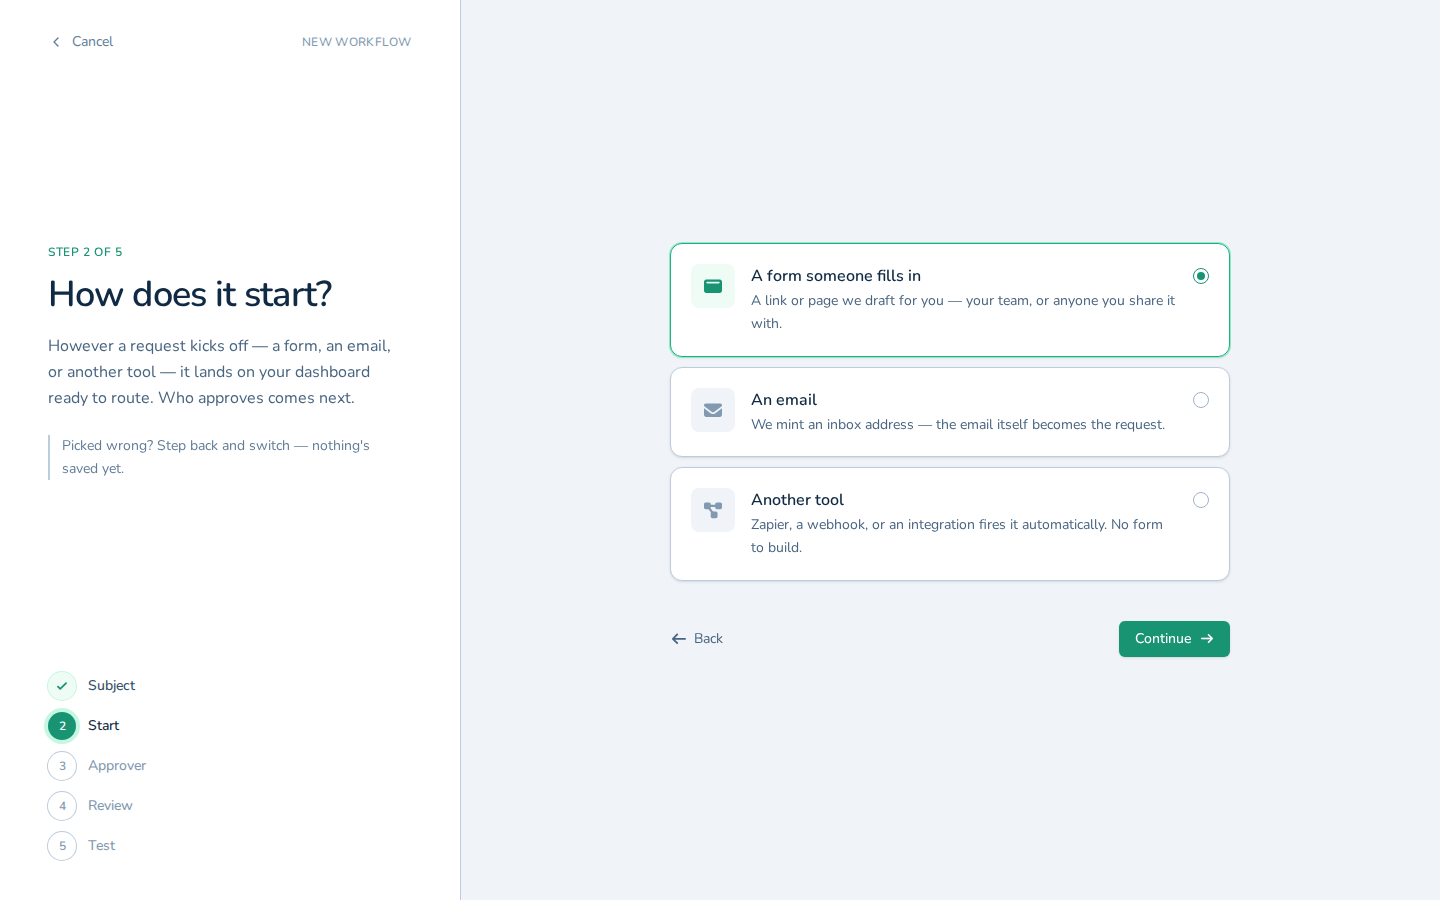
Click Continue. -
Choose how requests will arrive, such as A form someone fills in for submissions through a form.
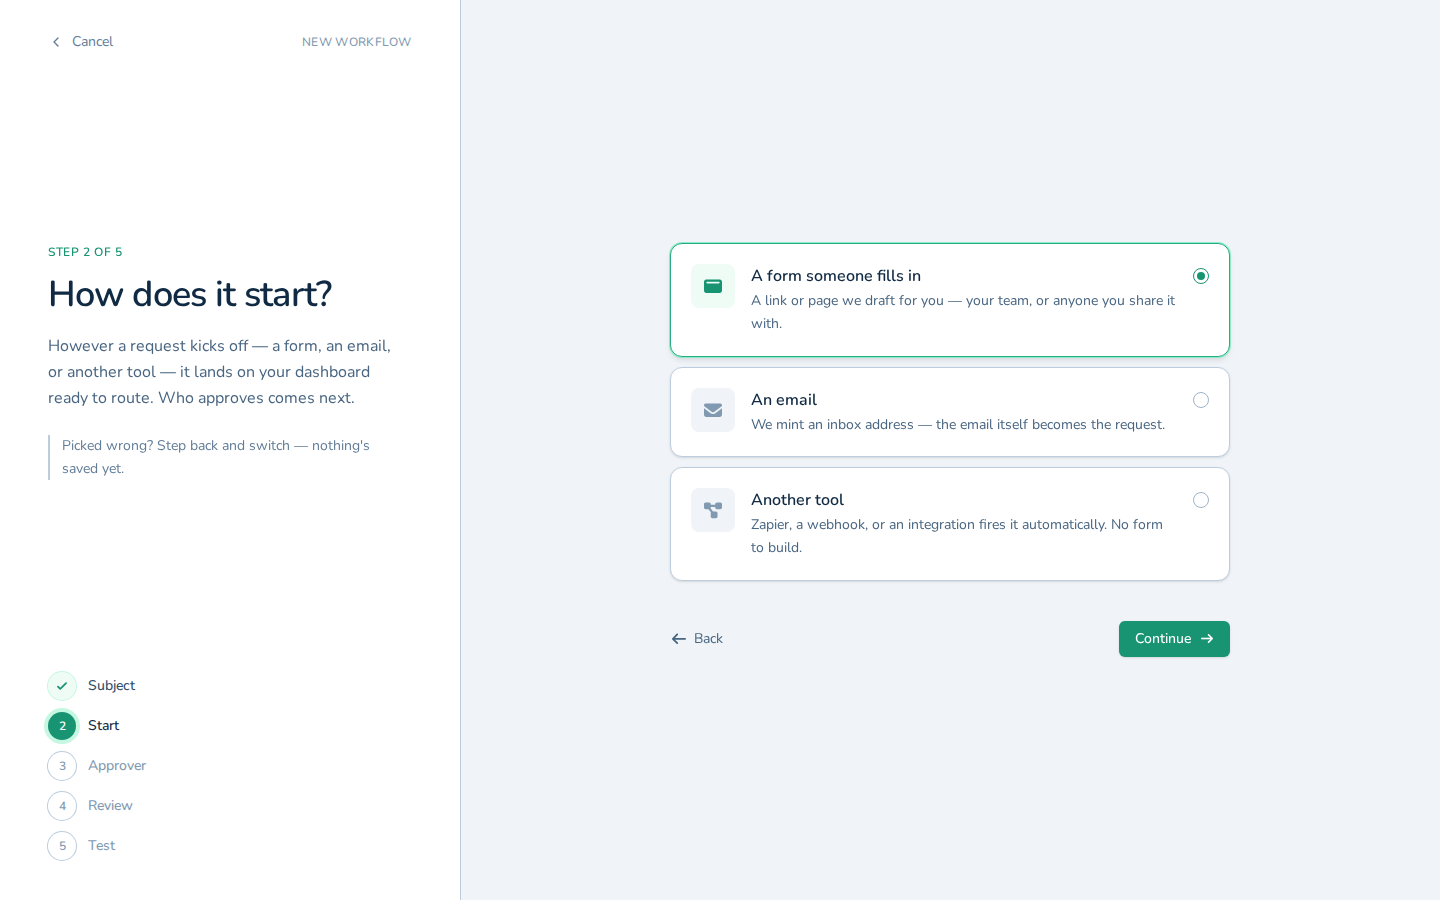
Choose how requests will arrive, such as A form someone fills in for submissions through a form. -
Click Continue.
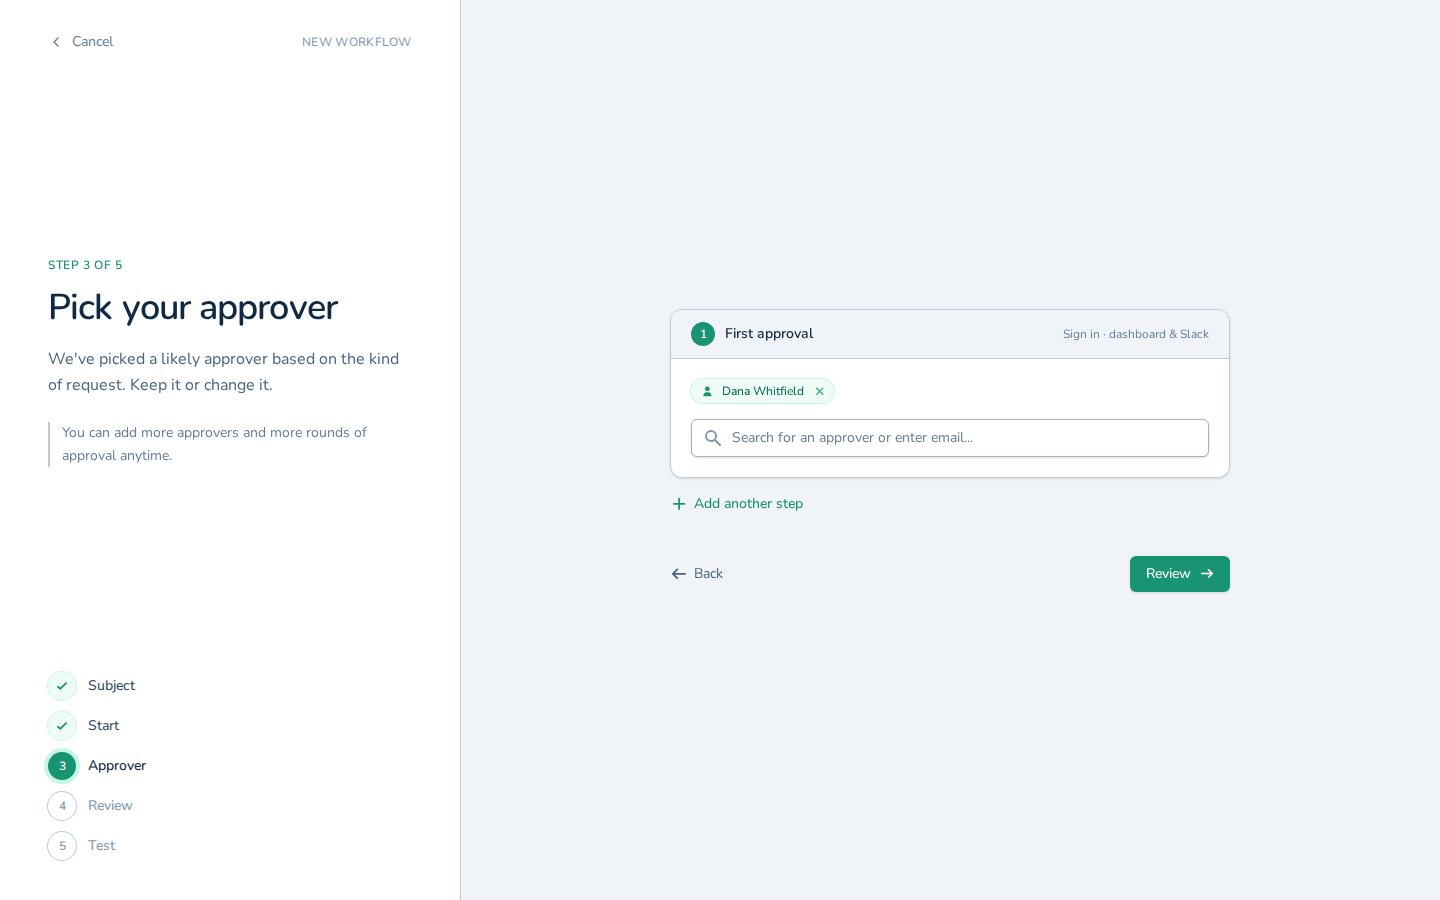
Click Continue. -
Click Search for an approver or enter email....
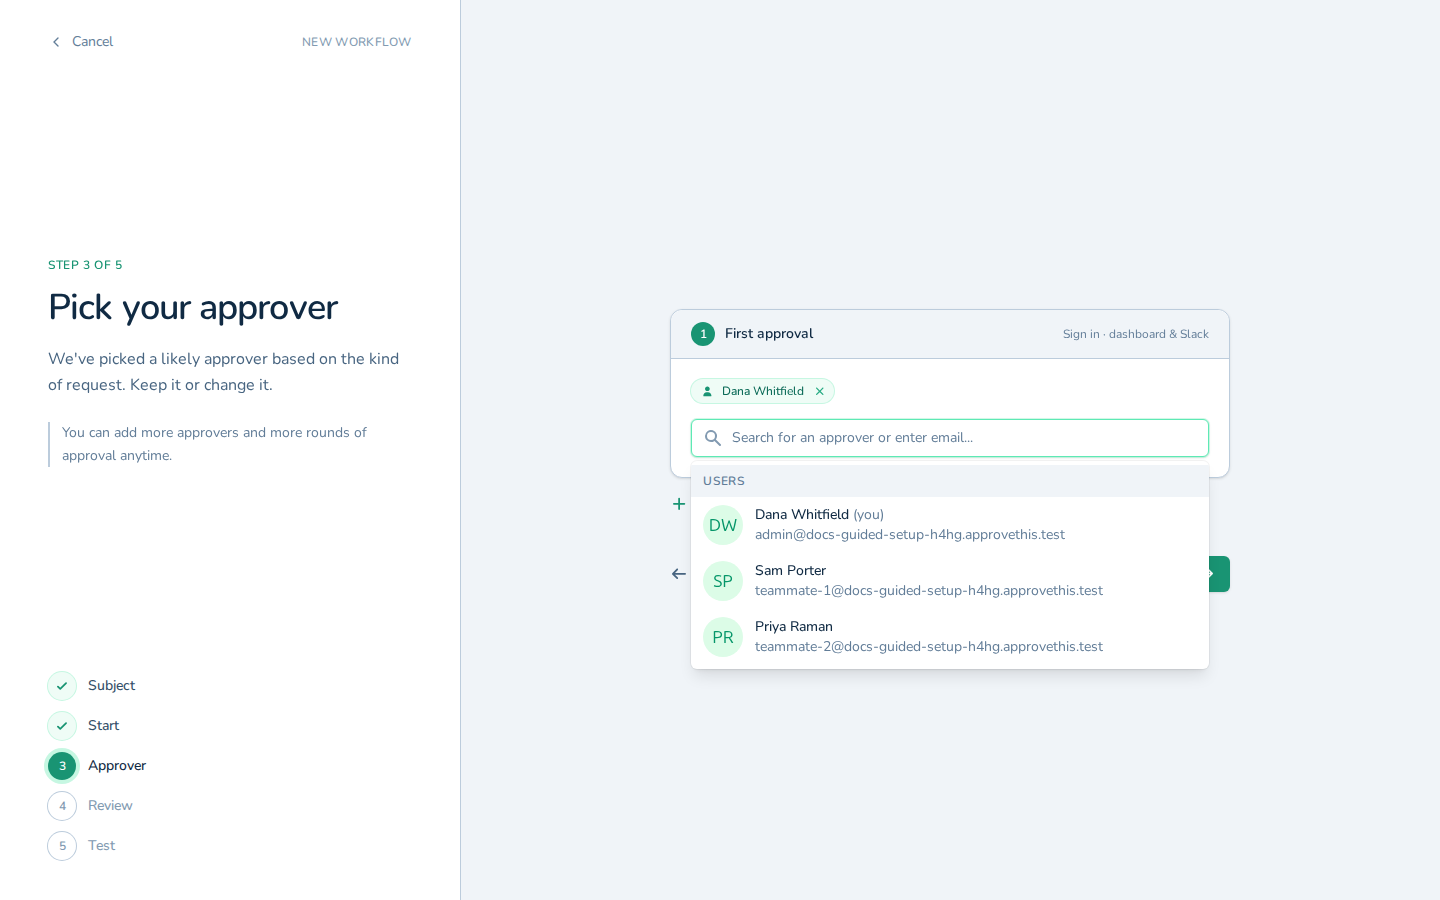
Click Search for an approver or enter email.... -
Type the name or email address of the person who should approve these requests into Search for an approver or enter email... (the example uses
Sam).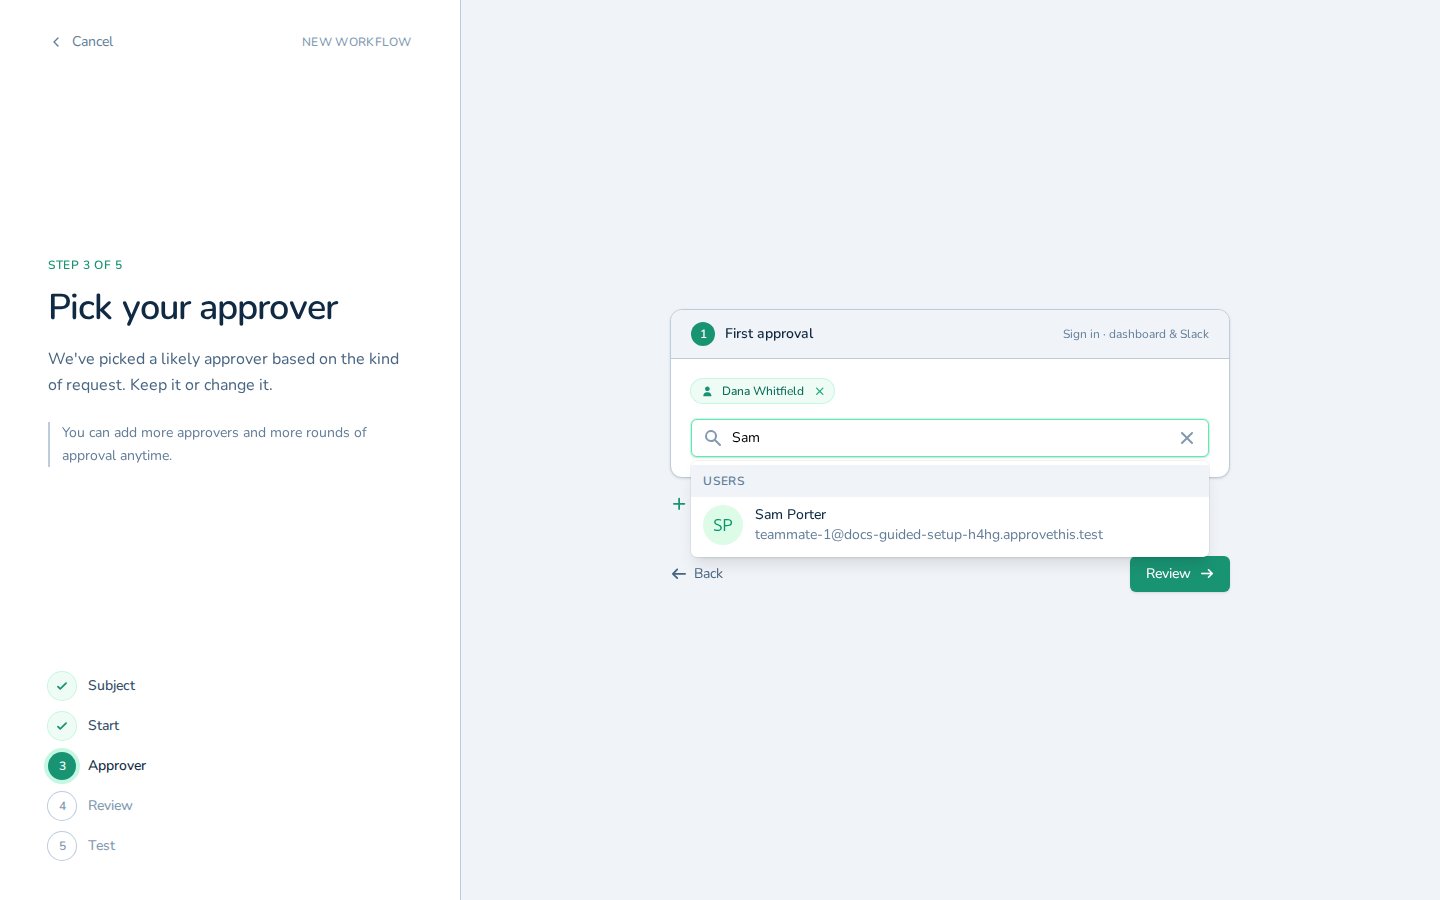
Type the name or email address of the person who should approve these requests into Search for an approver or enter email... (the example uses Sam). -
Click the person you searched for in the results (Sam Porter in the example screenshots).
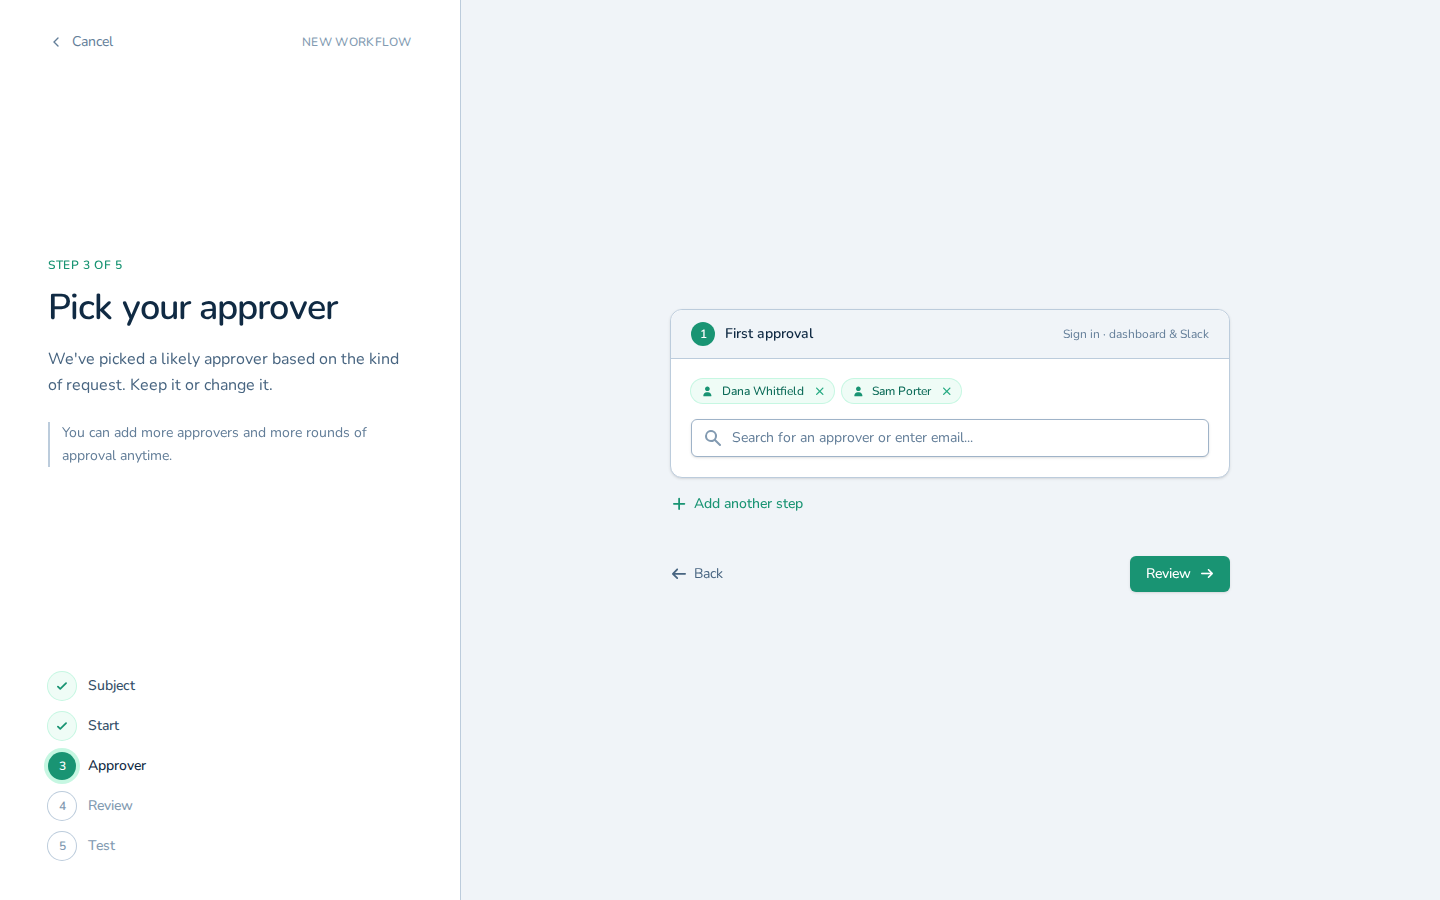
Click the person you searched for in the results (Sam Porter in the example screenshots). -
Click Review.
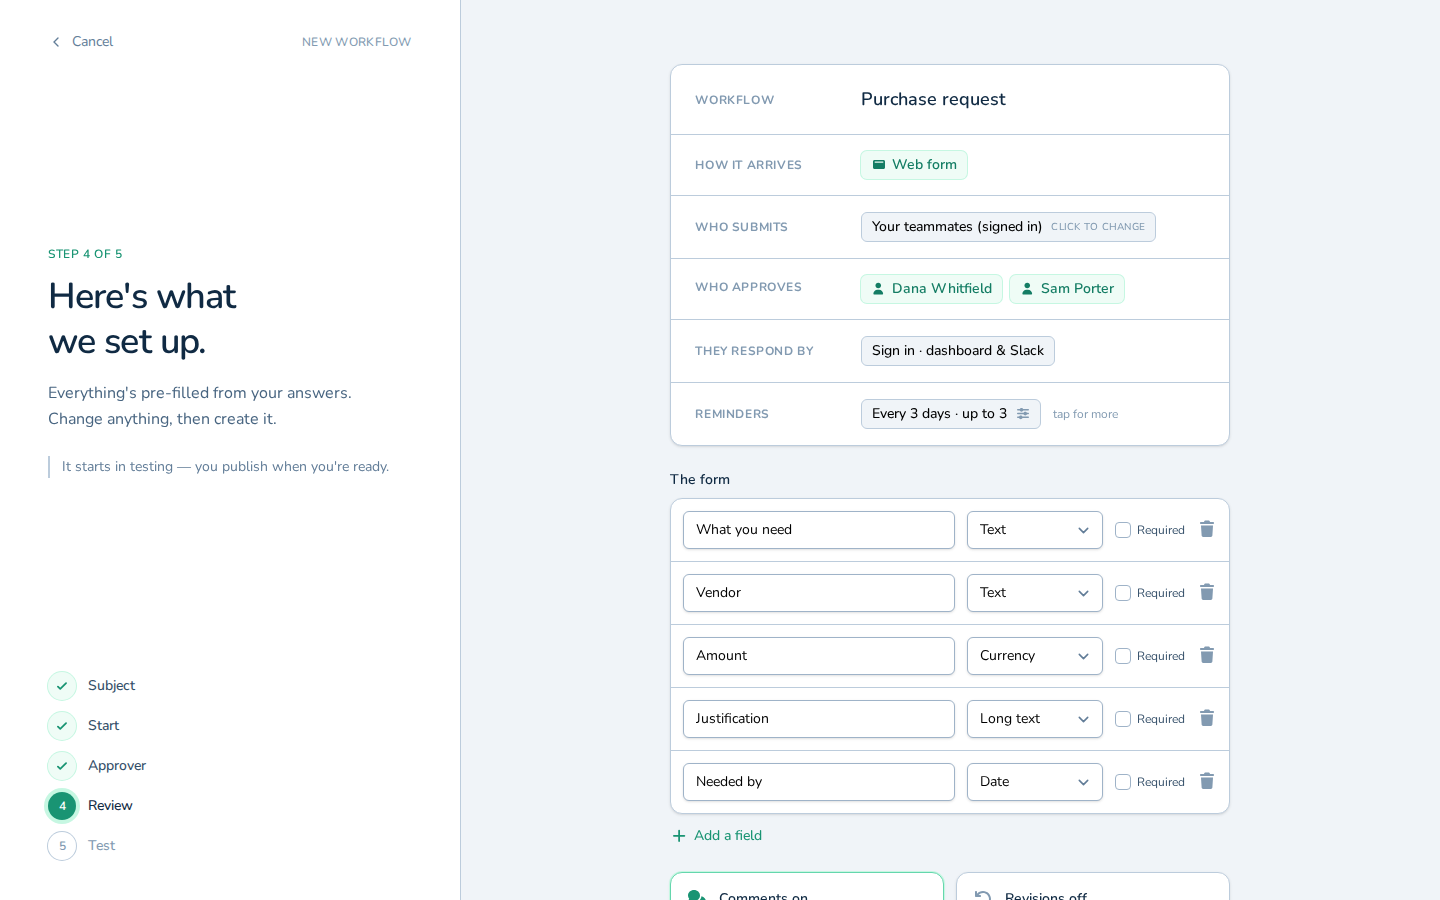
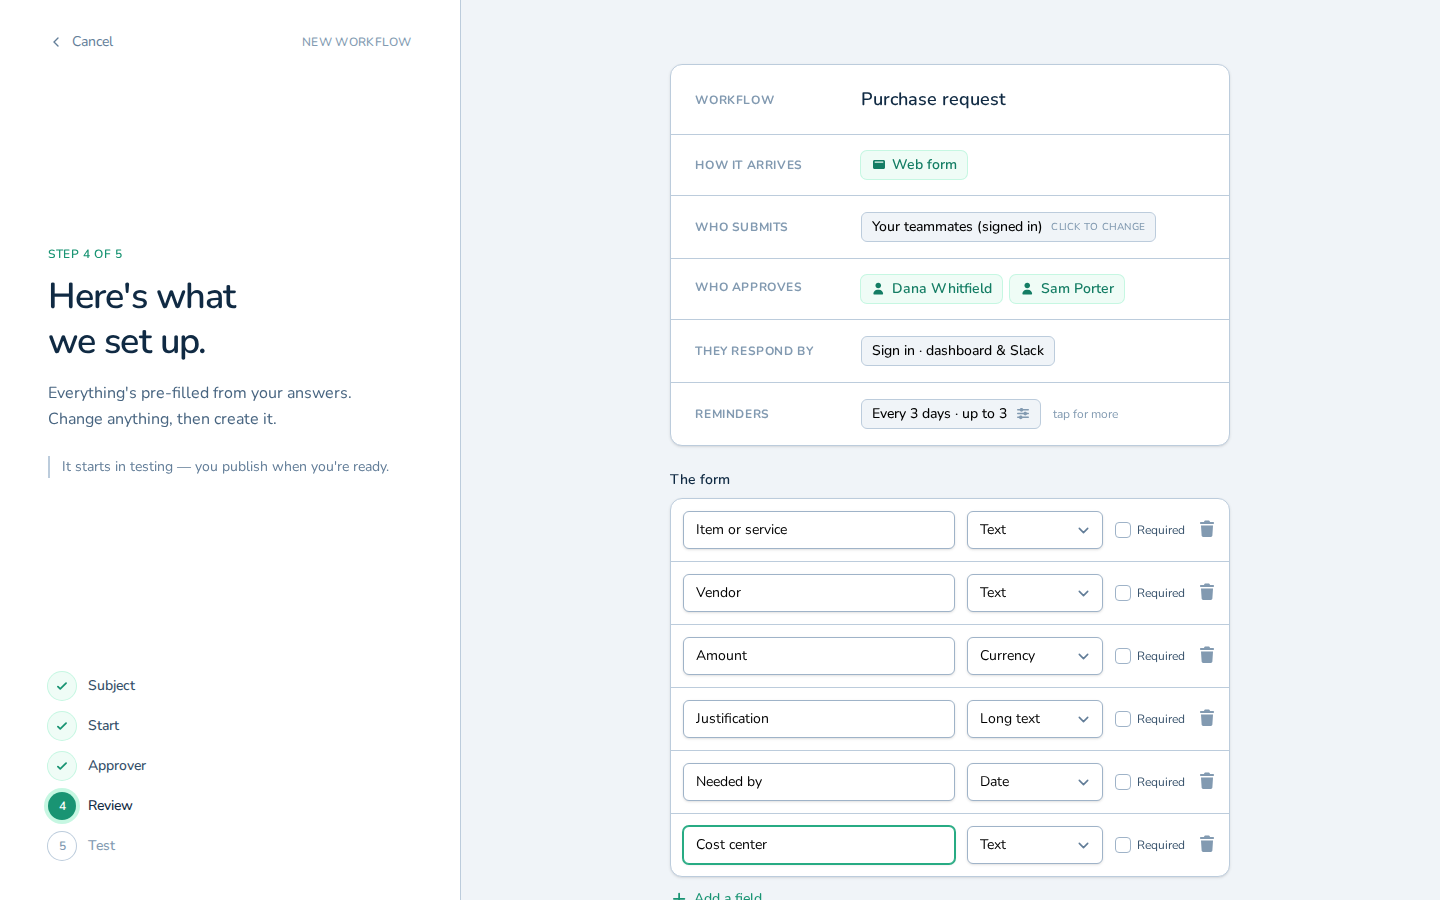
- In Field label, name the first thing the form should capture — e.g.,
Item or service.
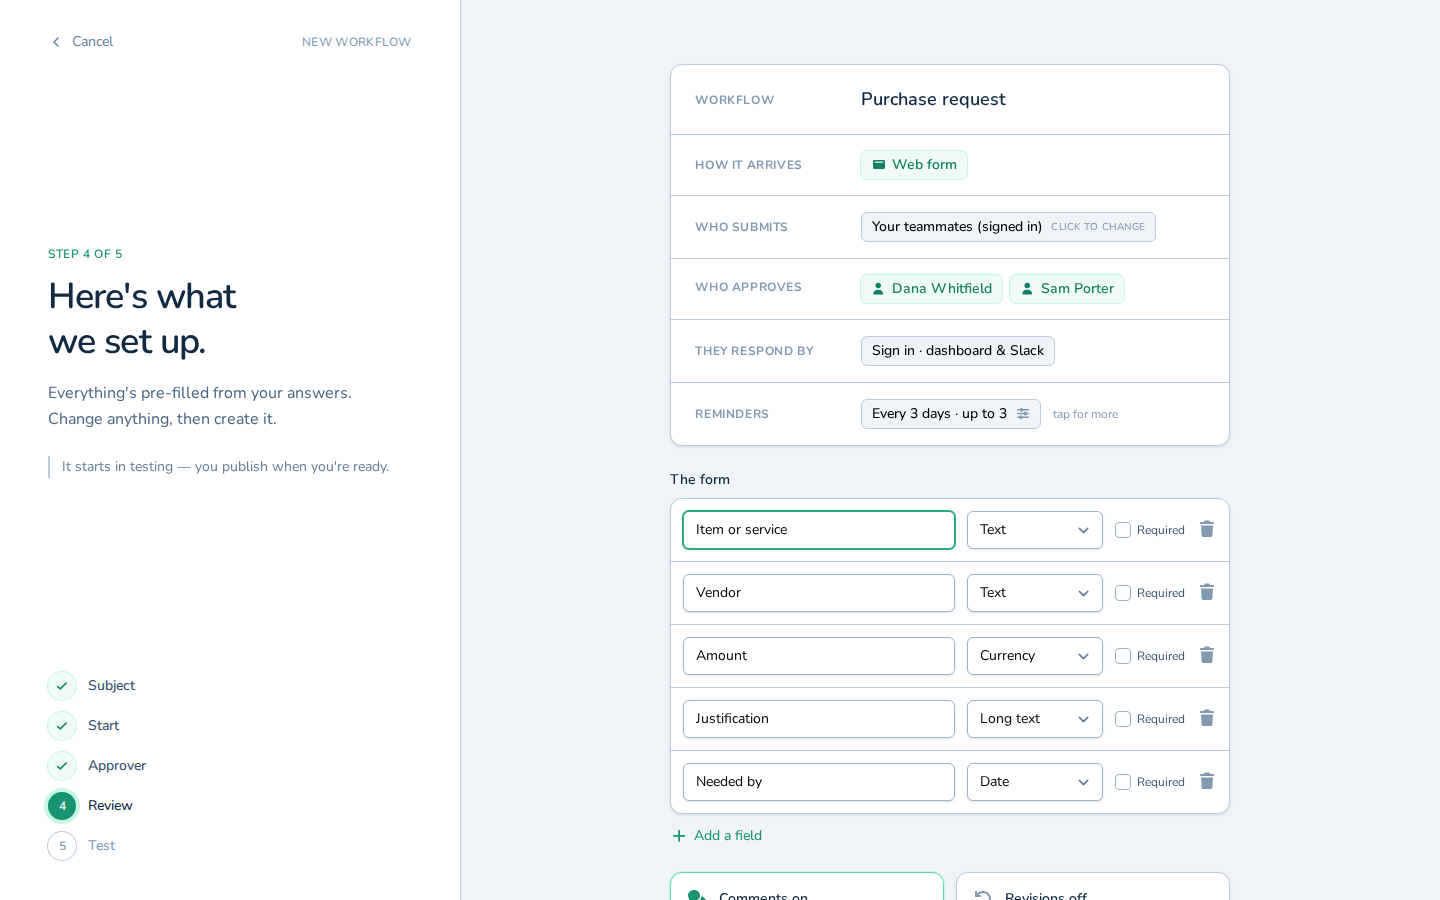
- Click Add a field.
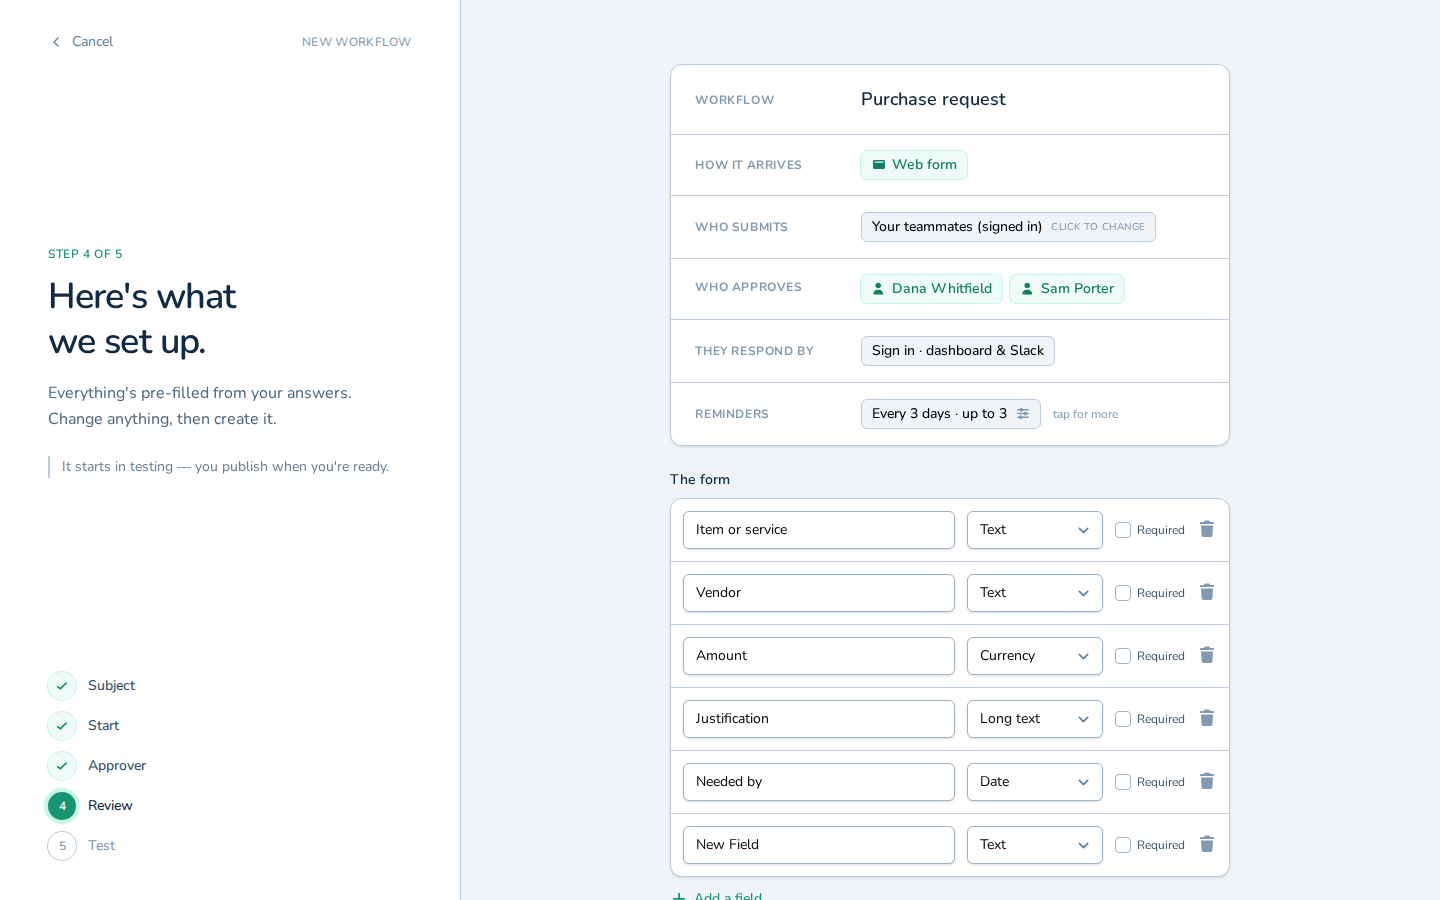
- Name the next field in Field label, such as
Cost center.
- Click Revisions.
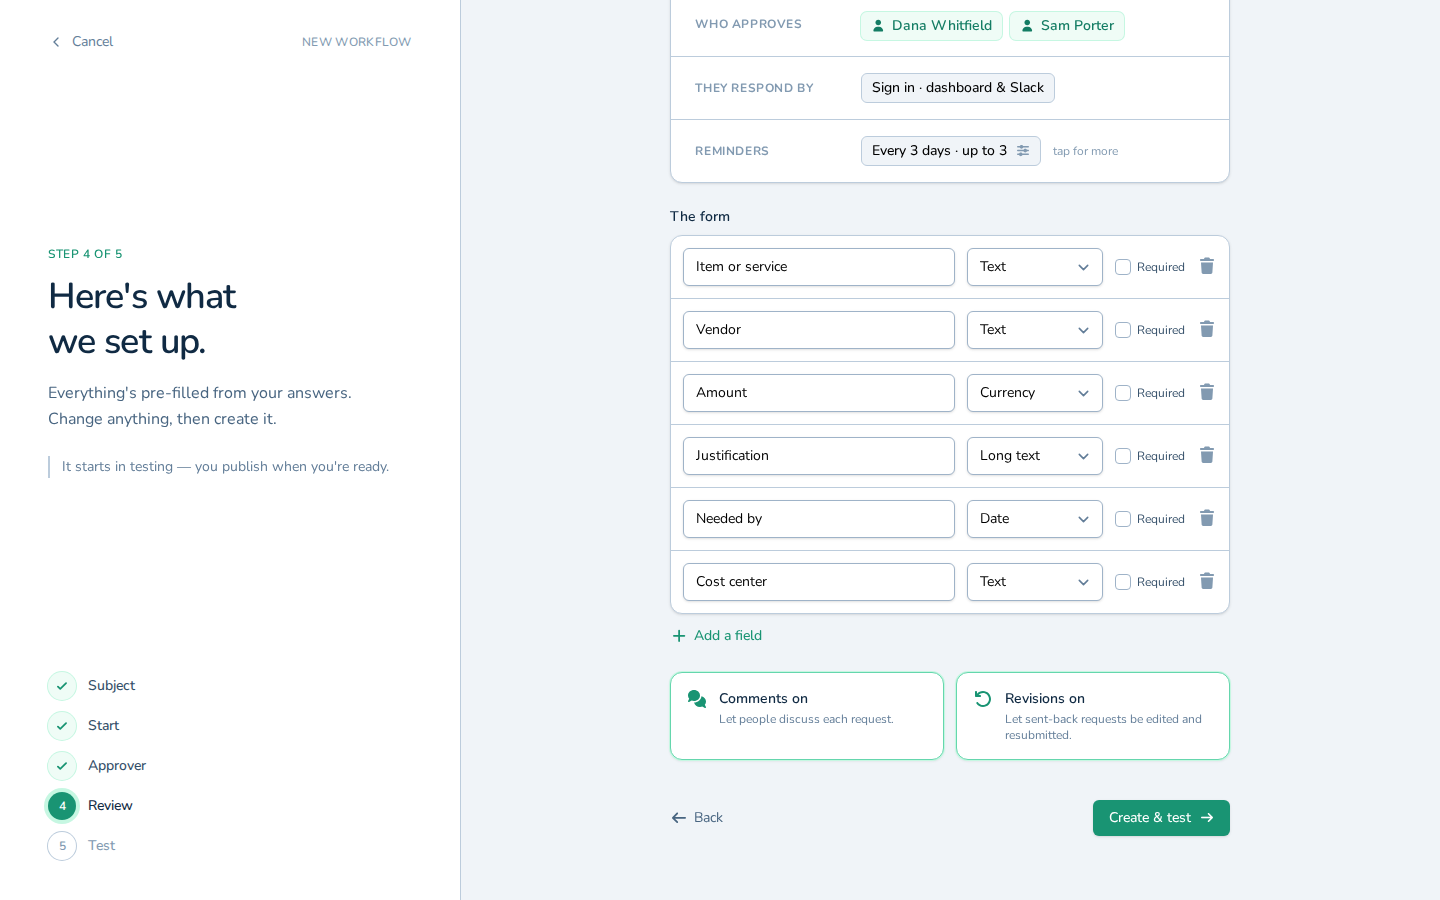
- Click Create & test.