Approval Workflows
The whole point, end to end — someone asks, the right person signs off, and everyone can see what happened. One request's full life: submitted through a form, routed to its approver, decided.
Updated
A request's full life runs from the form a requester fills out to the moment an approver signs off. This guide walks both halves of that trip: submitting through a published workflow's form, then opening the resulting request as the approver and deciding it. It's written for Requesters submitting work and Administrators who act on it. You'll need a published workflow with a form already in place — the example screenshots use the Purchase Requests workflow.
Who this is for: a Requester or an Administrator.
Submit a request through the flow's form
Submitting through the form is how work enters a workflow: the fields you fill in become the request the approver reviews. Each submission counts against your workspace's monthly request volume, which is set by your workflow tier (25–1000 per month).
-
Sign in as the requester.
-
In Item, enter a short description of what you're requesting — the example uses
Team offsite venue deposit.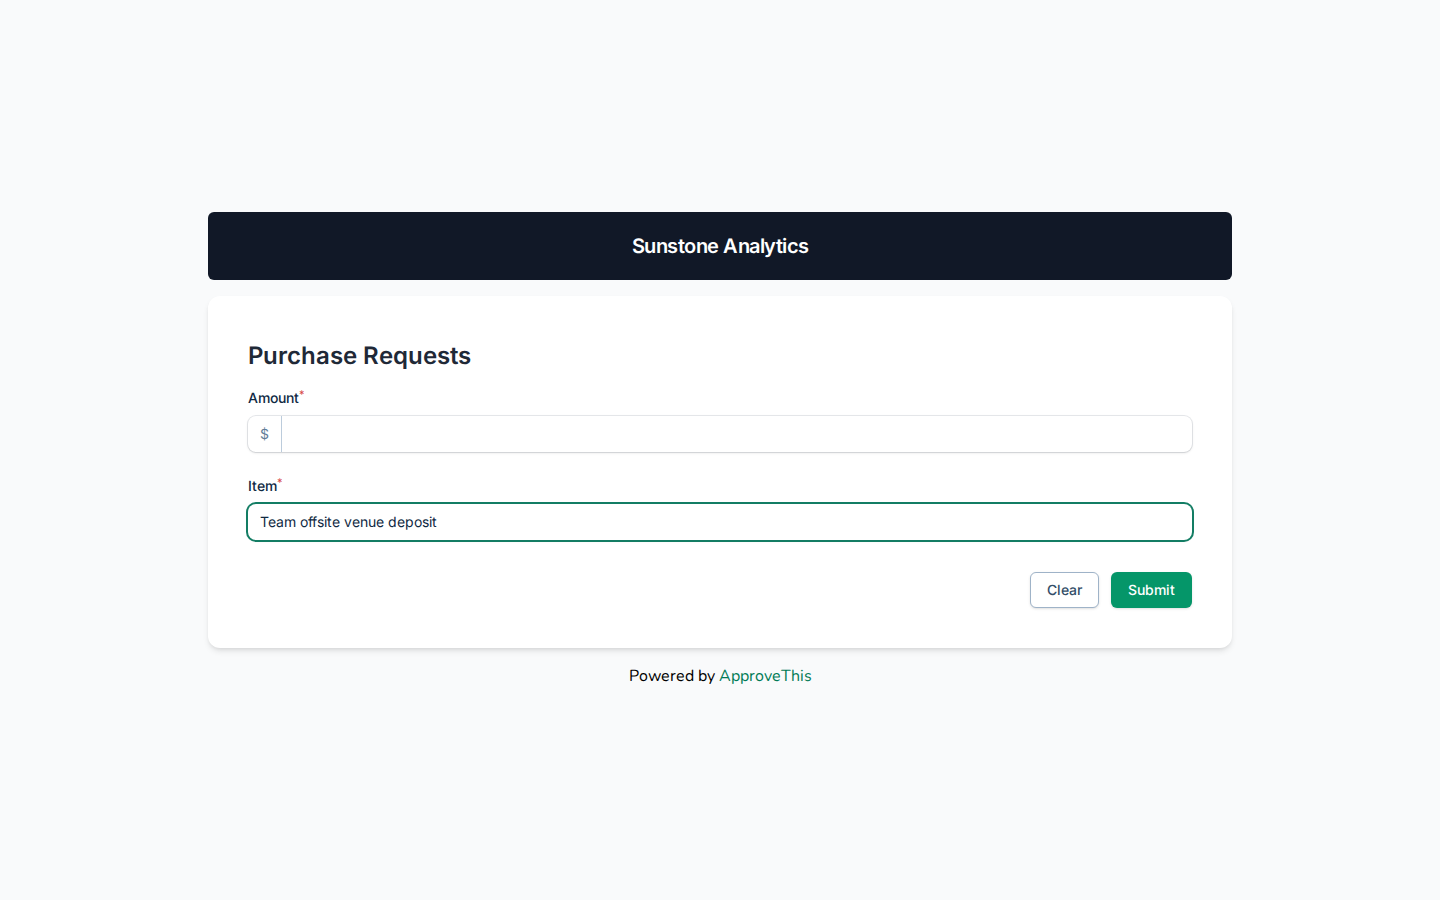
In Item, enter a short description of what you're requesting — the example uses Team offsite venue deposit. -
In Amount, enter the figure the approver needs to see, such as
1200.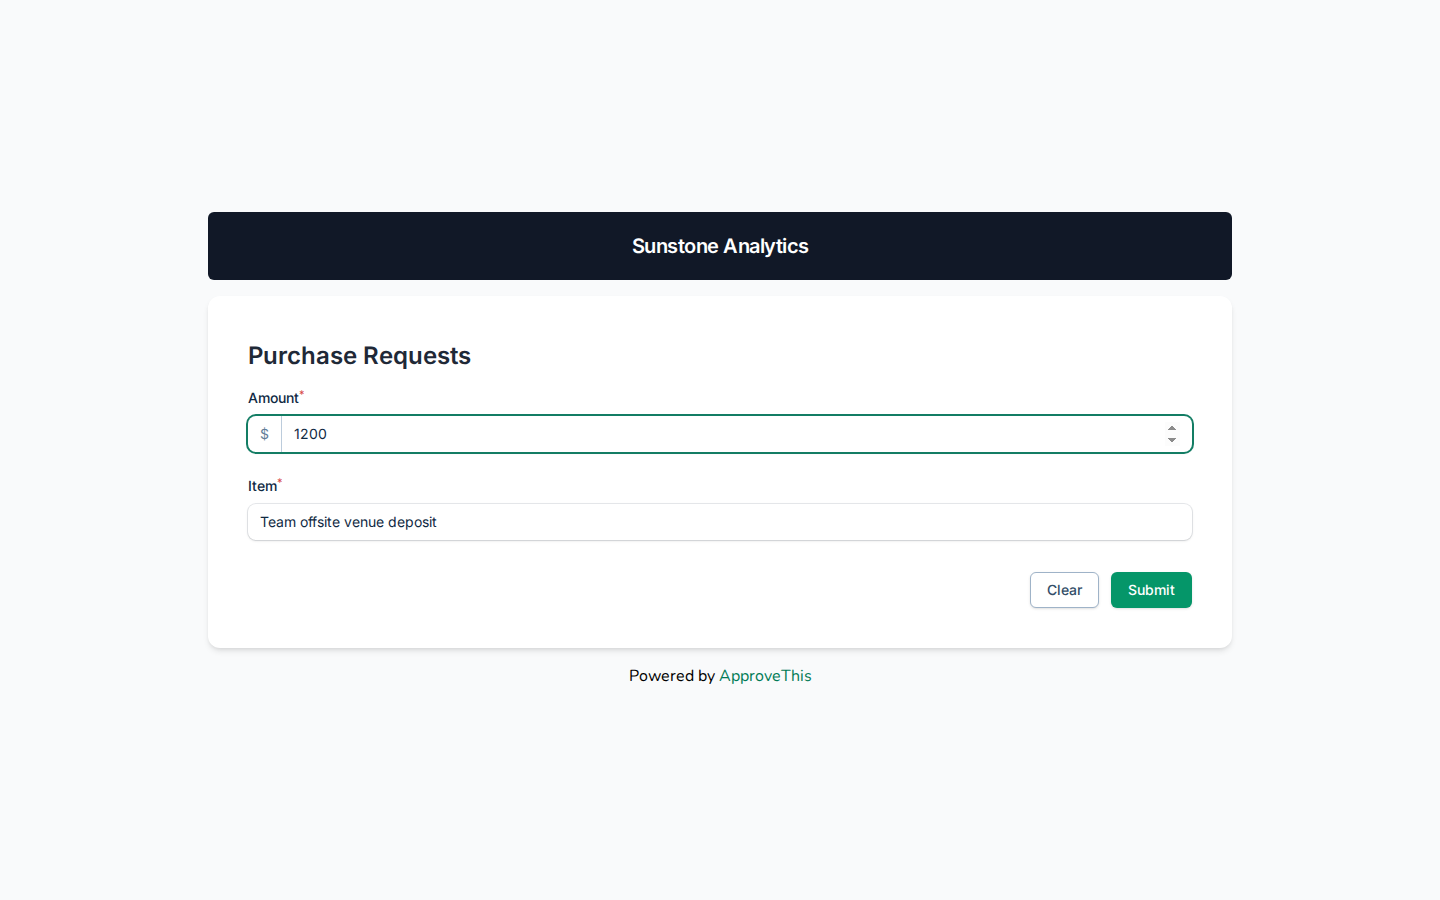
In Amount, enter the figure the approver needs to see, such as 1200. -
Click Submit.
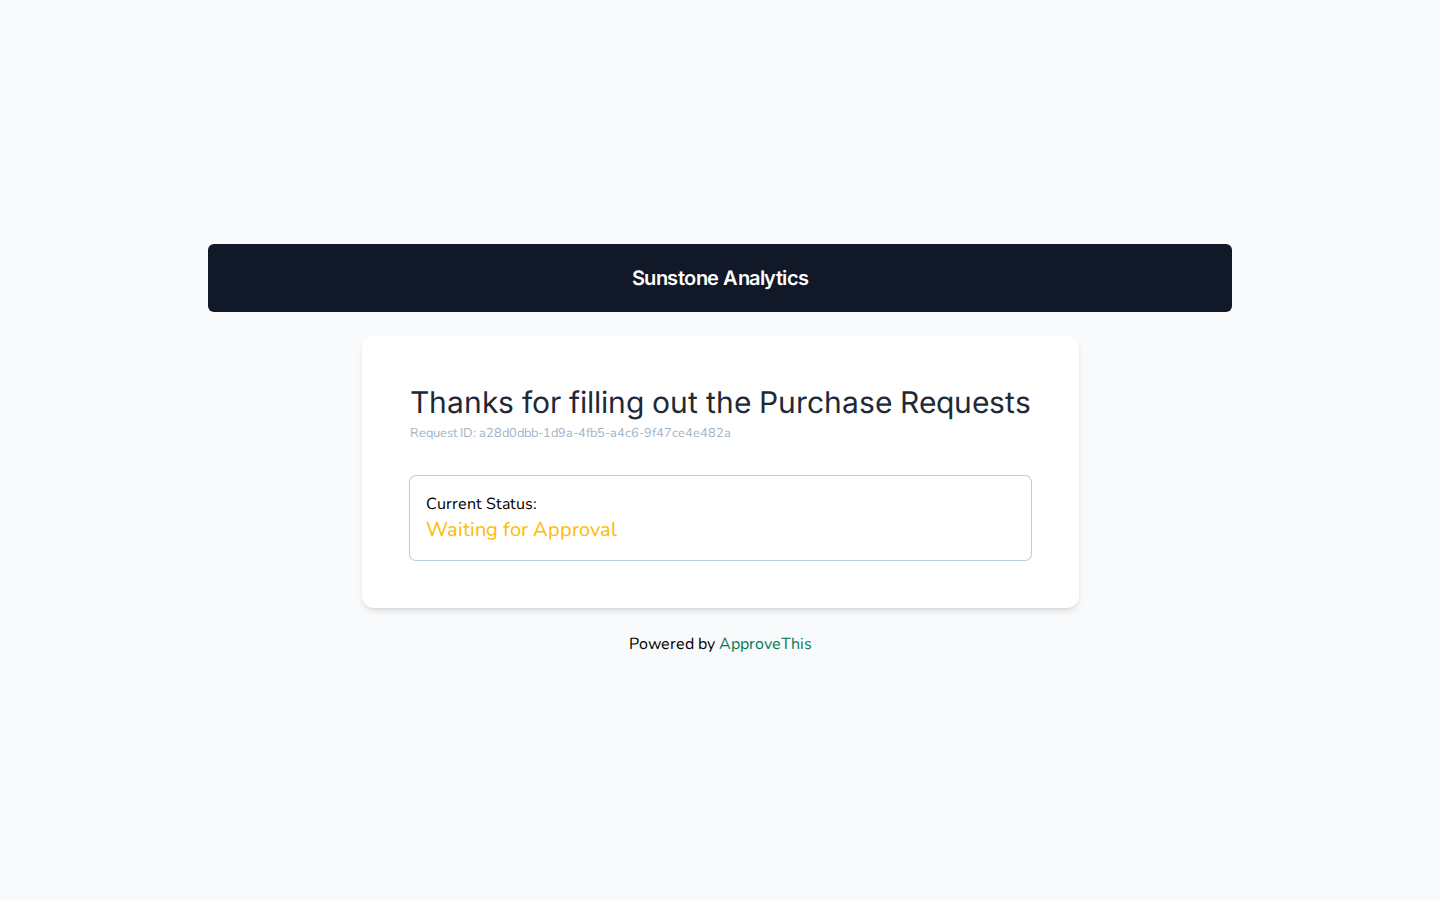
Click Submit.
Approve the request
A submitted request sits with its approver until someone decides it, and that decision is what closes the loop for the requester. Opening the request from the workflow's list lets you read the submitted values before you approve.
-
Sign in as the admin.
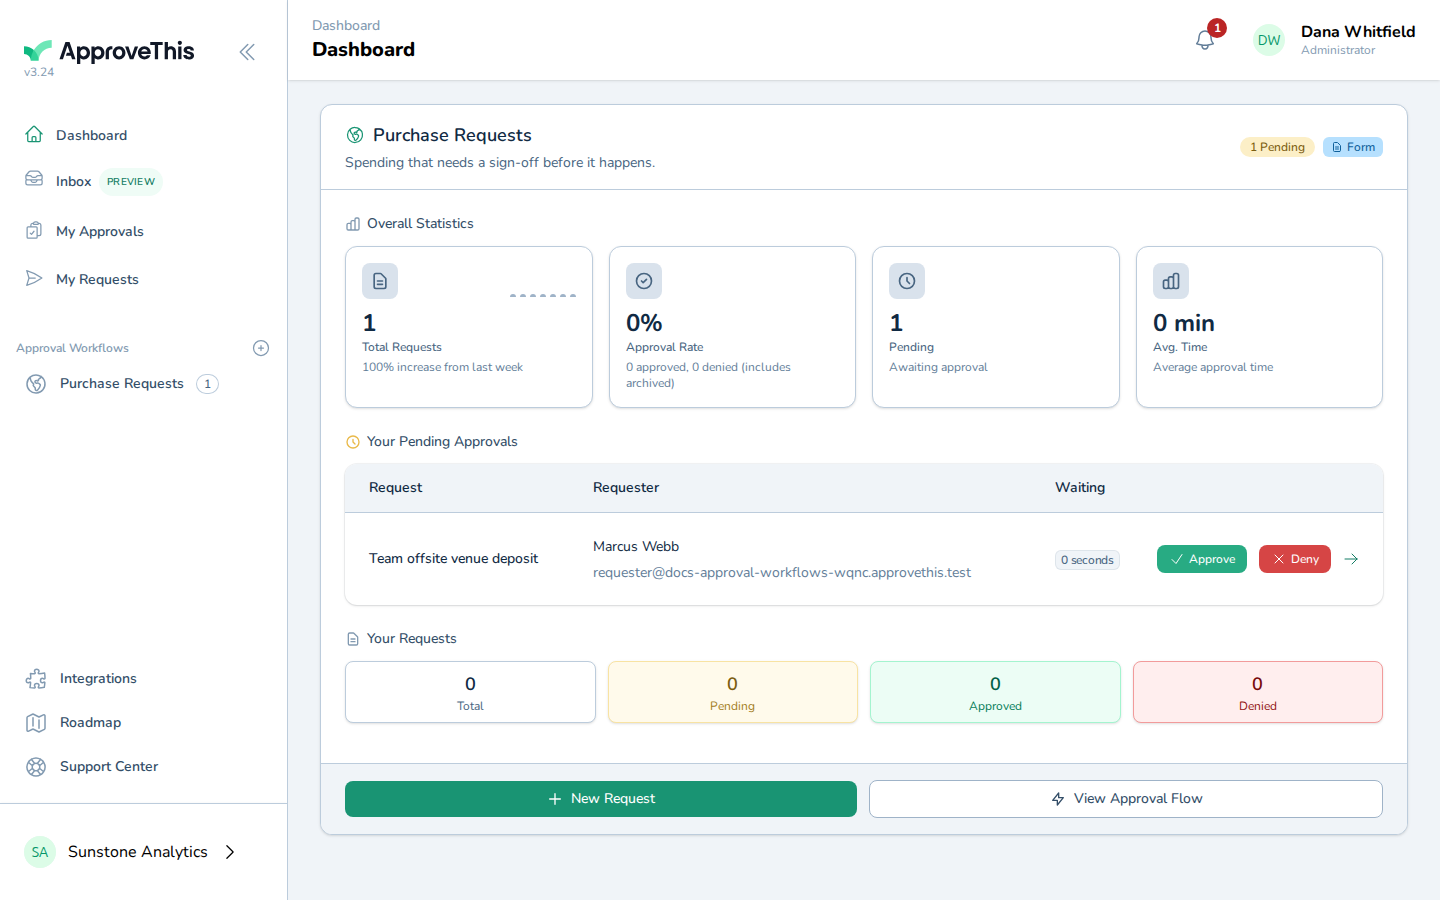
Sign in as the admin. -
Click the workflow holding the request you need to review — Purchase Requests in the example screenshots.
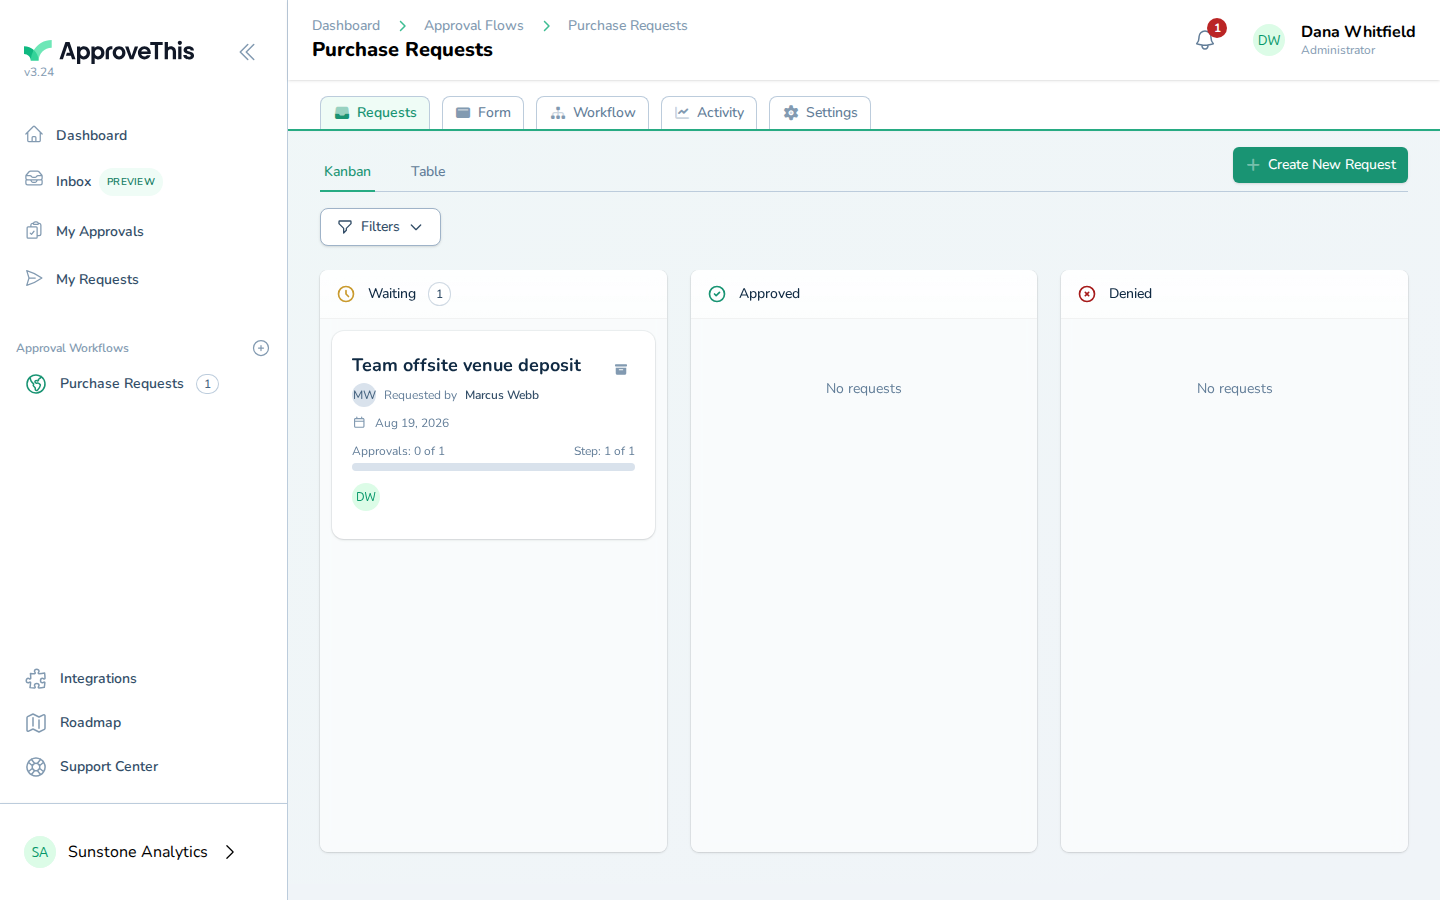
Click the workflow holding the request you need to review — Purchase Requests in the example screenshots. -
Click Table to list the workflow's requests.
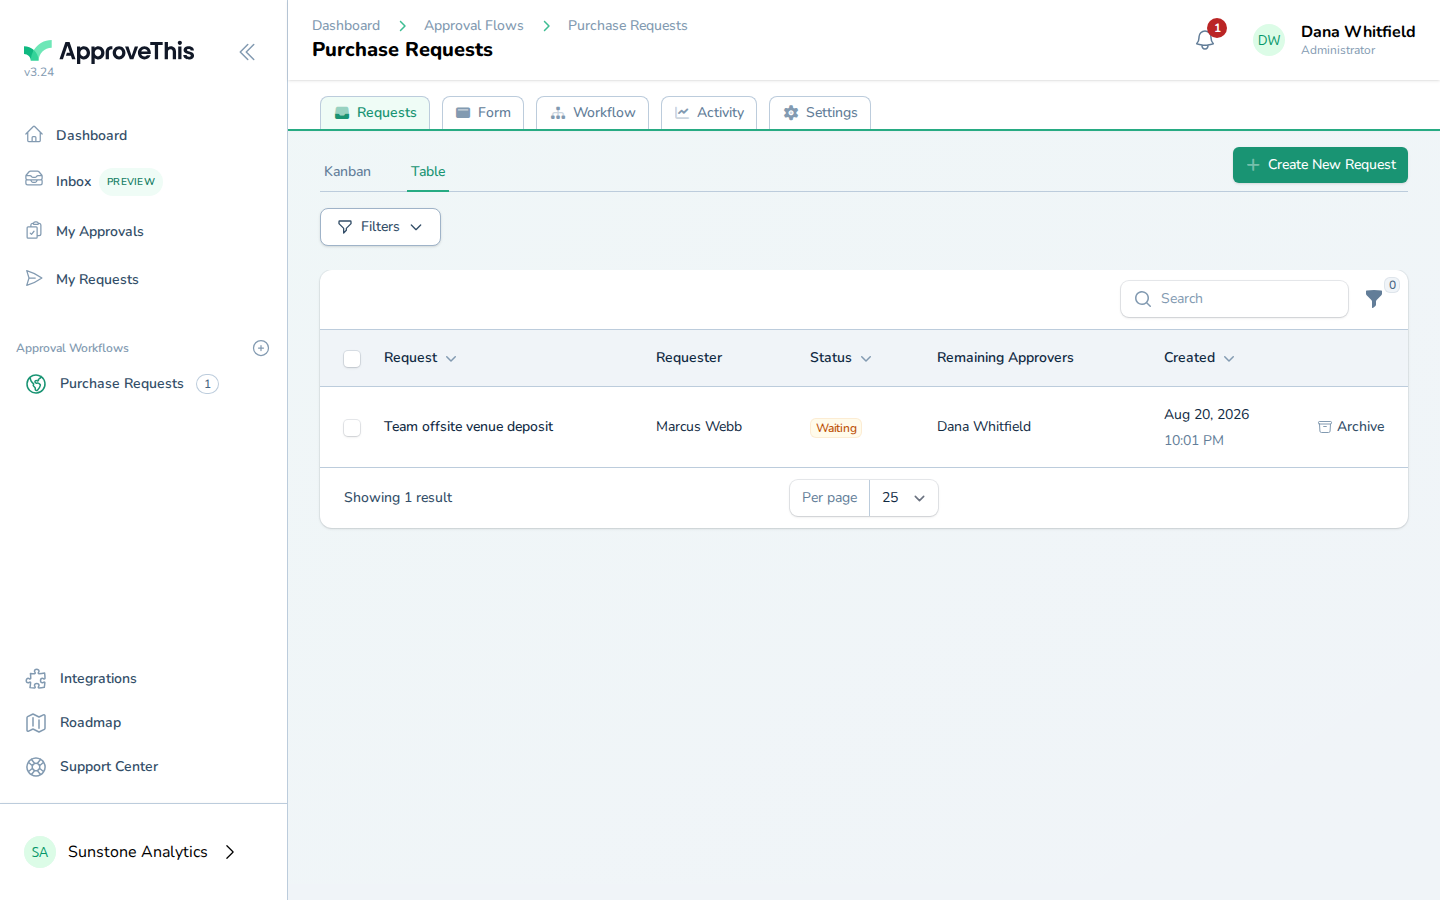
Click Table to list the workflow's requests. -
Click the request you're reviewing; the example row is Team offsite venue deposit.
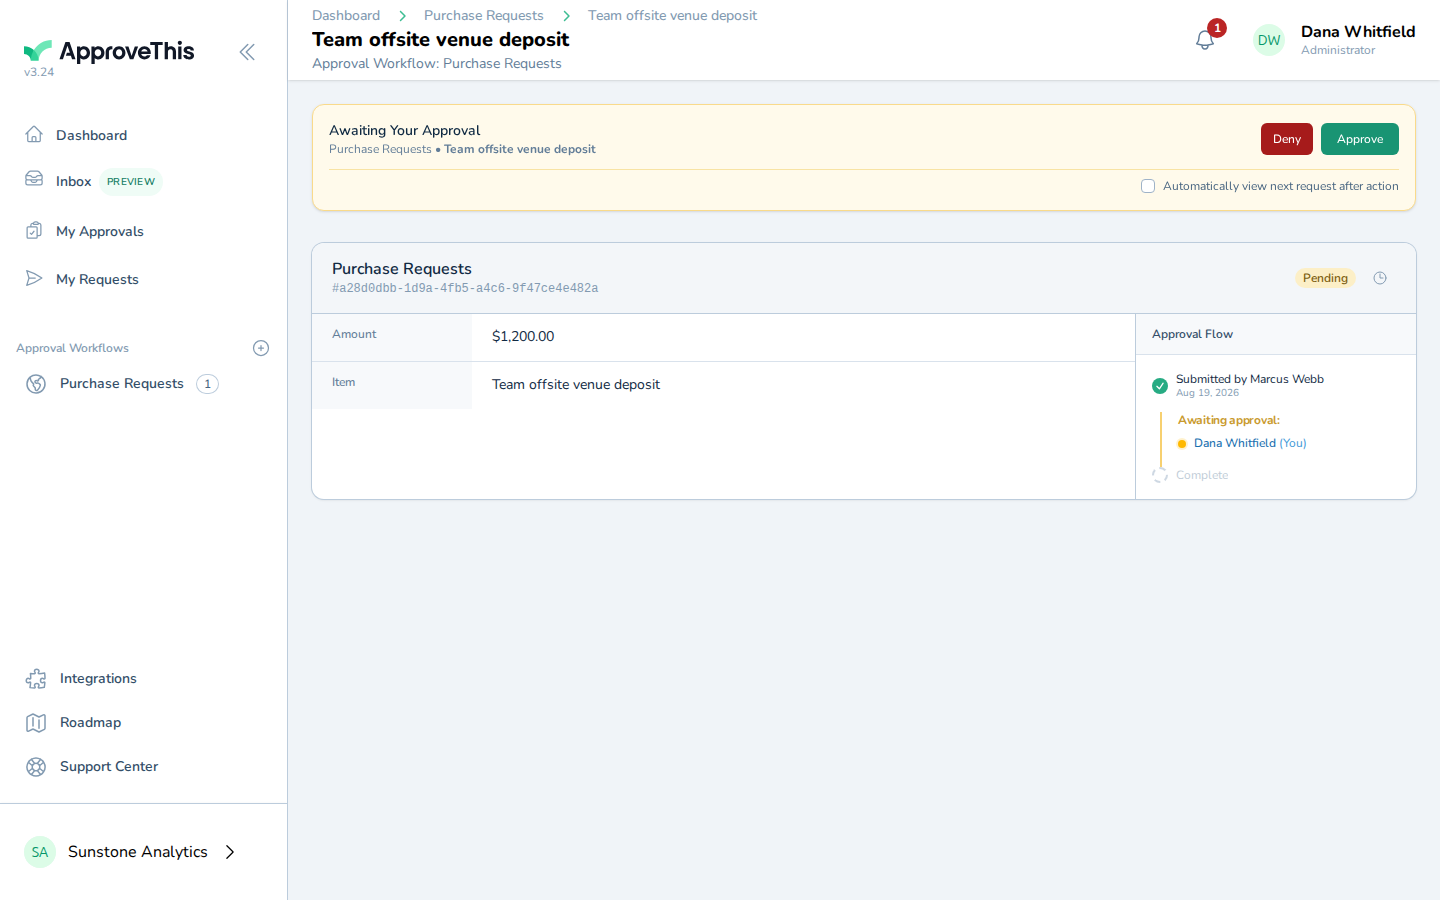
Click the request you're reviewing; the example row is Team offsite venue deposit. -
Click Approve.
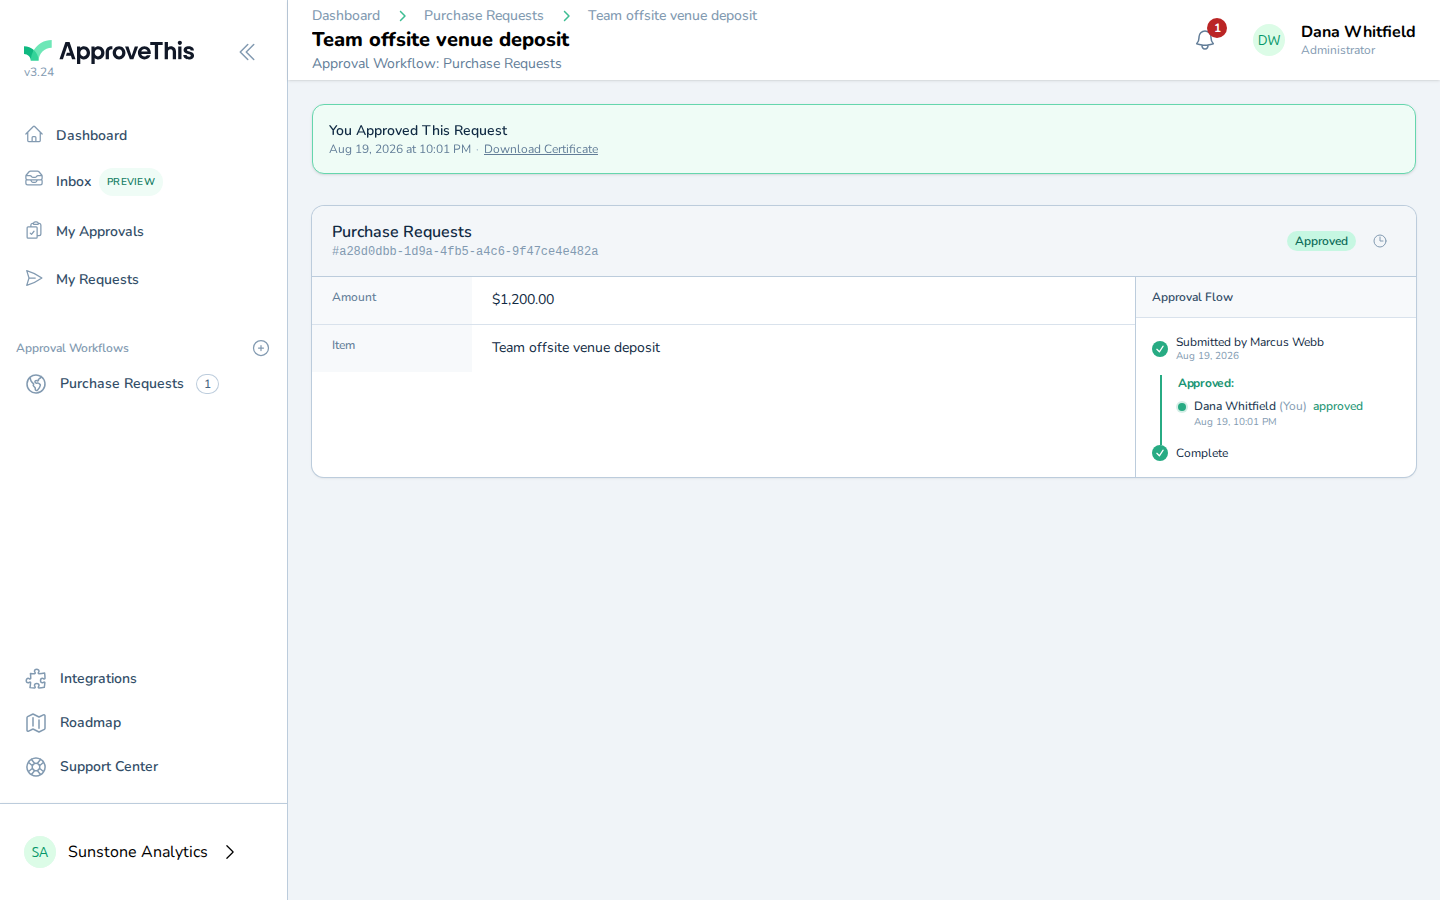
Click Approve.