Submit a Request
Kick off an approval by filling out a workflow's form. Answer its questions, attach any required documents, and submit; approvers are notified instantly.
Updated
Every approval in ApproveThis starts with someone filling out a workflow's form. This guide covers that submission: answering the workflow's questions, attaching any documents it asks for, and sending the request on to its approvers. It's written for the Requester who has the form open and needs to get an expense, purchase, or other item into review.
Who this is for: a Requester.
Fill out the form, attach the receipt, and submit the request
A request only reaches an approver once the form is complete and submitted, so the details you enter here are what the approver sees when deciding. You'll need the workflow's form open in front of you.
-
Sign in as the requester.
-
Enter the amount the request is for in Amount — the example uses
245.50.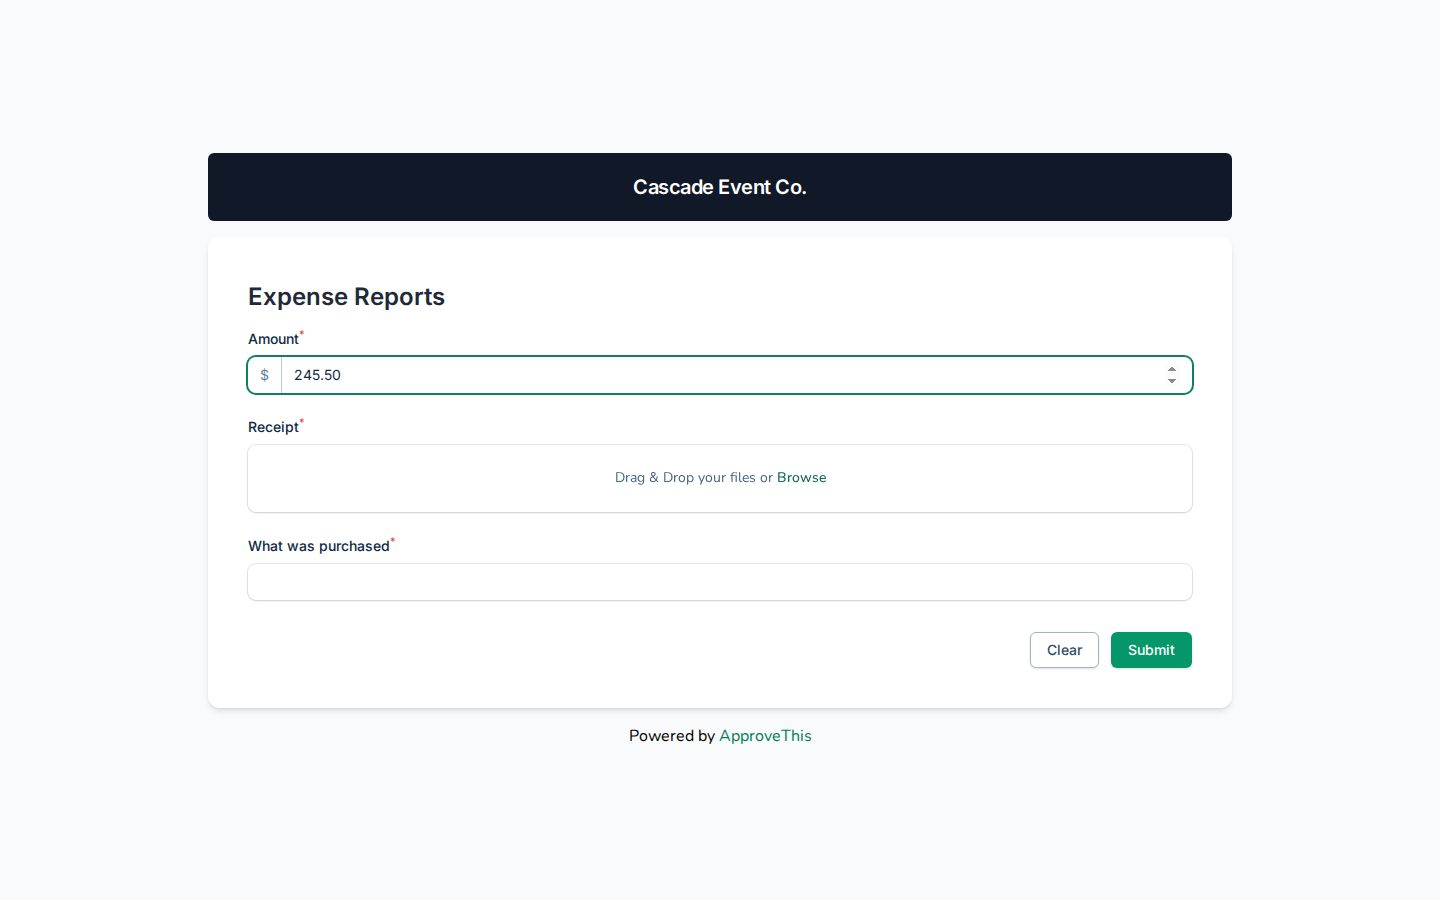
Enter the amount the request is for in Amount — the example uses 245.50. -
Attach your supporting document under Drag & Drop your files or Browse; the example uploads
sample-receipt.png.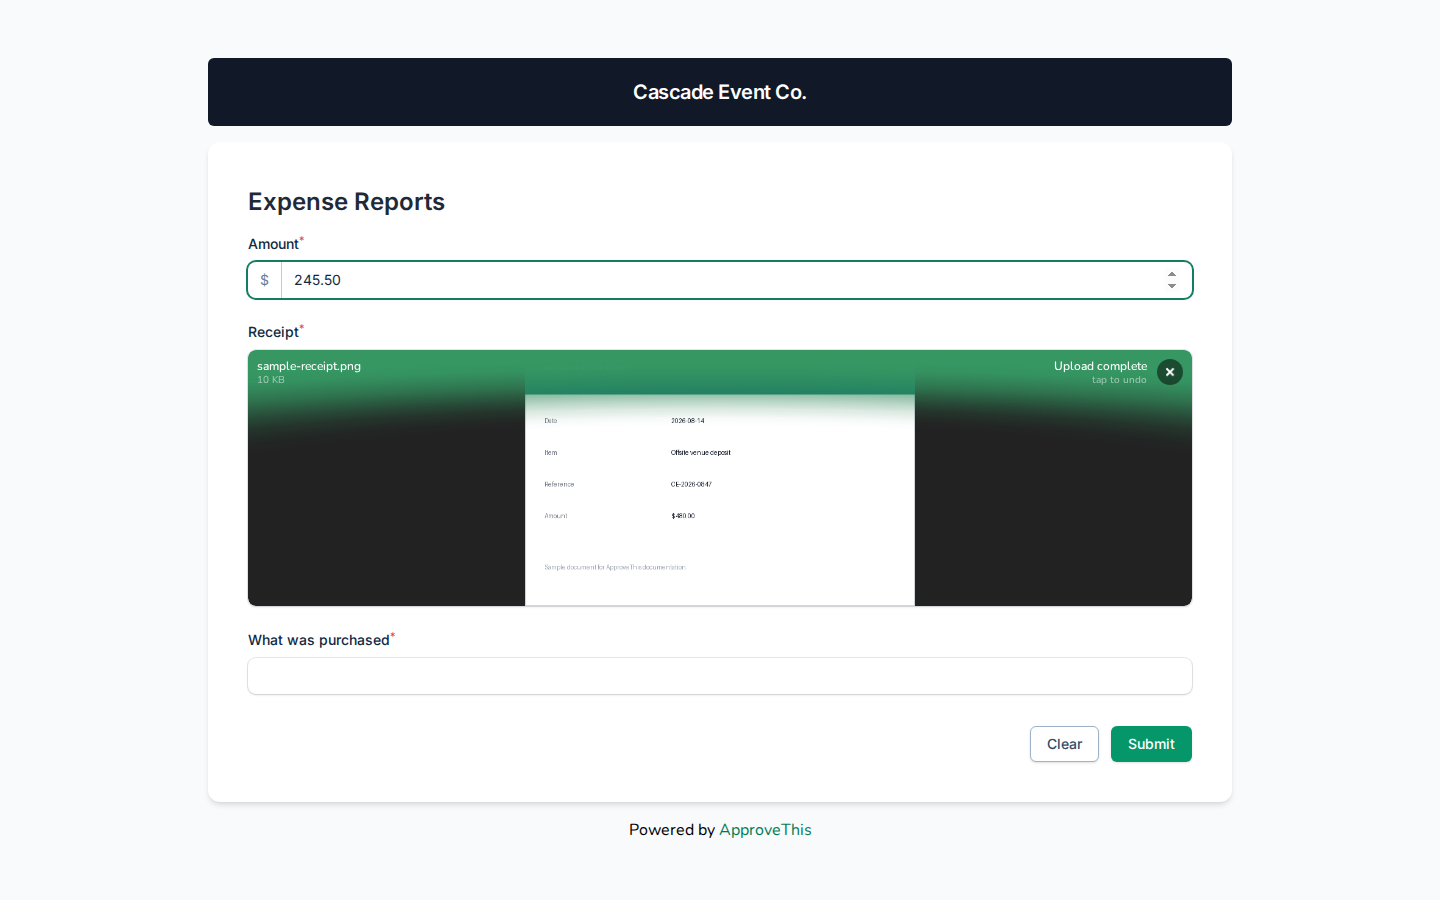
Attach your supporting document under Drag & Drop your files or Browse; the example uploads sample-receipt.png. -
Describe what the spend covers in What was purchased, such as
Deposit for offsite venue rental for the fall client appreciation eventin the example screenshots.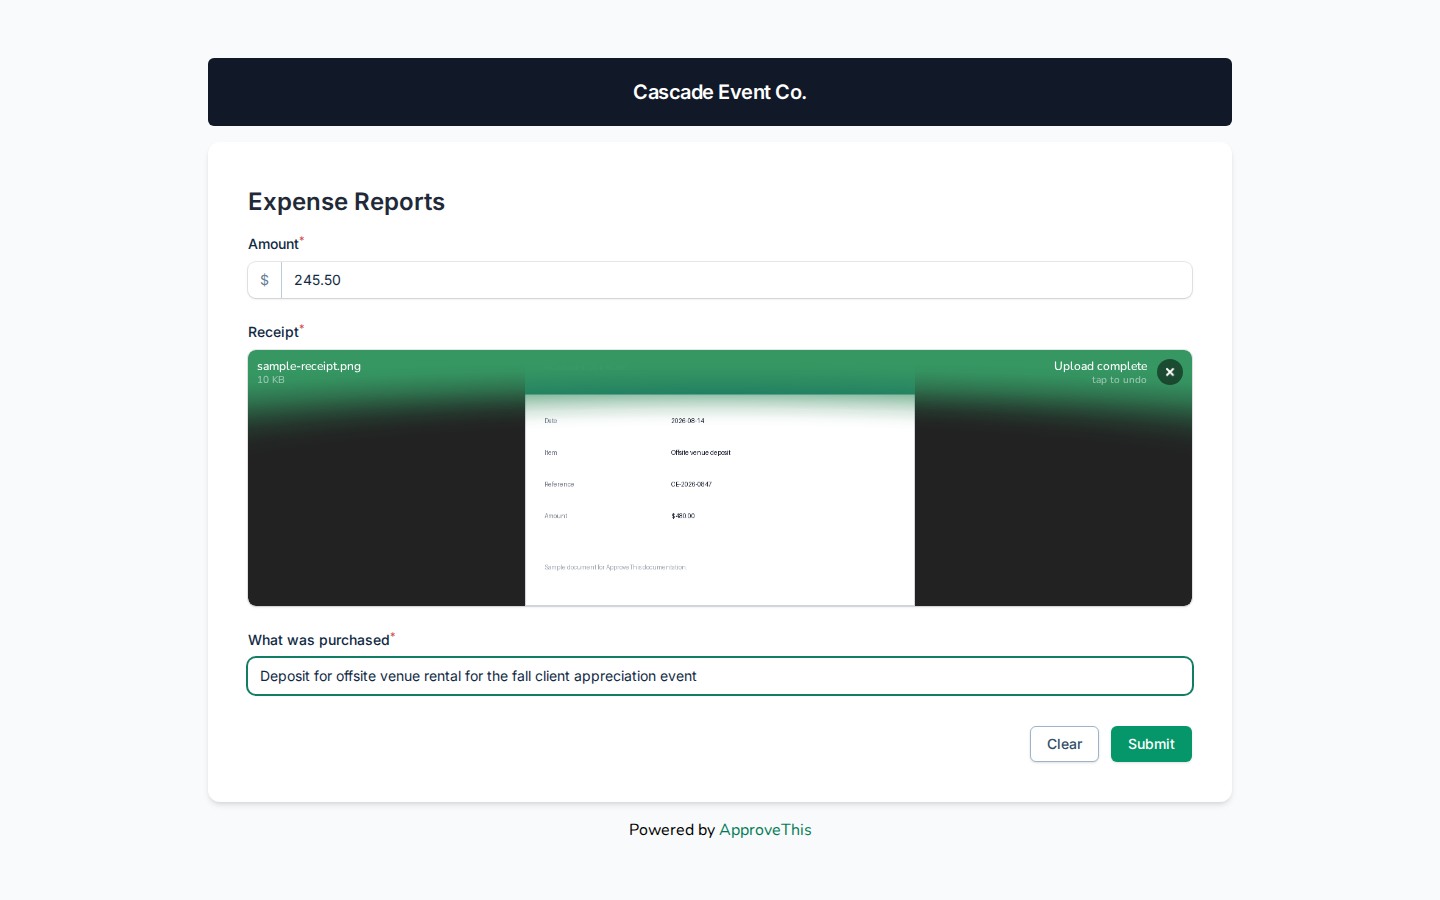
Describe what the spend covers in What was purchased, such as Deposit for offsite venue rental for the fall client appreciation event in the example… -
Click Submit.
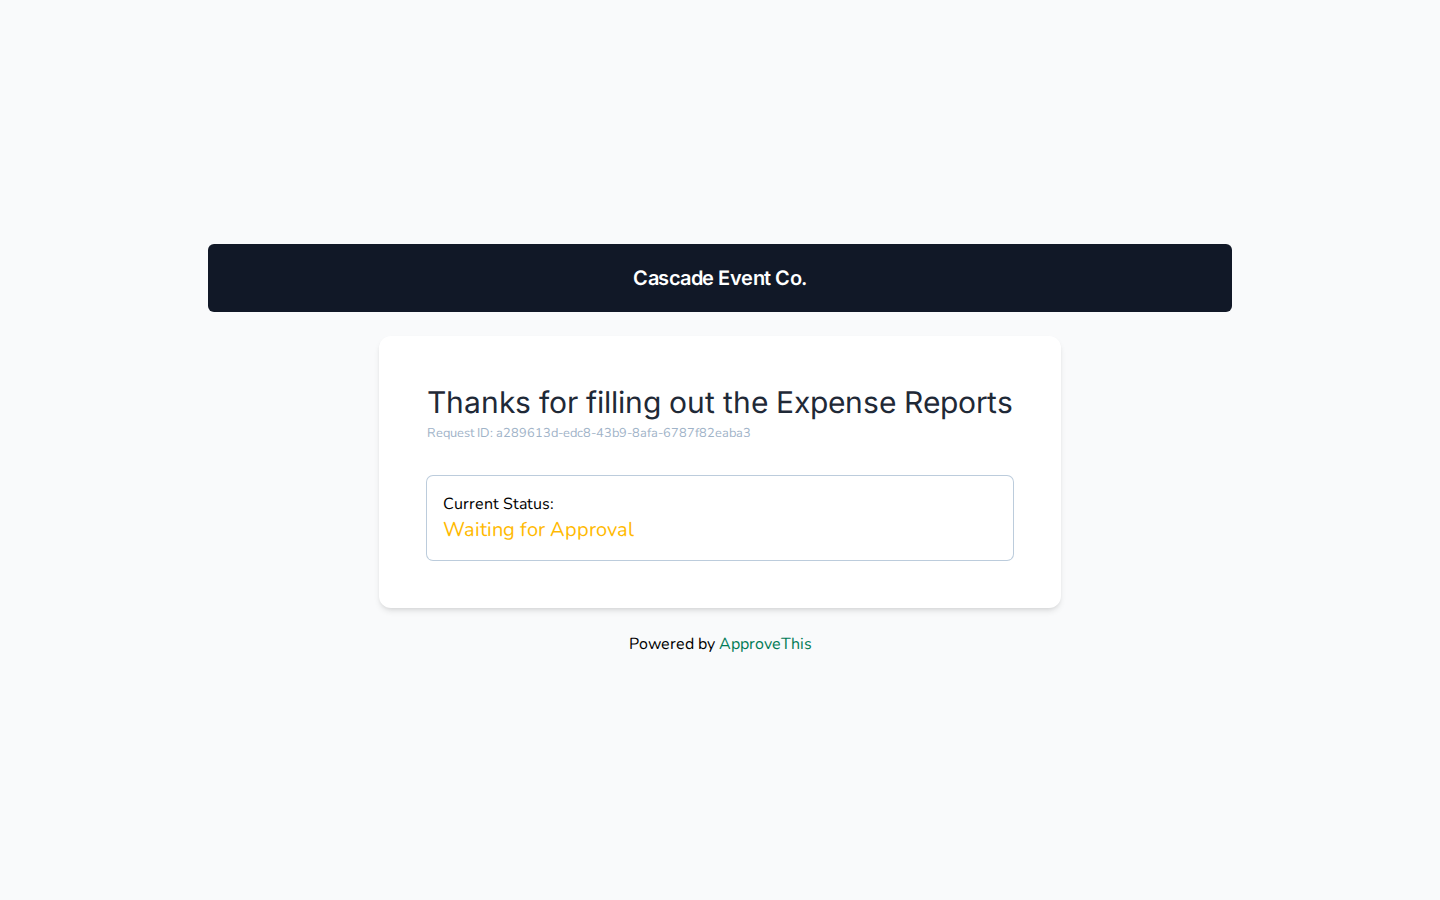
Click Submit.