Email-to-Workflow
Give a workflow its own email address. Anything sent to it becomes an approval request automatically, and emailed documents can be parsed so their values land on the request's fields.
Updated
Some approvals arrive as email in the first place: a vendor sends an invoice, a colleague forwards a quote. A workflow in ApproveThis can be given its own inbound email address (a Mailbox), and every message sent to that address opens a new request automatically. This guide covers creating an email-triggered workflow and pointing it at a document processor so that emailed attachments are parsed and their values land on the request's fields. It's written for Administrators, and Mailbox settings live inside the workflow builder.
Who this is for: an Administrator.
Create a flow with its own email address
Requests that originate in someone's inbox otherwise have to be retyped into a form by hand. Giving the workflow its own address means the sender just emails it, and the request exists — available on all tiers.
-
Sign in with your Administrator account.
-
Open the new workflow builder at
https://app.approvethis.com/flows/new.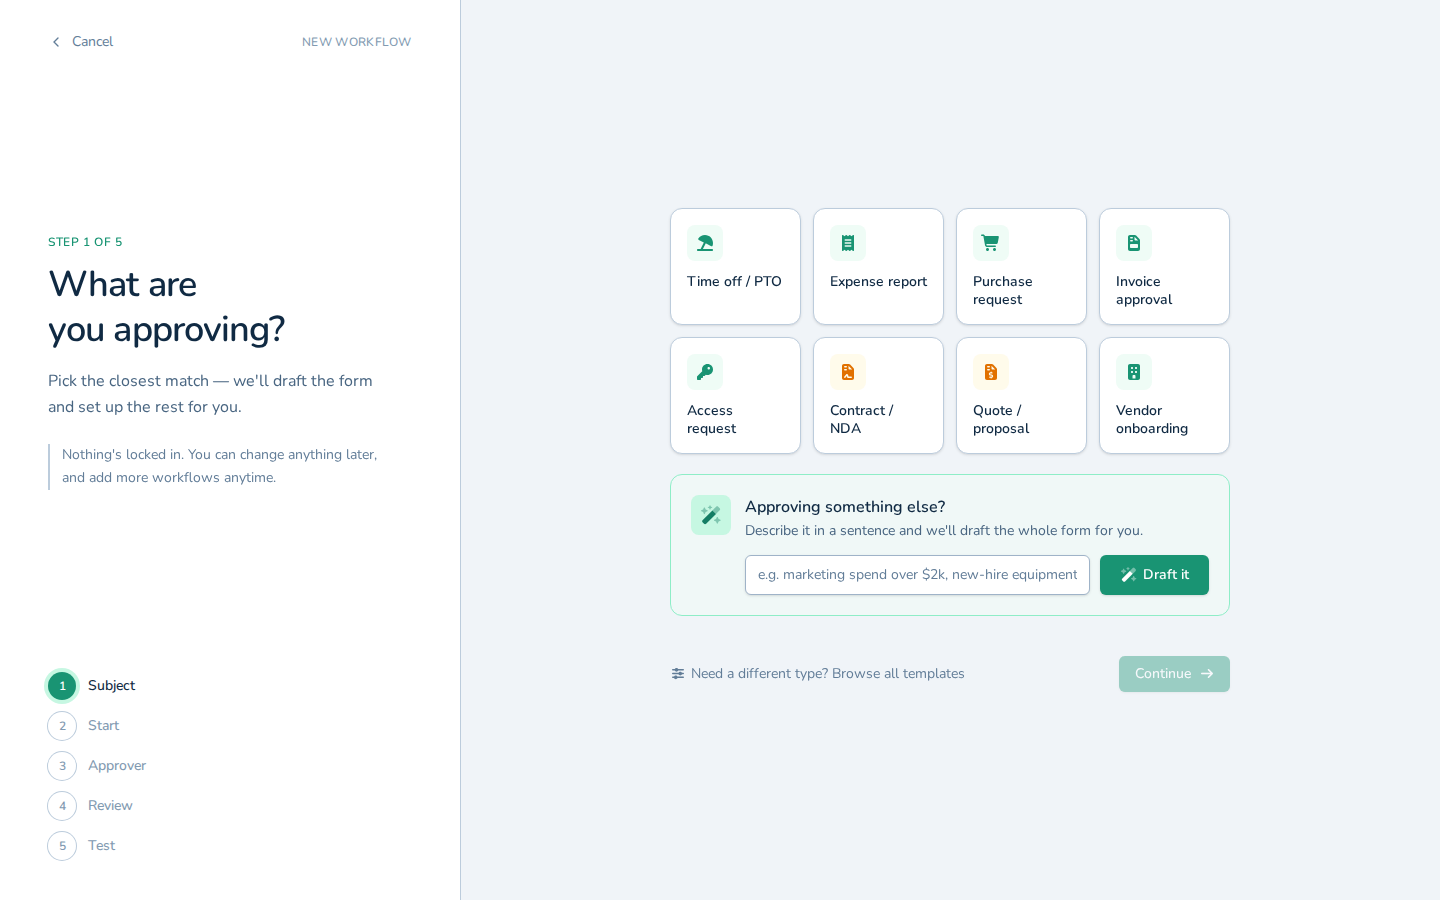
Open the new workflow builder at https://app.approvethis.com/flows/new. -
Choose the starting point that matches the kind of approval you're building — the example screenshots use Invoice approval.
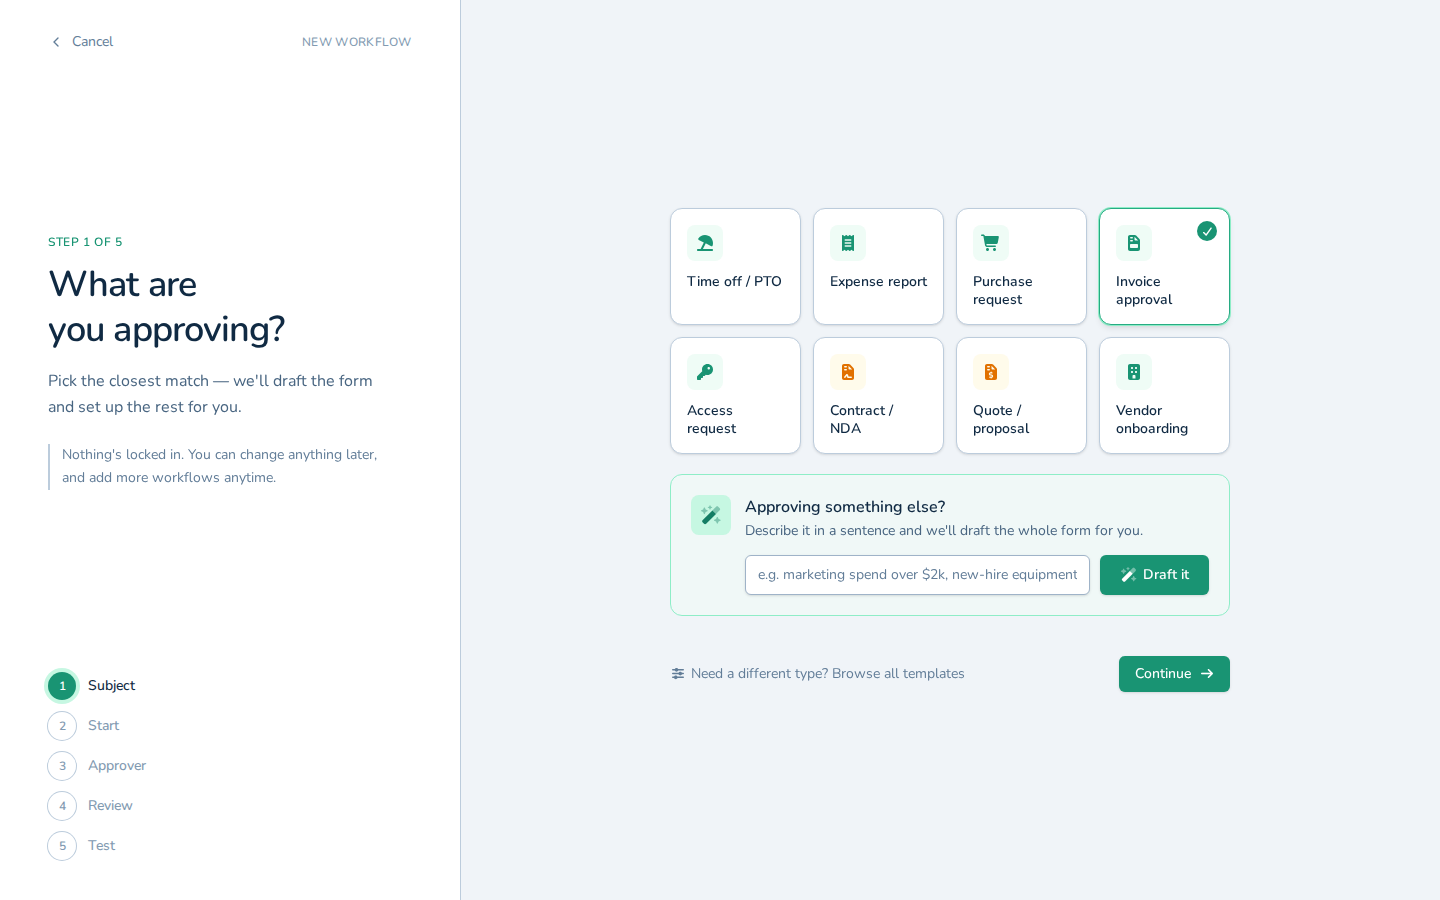
Choose the starting point that matches the kind of approval you're building — the example screenshots use Invoice approval. -
Click Continue.
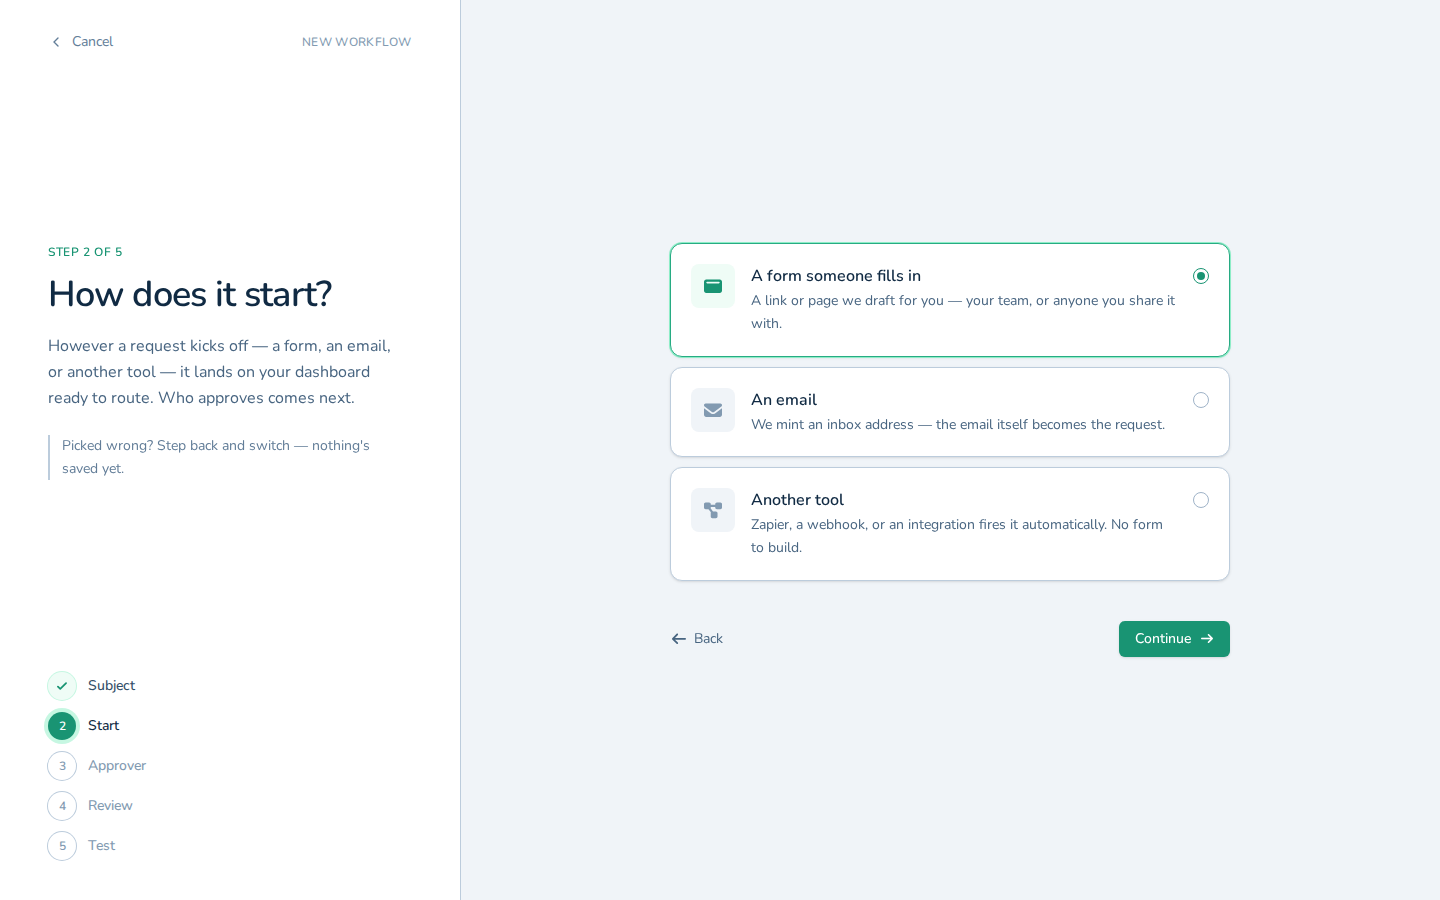
Click Continue. -
Select An email as how requests will reach this workflow.
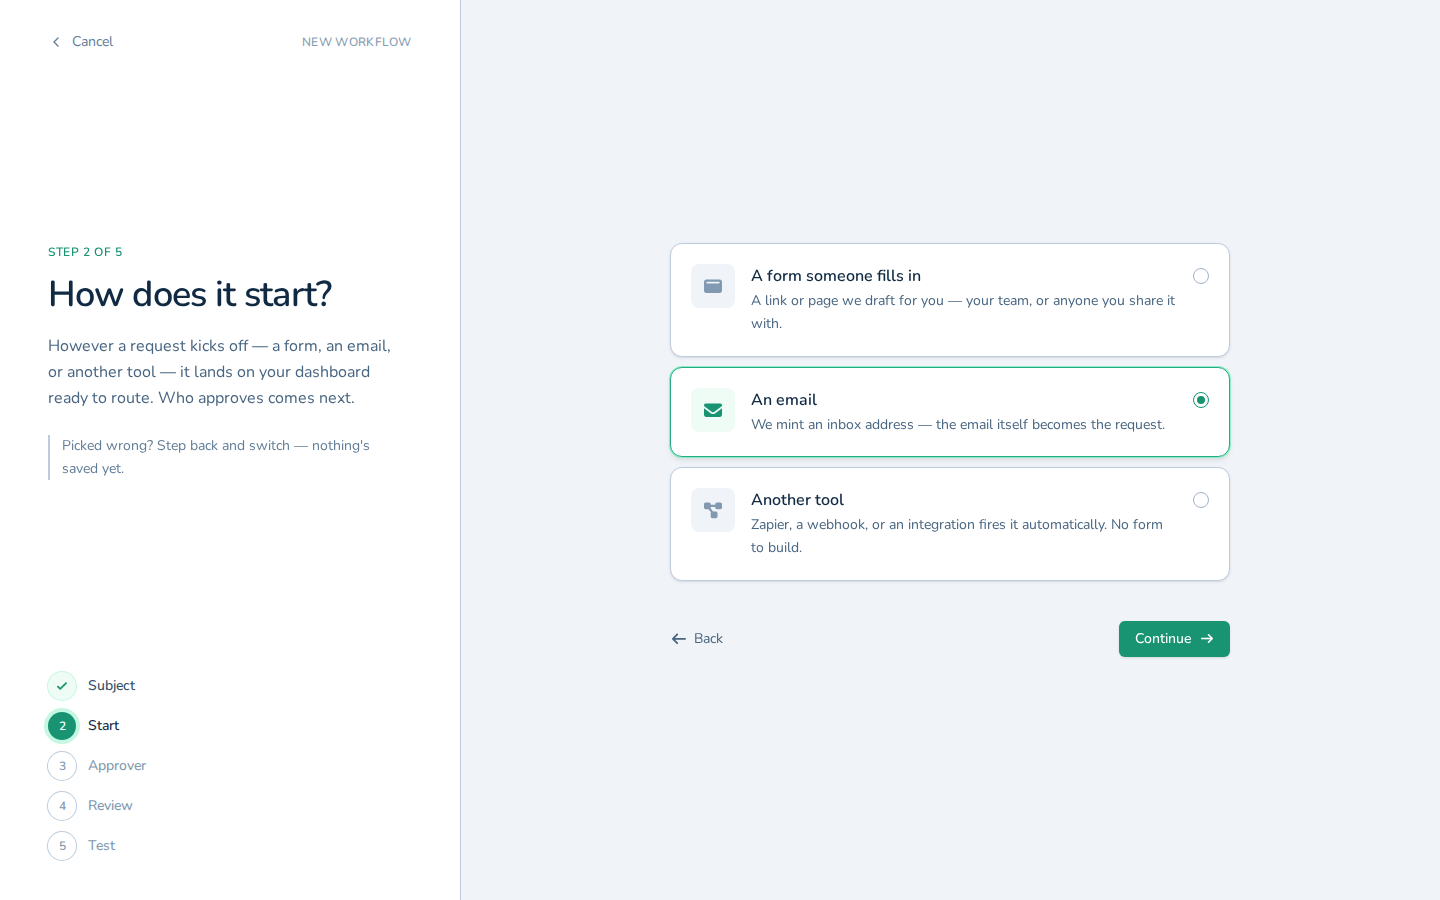
Select An email as how requests will reach this workflow. -
Click Continue.
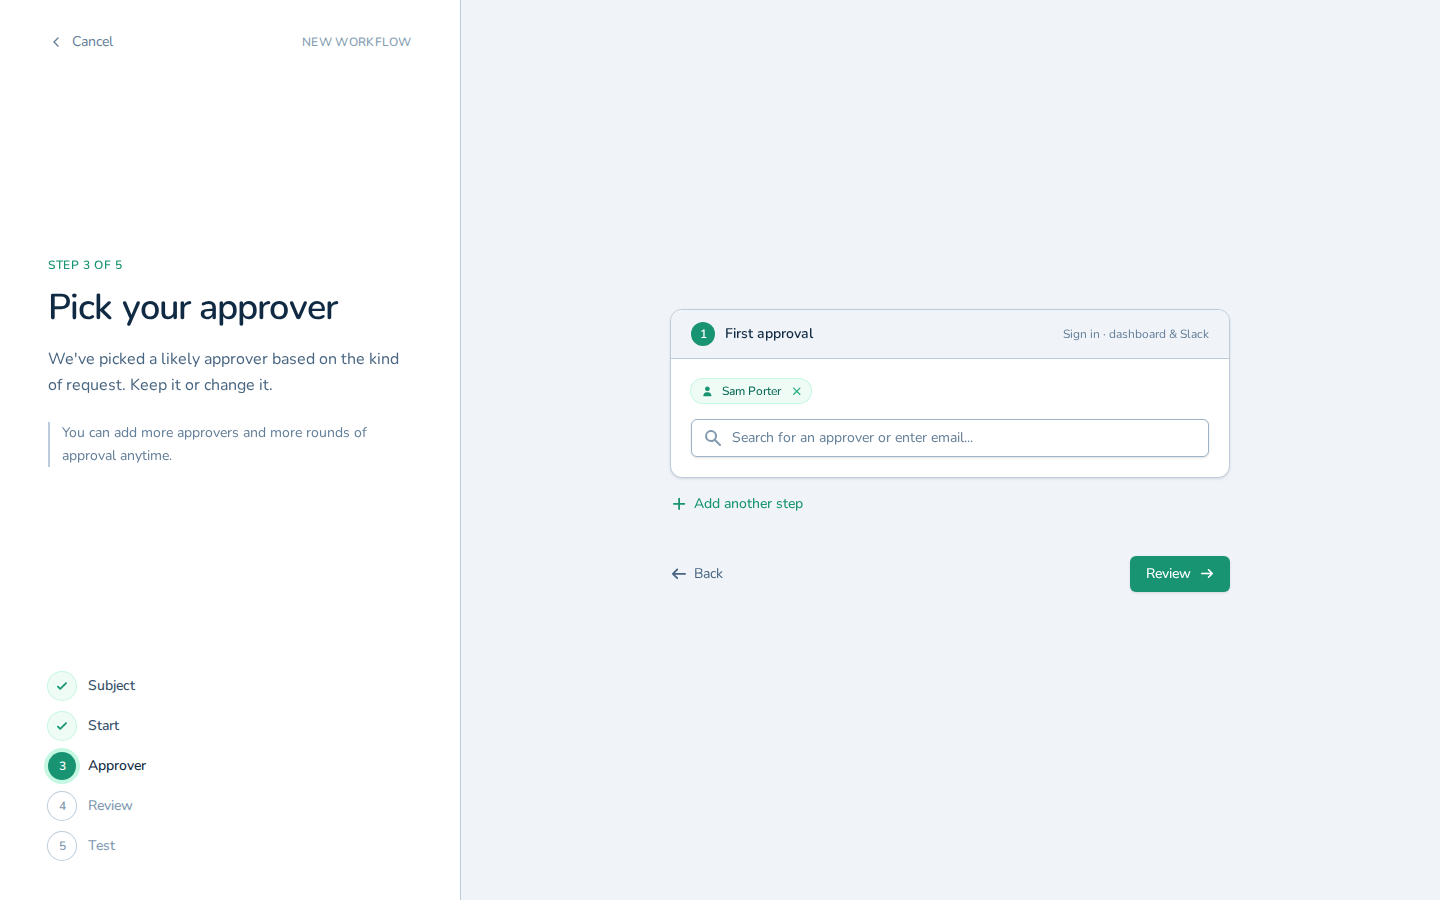
Click Continue. -
Click Review to look over the workflow before it's created.
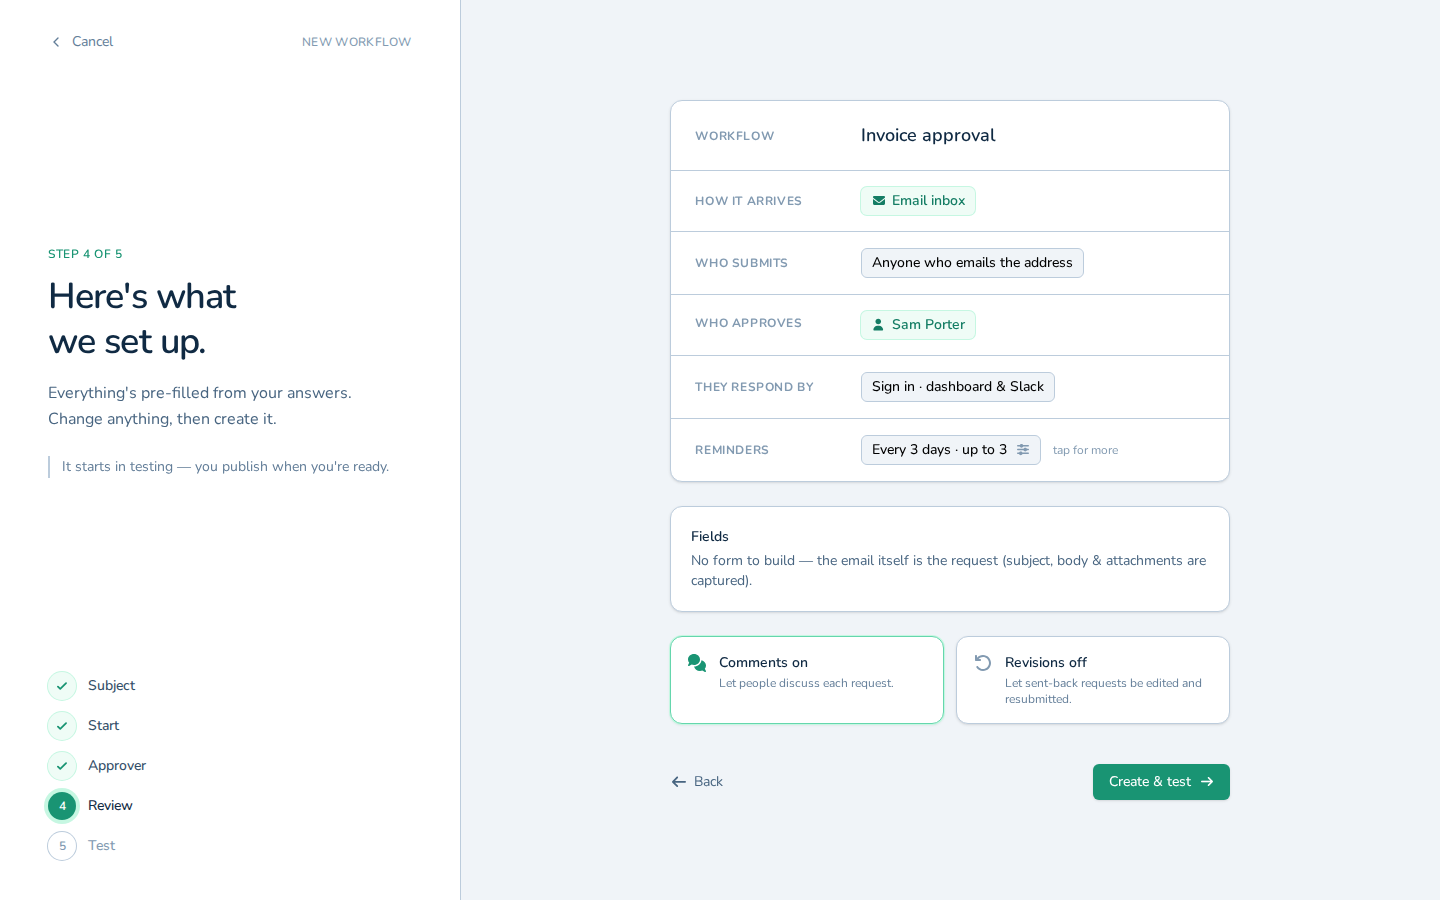
Click Review to look over the workflow before it's created. -
Click Create & test.
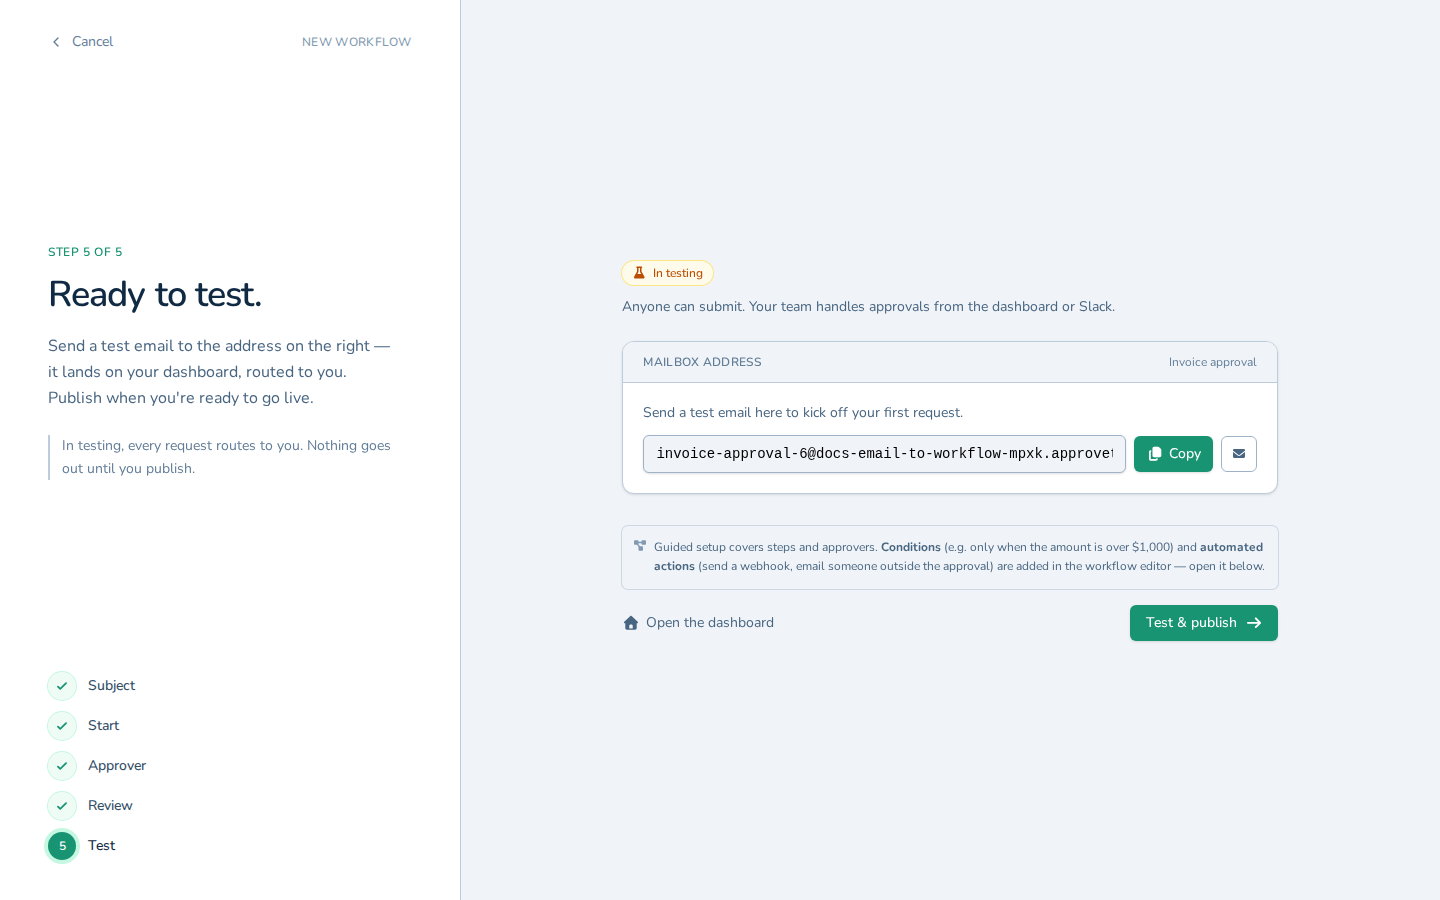
Click Create & test.
Choose a document processor for emailed attachments
An emailed invoice or receipt is a PDF, not form data, so someone has to read it and key the numbers in. Selecting a processor has ApproveThis extract the document's values and map them onto the request's fields; the available processors are Invoice, Receipt, ID Document, Health Insurance Card, Contract, and Layout.
-
Click Test & publish.
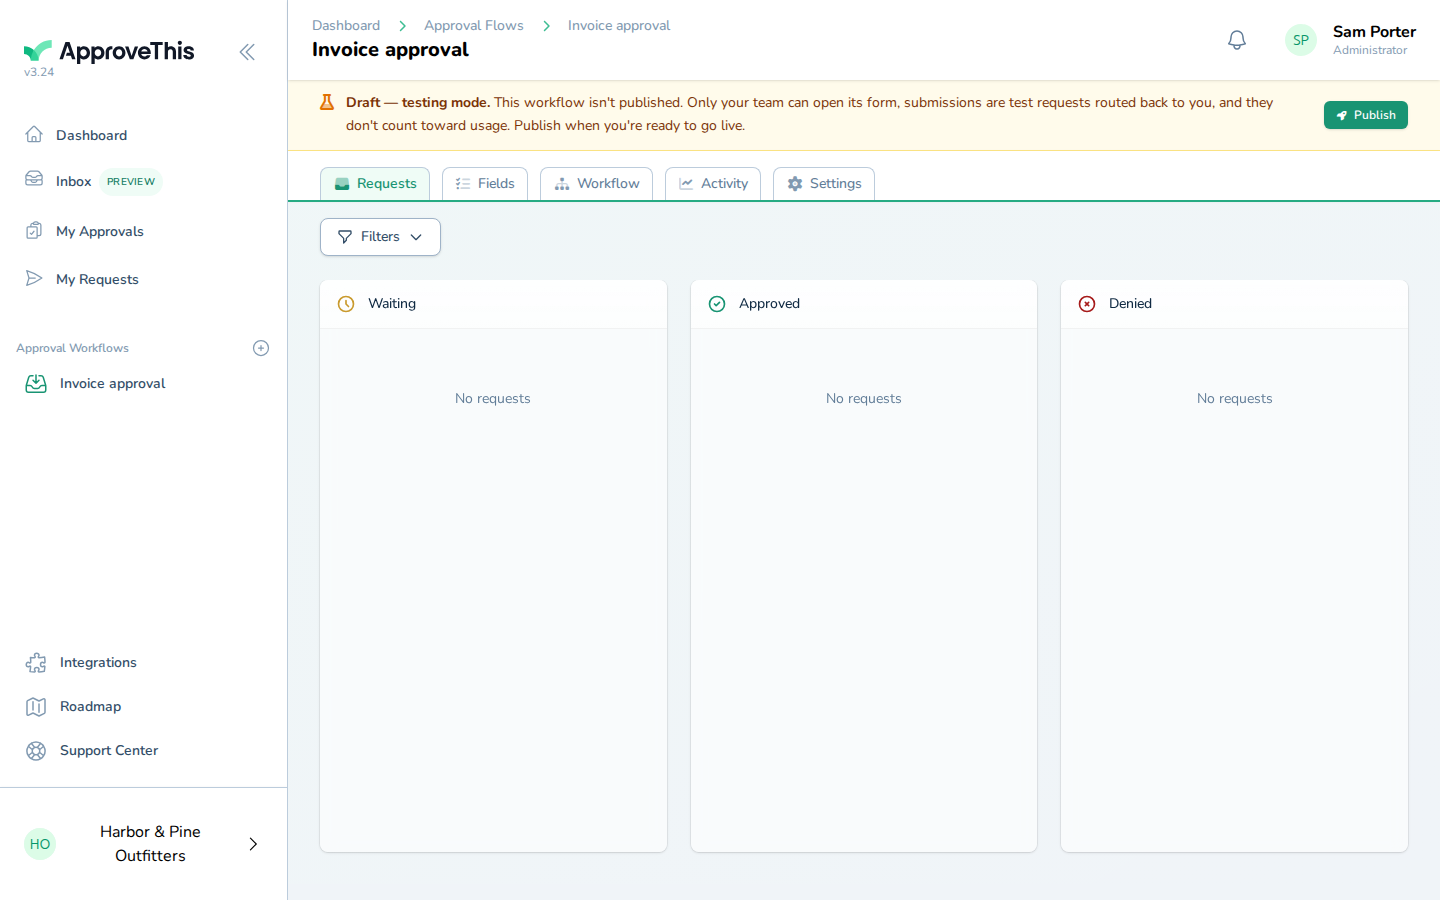
Click Test & publish. -
Click Settings.
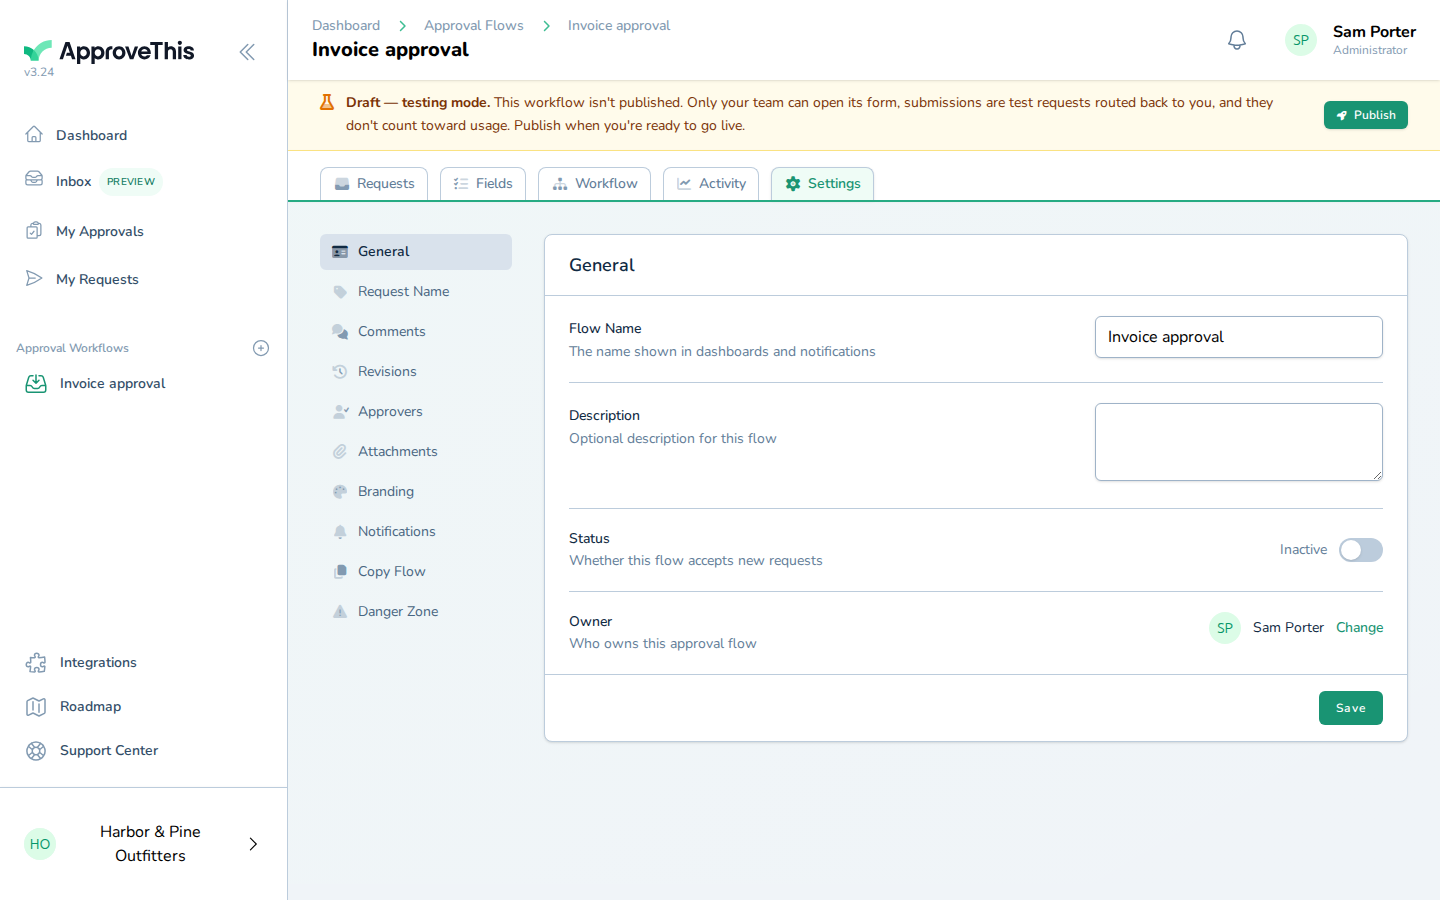
Click Settings. -
Open the Attachments tab.
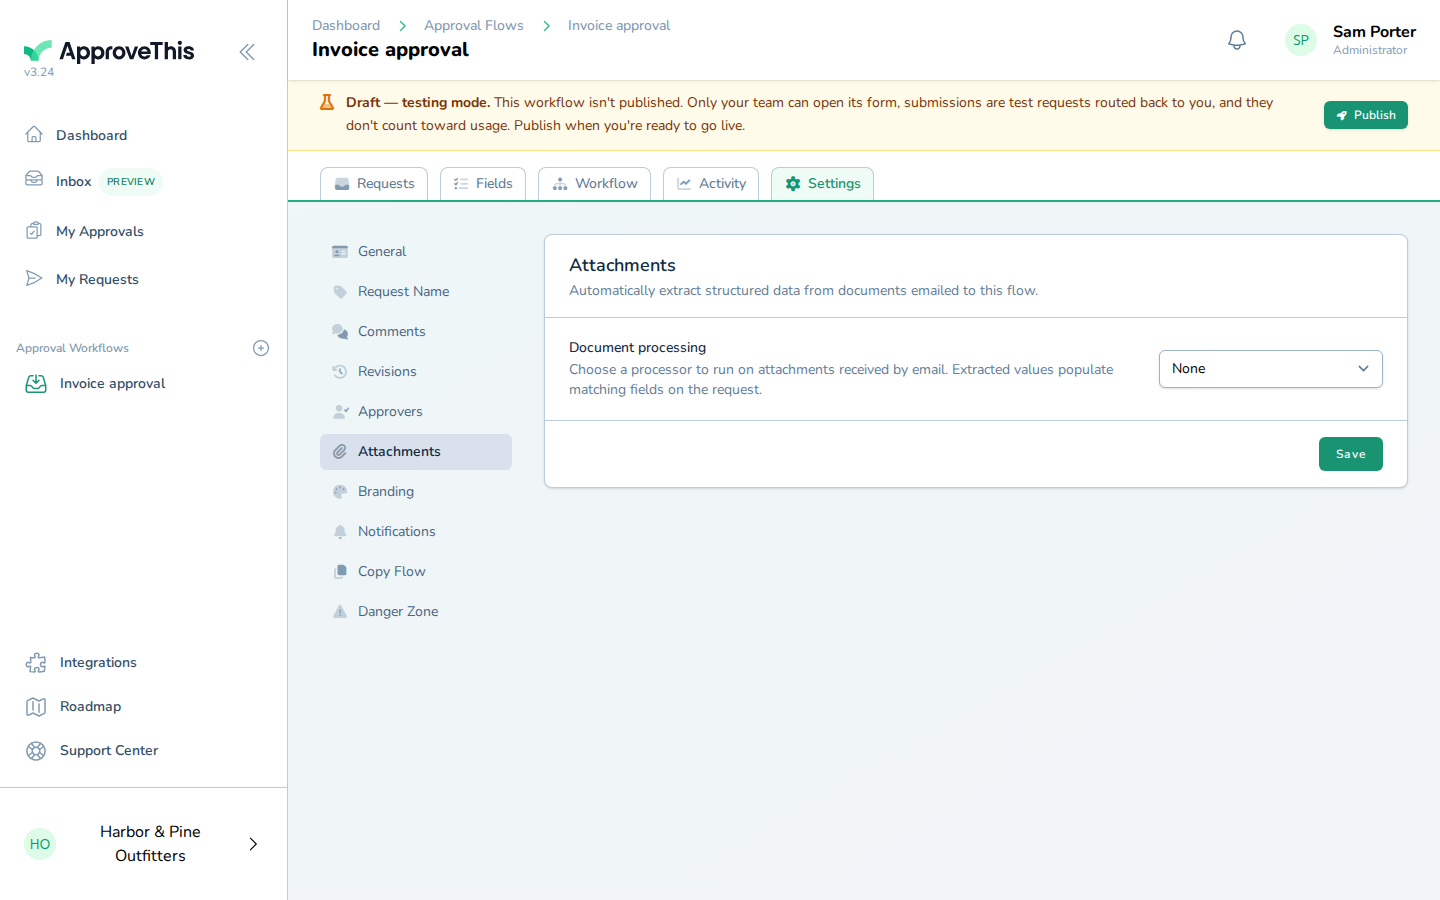
Open the Attachments tab. -
Under Document processing, pick the processor that matches the documents this workflow receives — such as Invoice for vendor billing.
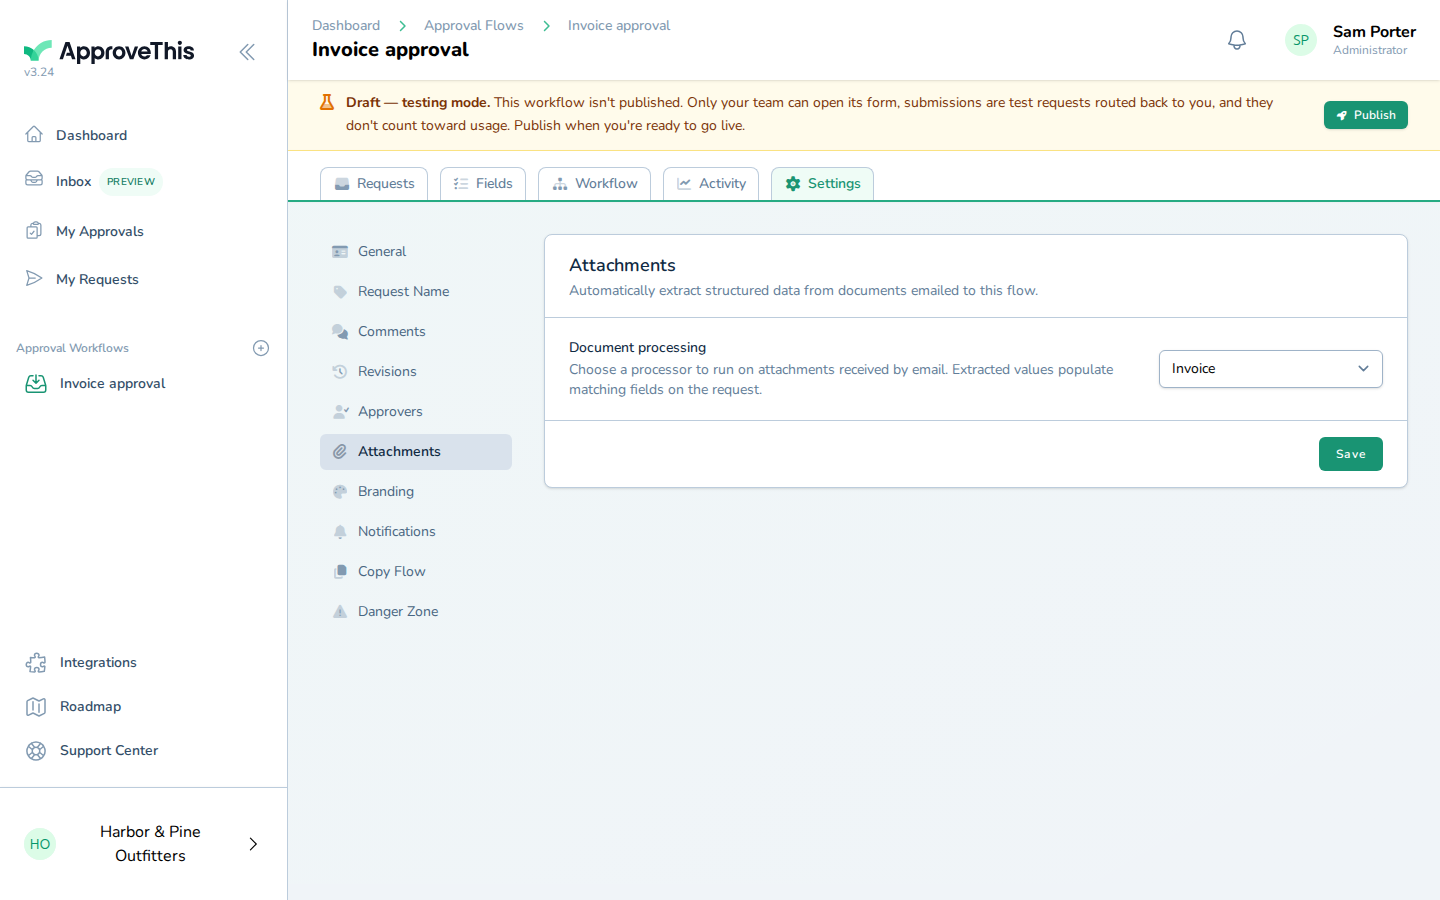
Under Document processing, pick the processor that matches the documents this workflow receives — such as Invoice for vendor billing. -
Click Save.
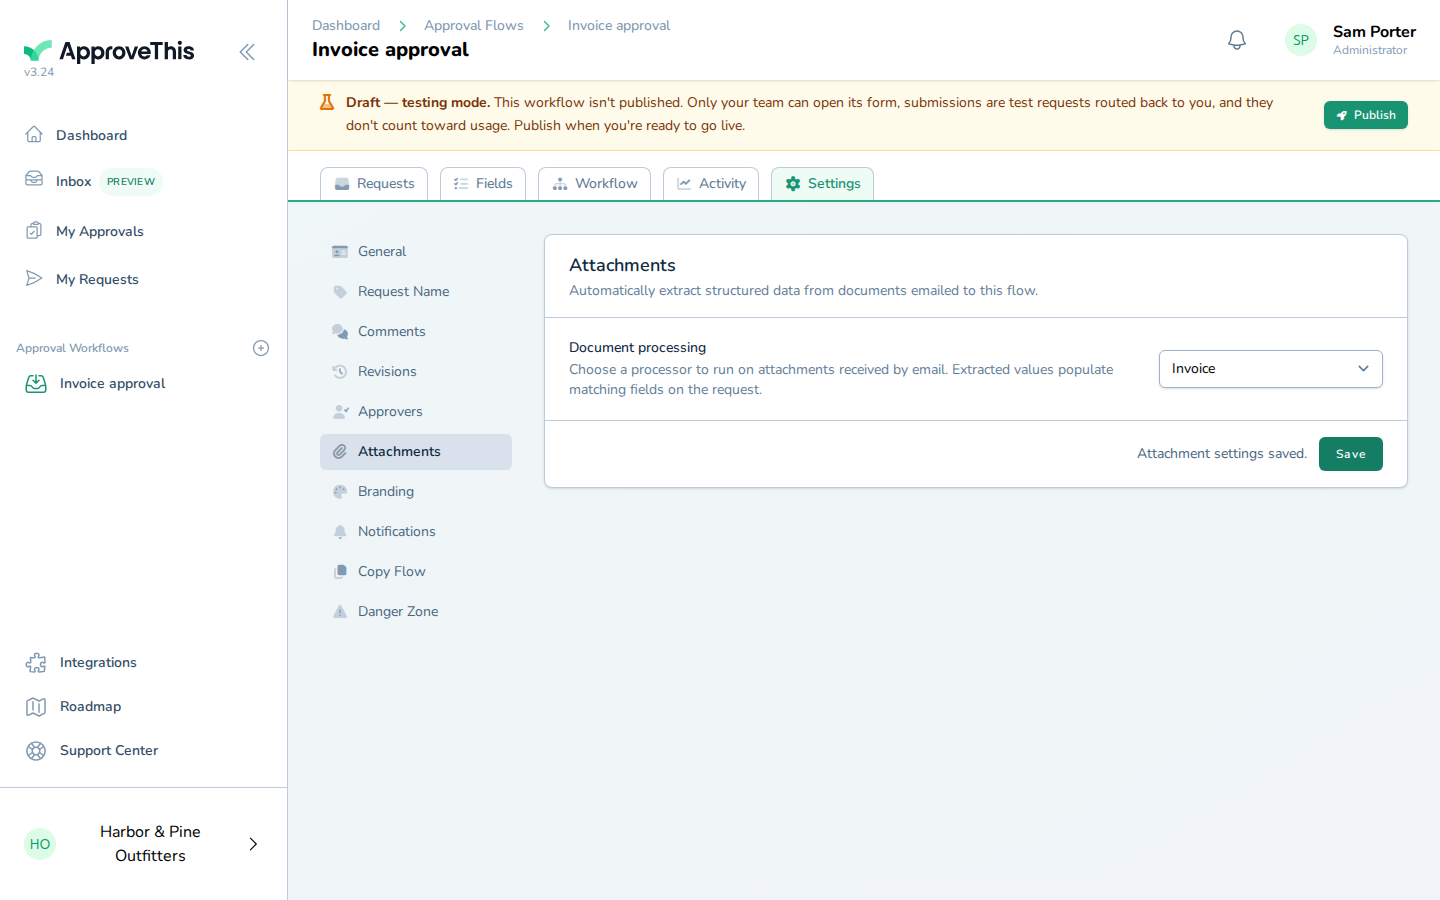
Click Save.