Routing QuickBooks Timecards
Hours synced from QuickBooks become approval requests automatically — the lookup table decides which approver each employee's timecard waits on, so payroll approval runs itself instead of landing in one inbox.
Updated
Timecard hours synced from QuickBooks arrive in ApproveThis as approval requests, and the lookup table decides who each one waits on. This guide covers the two settings an Administrator maintains there: per-employee approver mappings, and what happens to a timecard whose employee isn't listed. You'll need the QuickBooks timecard sync already connected to your workspace.
Who this is for: an Administrator.
Map an employee's hours to their approver
Payroll approvals stall when every synced timecard lands in the same inbox. Mapping an employee to a specific approver sends that person's hours straight to whoever actually signs off on them.
-
Sign in as the Administrator.
-
Click Timecard.
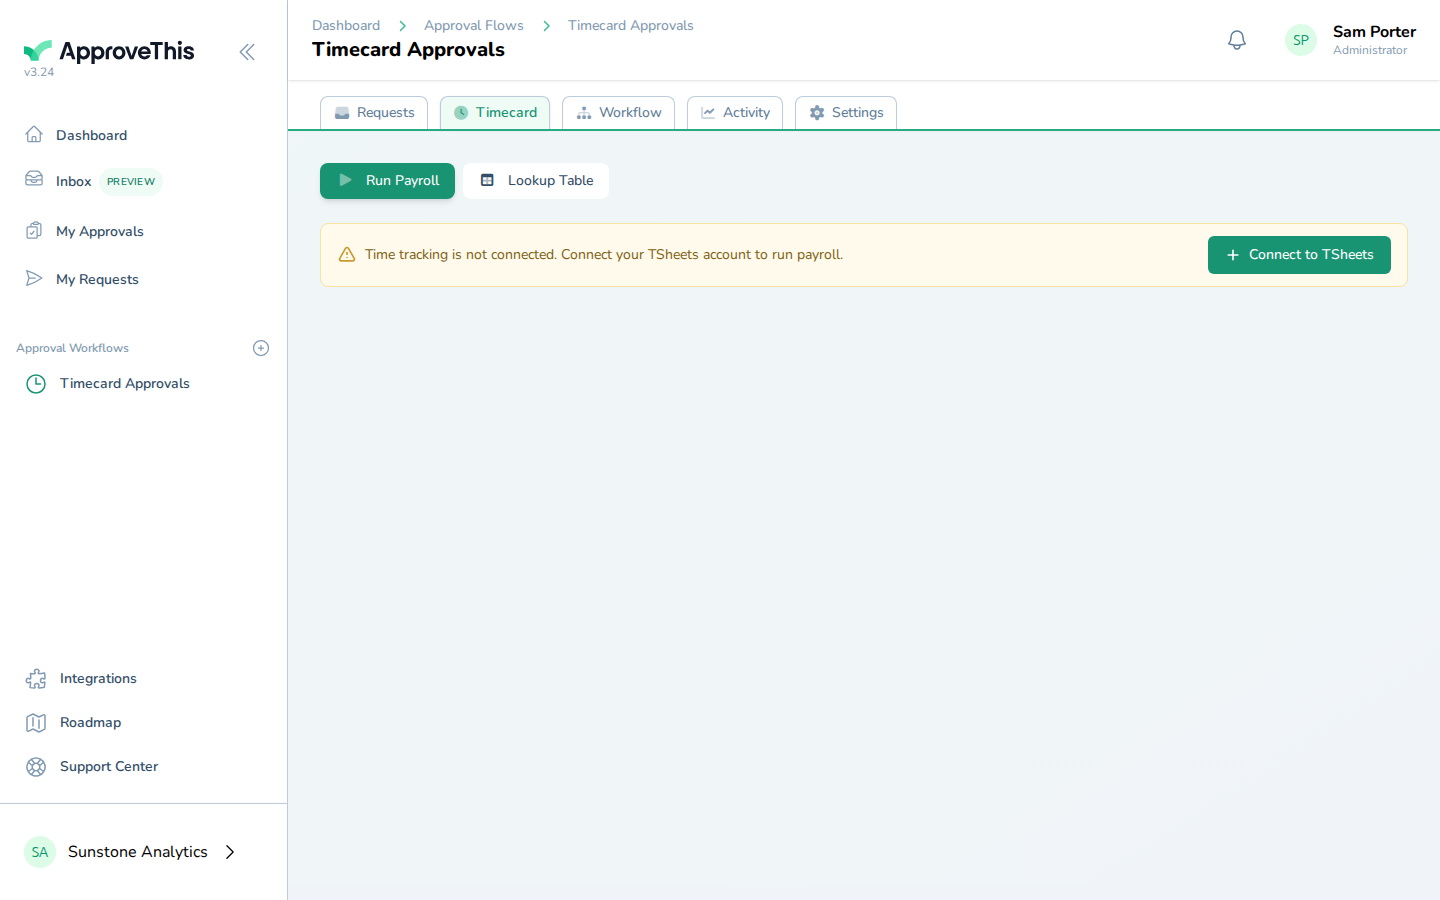
Click Timecard. -
Click Lookup Table.
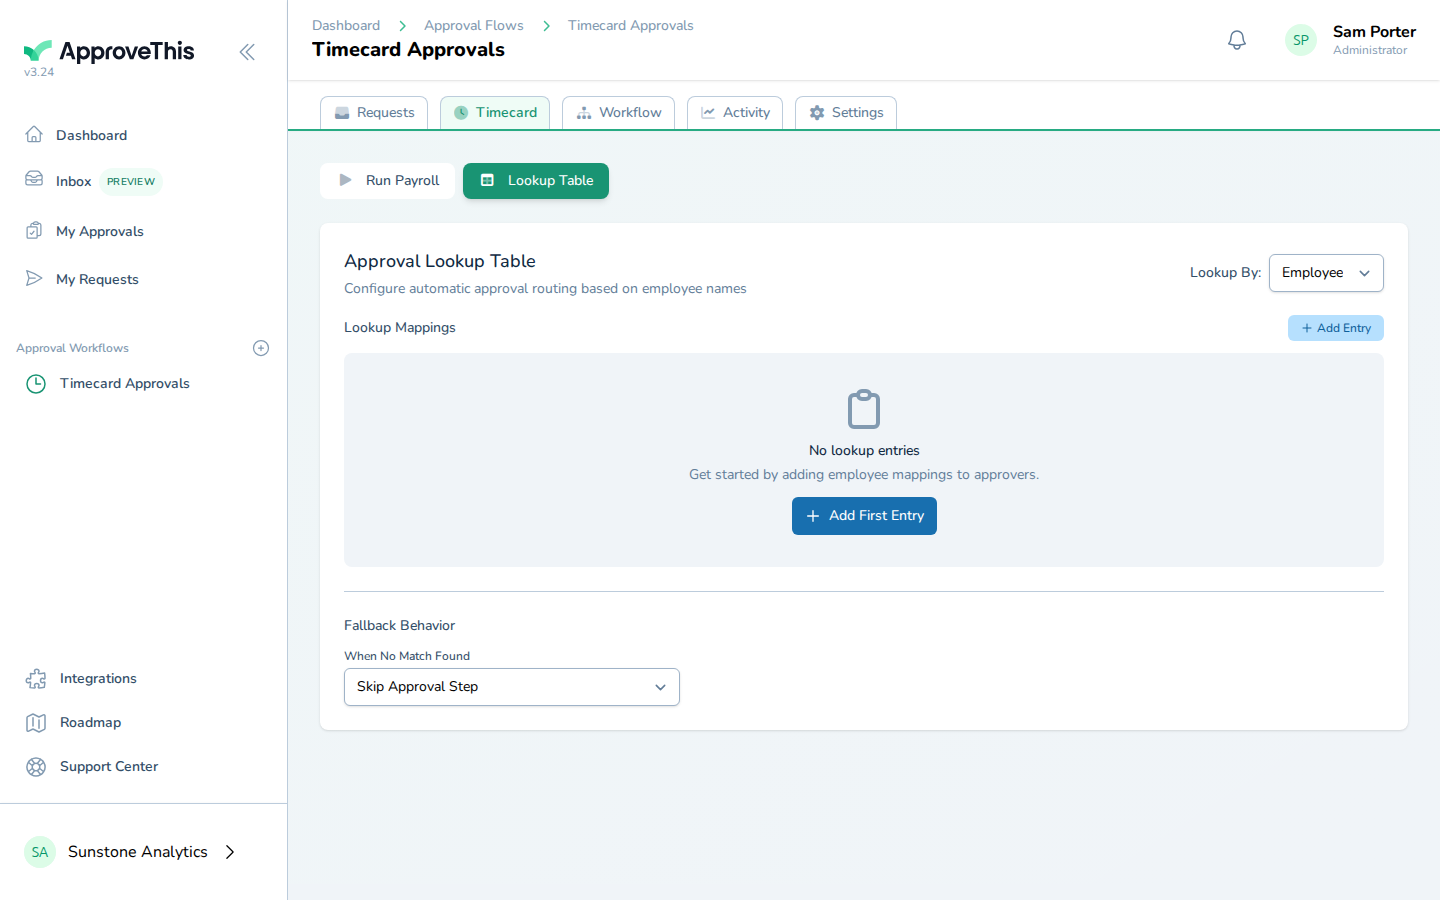
Click Lookup Table. -
Click Add Entry.
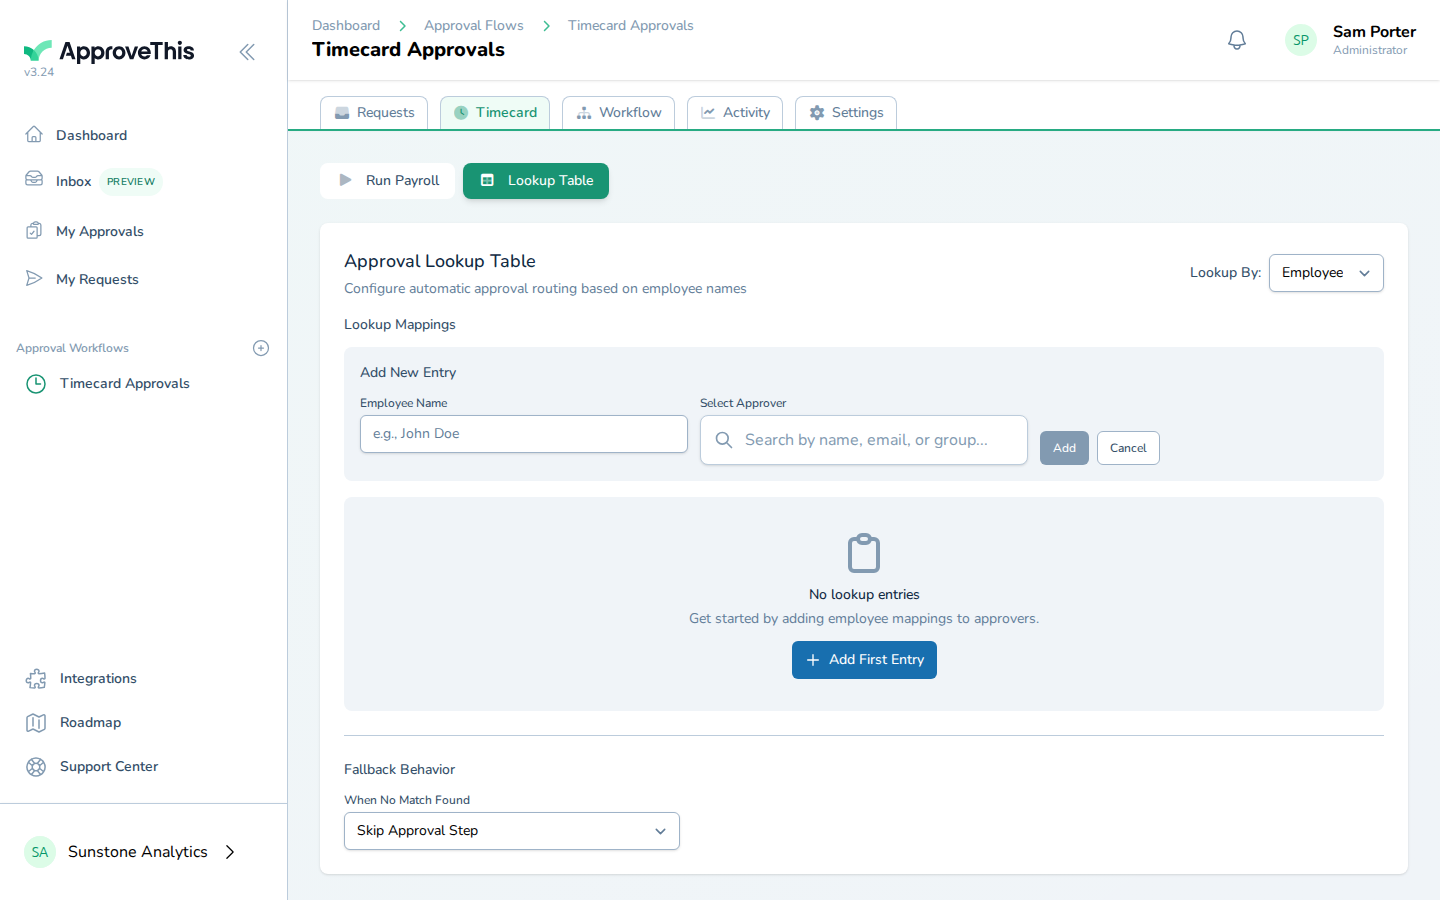
Click Add Entry. -
In Employee Name, enter the employee whose hours you're routing — the example uses
Grace Lindqvist.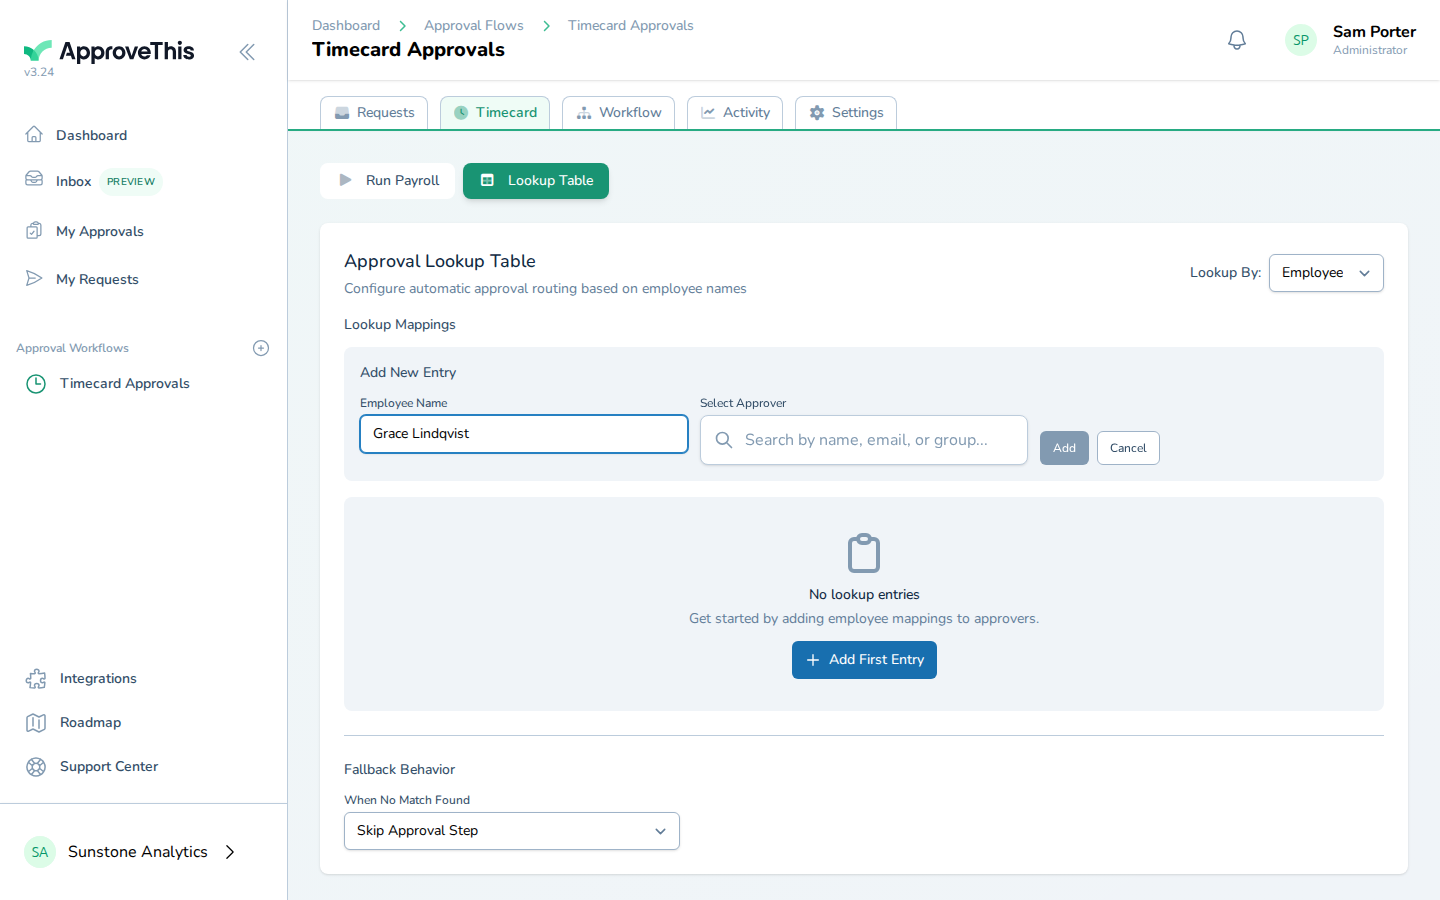
In Employee Name, enter the employee whose hours you're routing — the example uses Grace Lindqvist. -
Click Search for an approver.
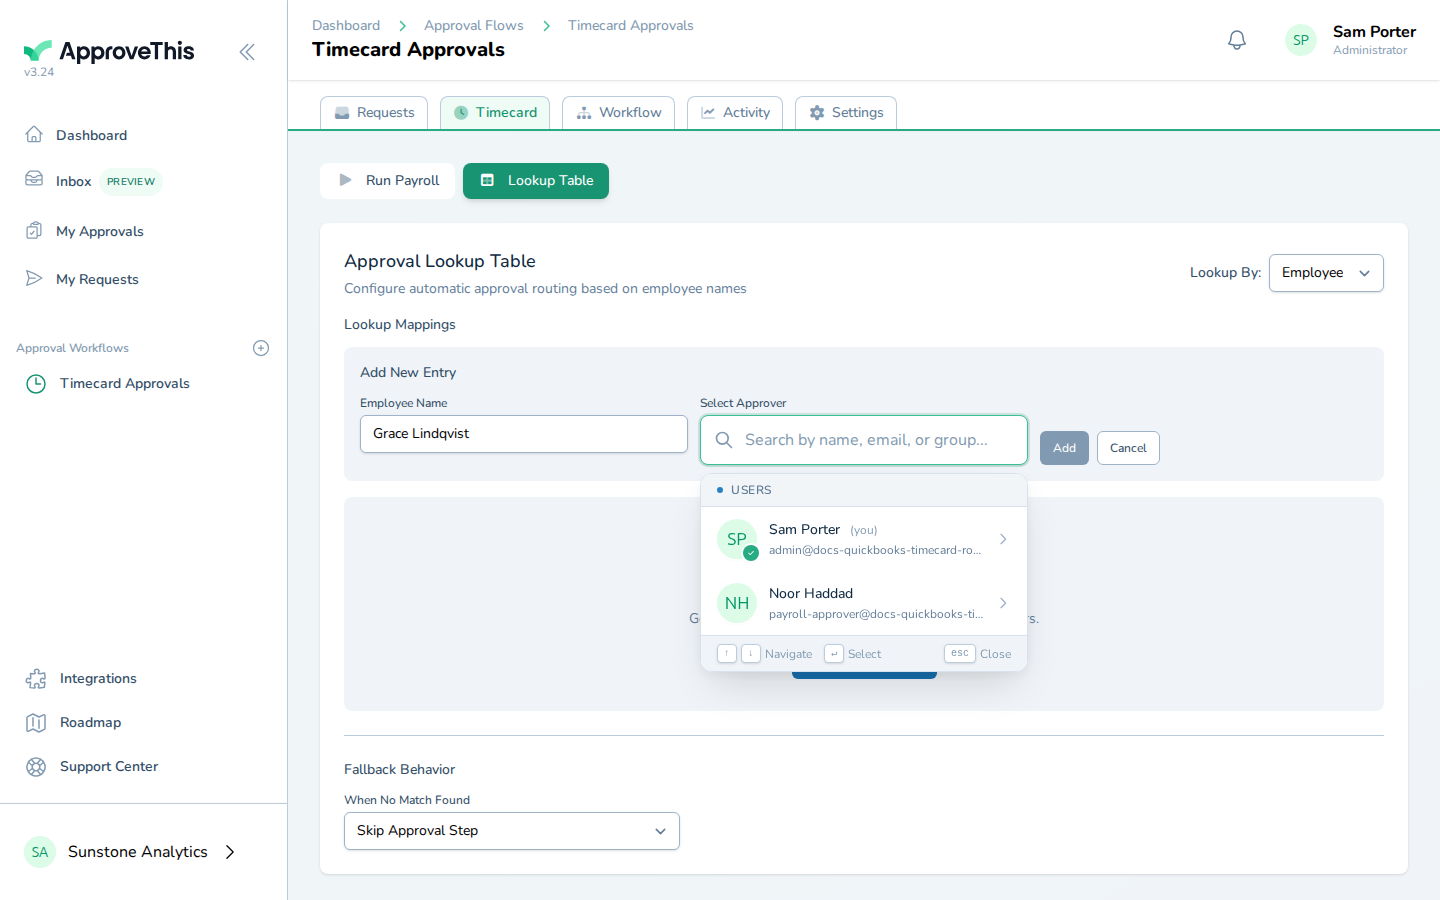
Click Search for an approver. -
Type part of the approver's name or email into Search for an approver, such as
Noorin the example.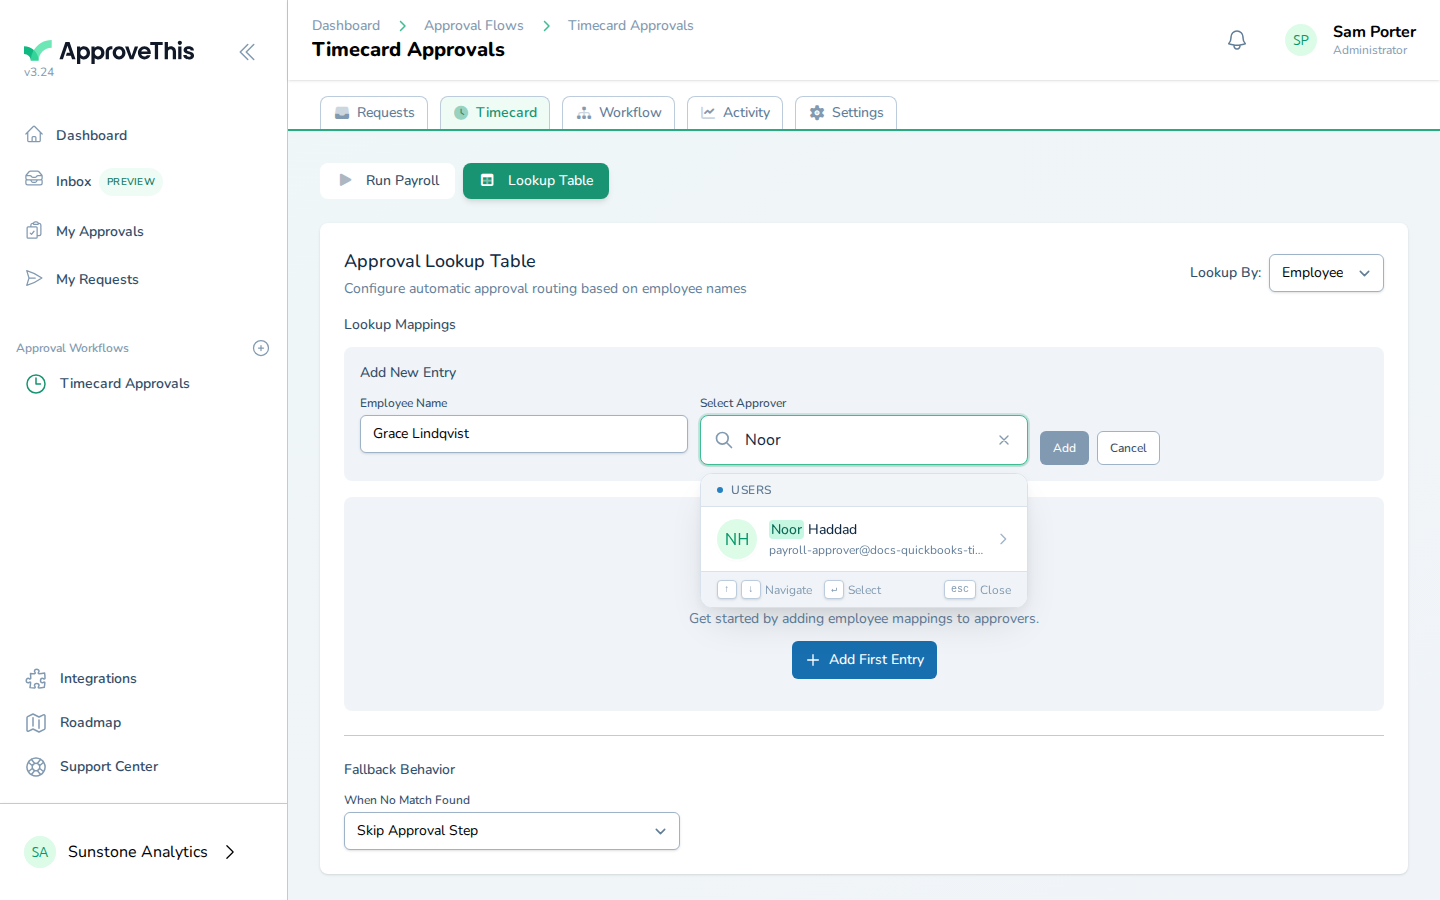
Type part of the approver's name or email into Search for an approver, such as Noor in the example. -
Click the person you searched for in the results (Noor Haddad in the example screenshots).
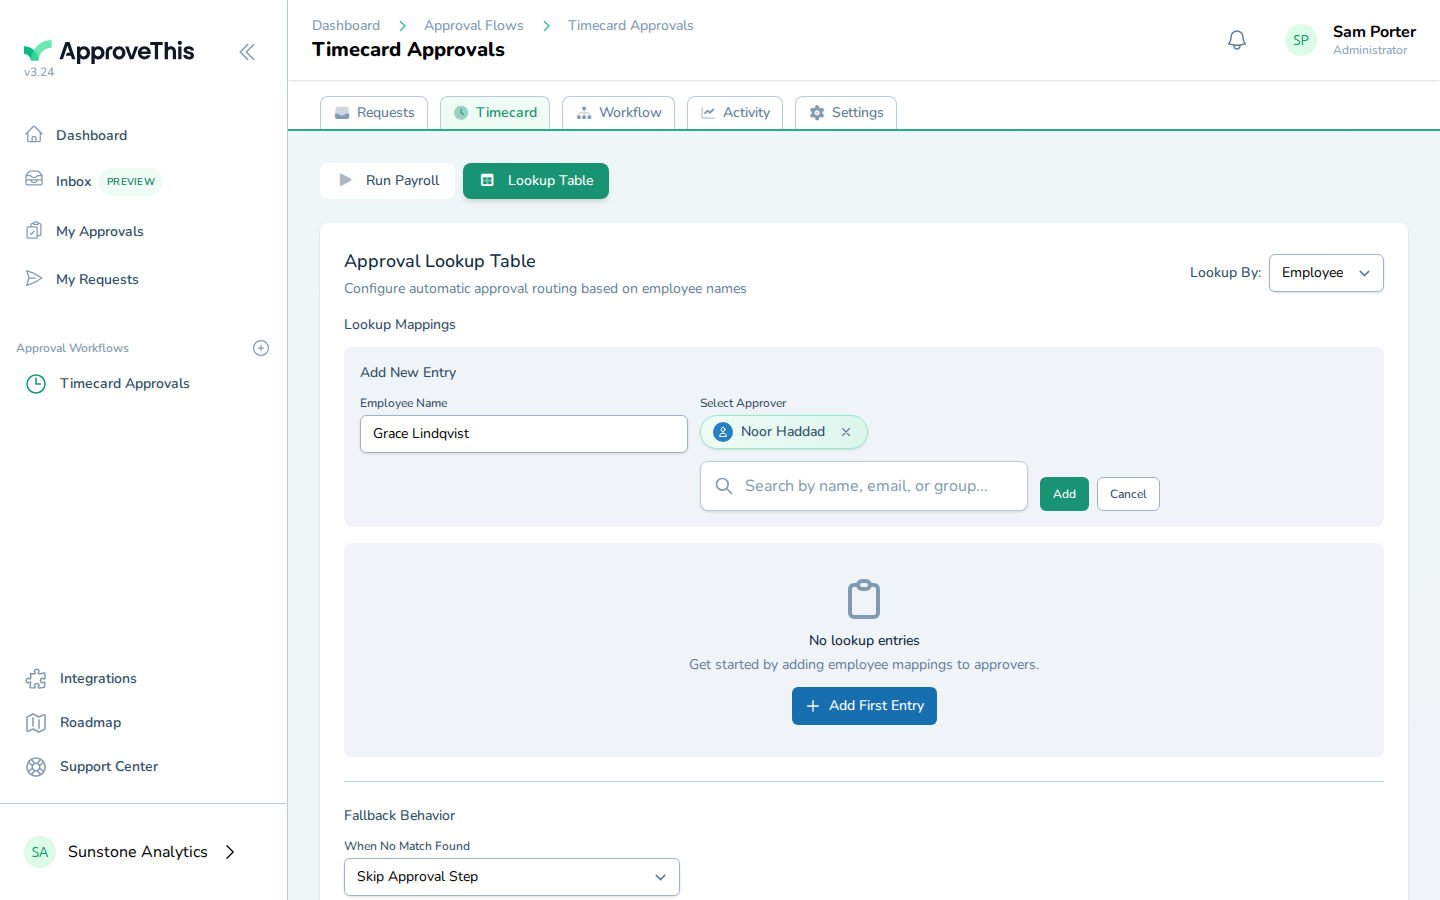
Click the person you searched for in the results (Noor Haddad in the… -
Click Add.
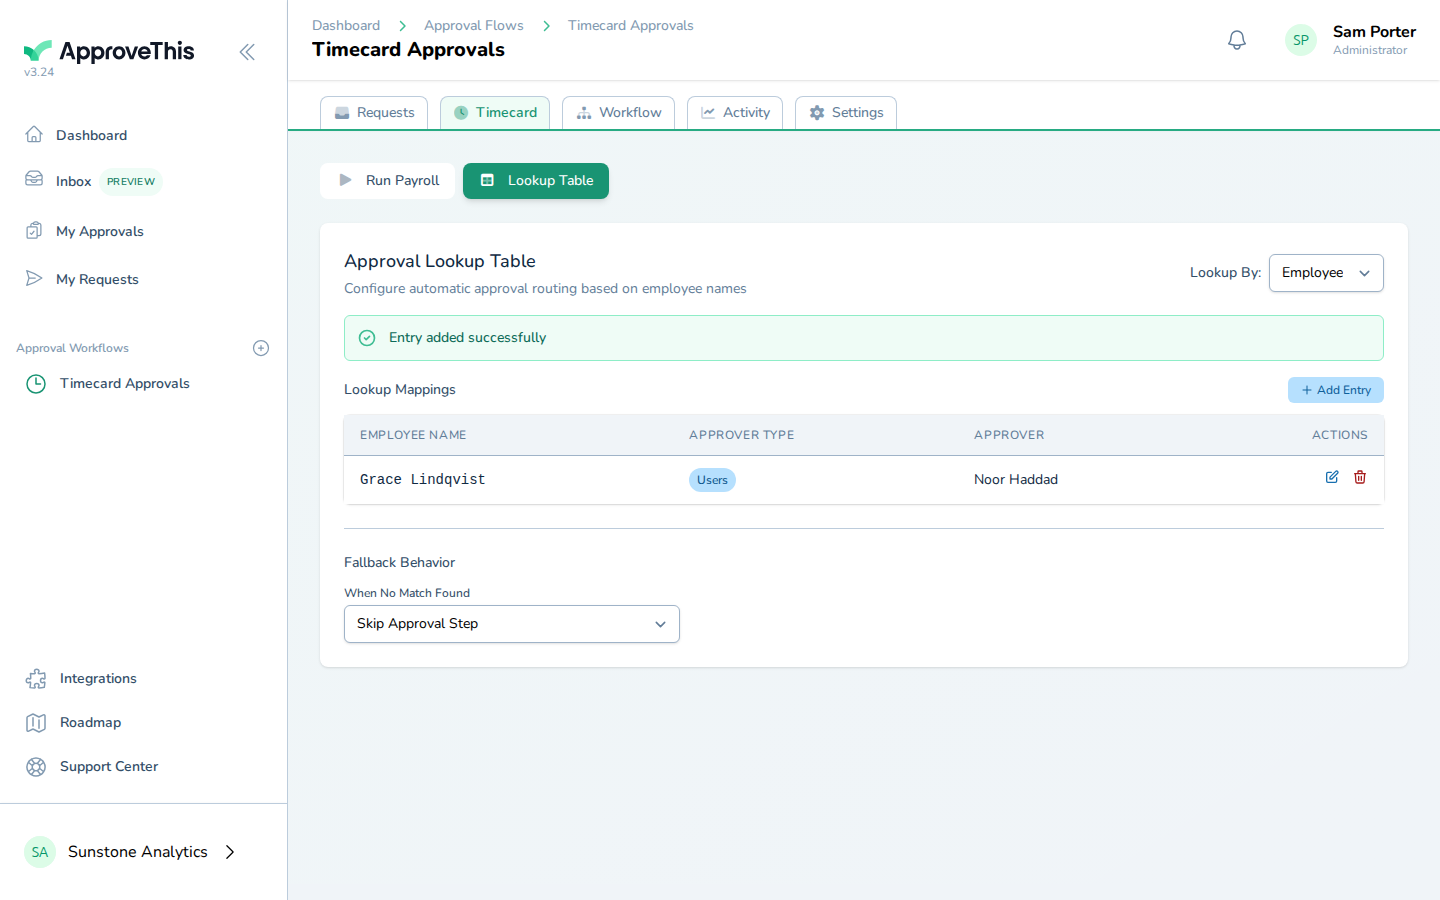
Click Add.
Send unmatched timecards to a fallback approver
A new hire or a name that doesn't match the table would otherwise leave a timecard with nobody assigned to it. Naming a fallback approver gives every unmatched request a destination.
-
From When No Match Found, choose Use Fallback Approver.
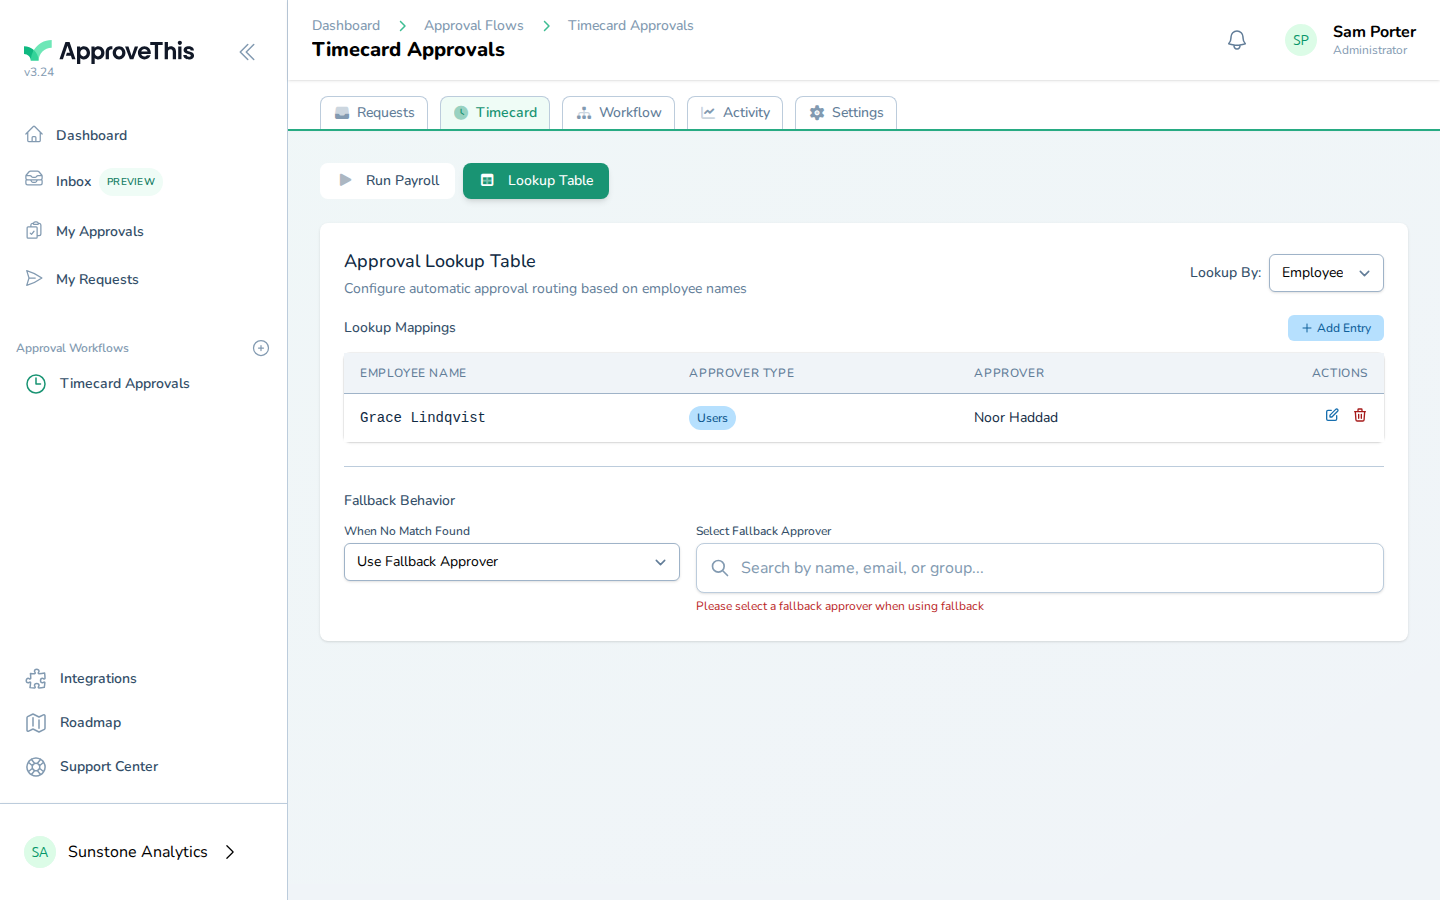
From When No Match Found, choose Use Fallback Approver. -
Click Search for an approver.
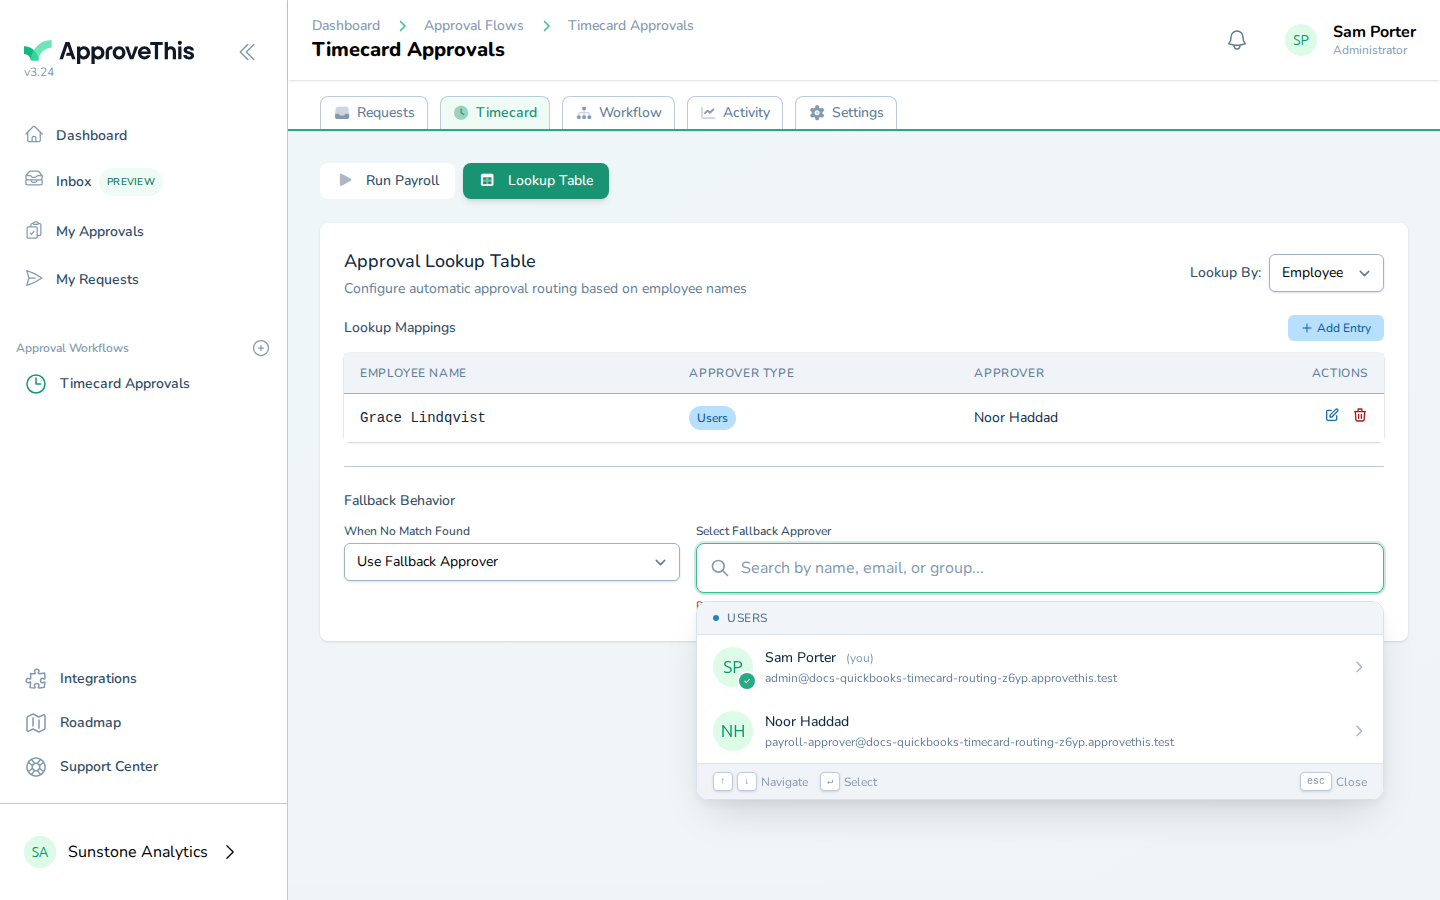
Click Search for an approver. -
Enter part of the fallback approver's name or email in Search for an approver — the example uses
Sam.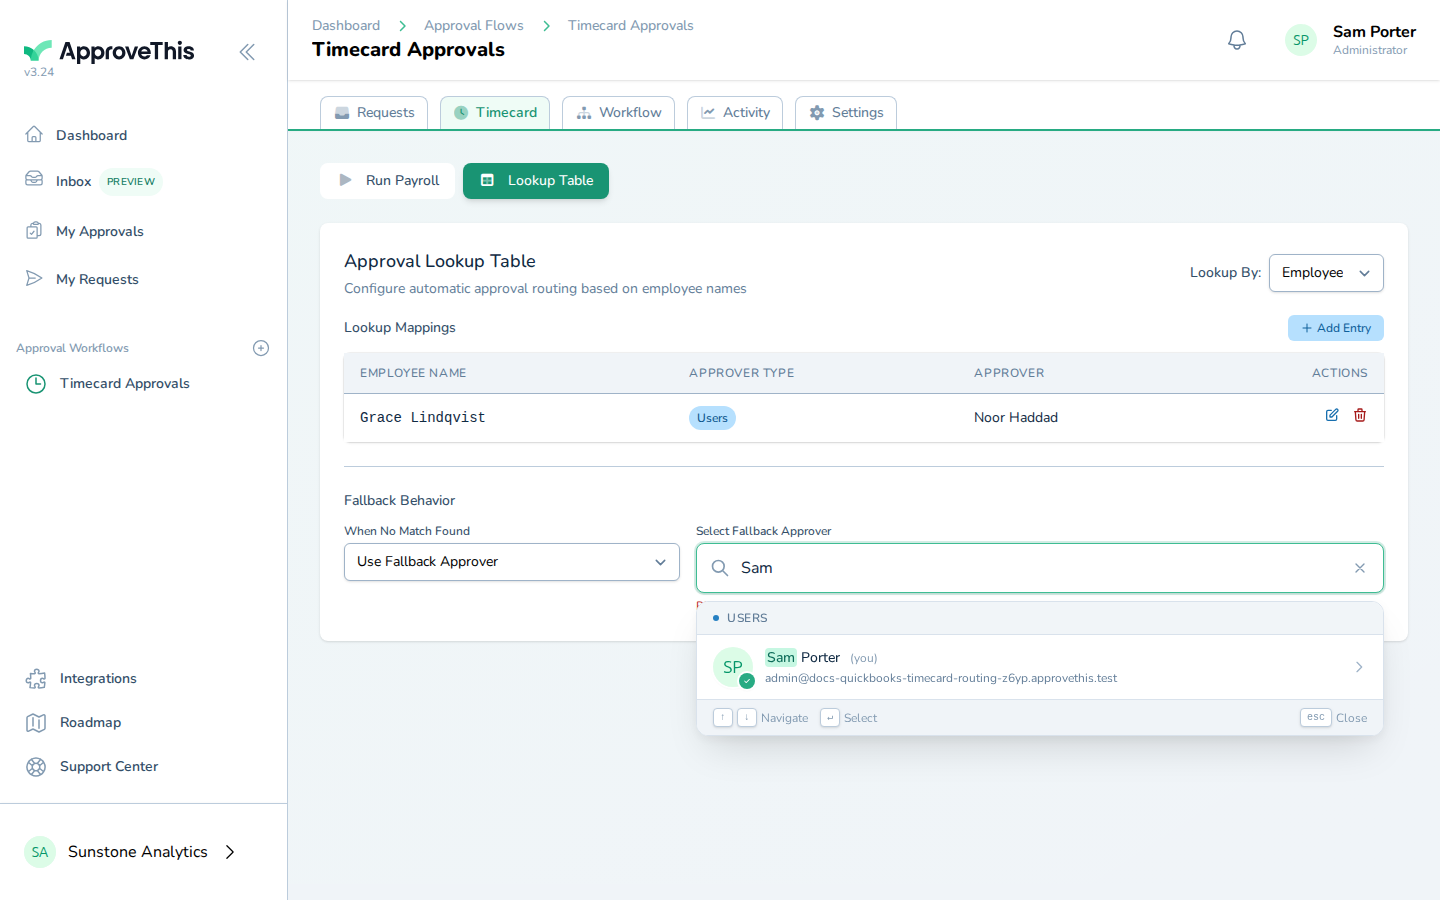
Enter part of the fallback approver's name or email in Search for an approver — the example uses Sam. -
Click the person you searched for in the results (the example screenshots show Sam Porter (you)).
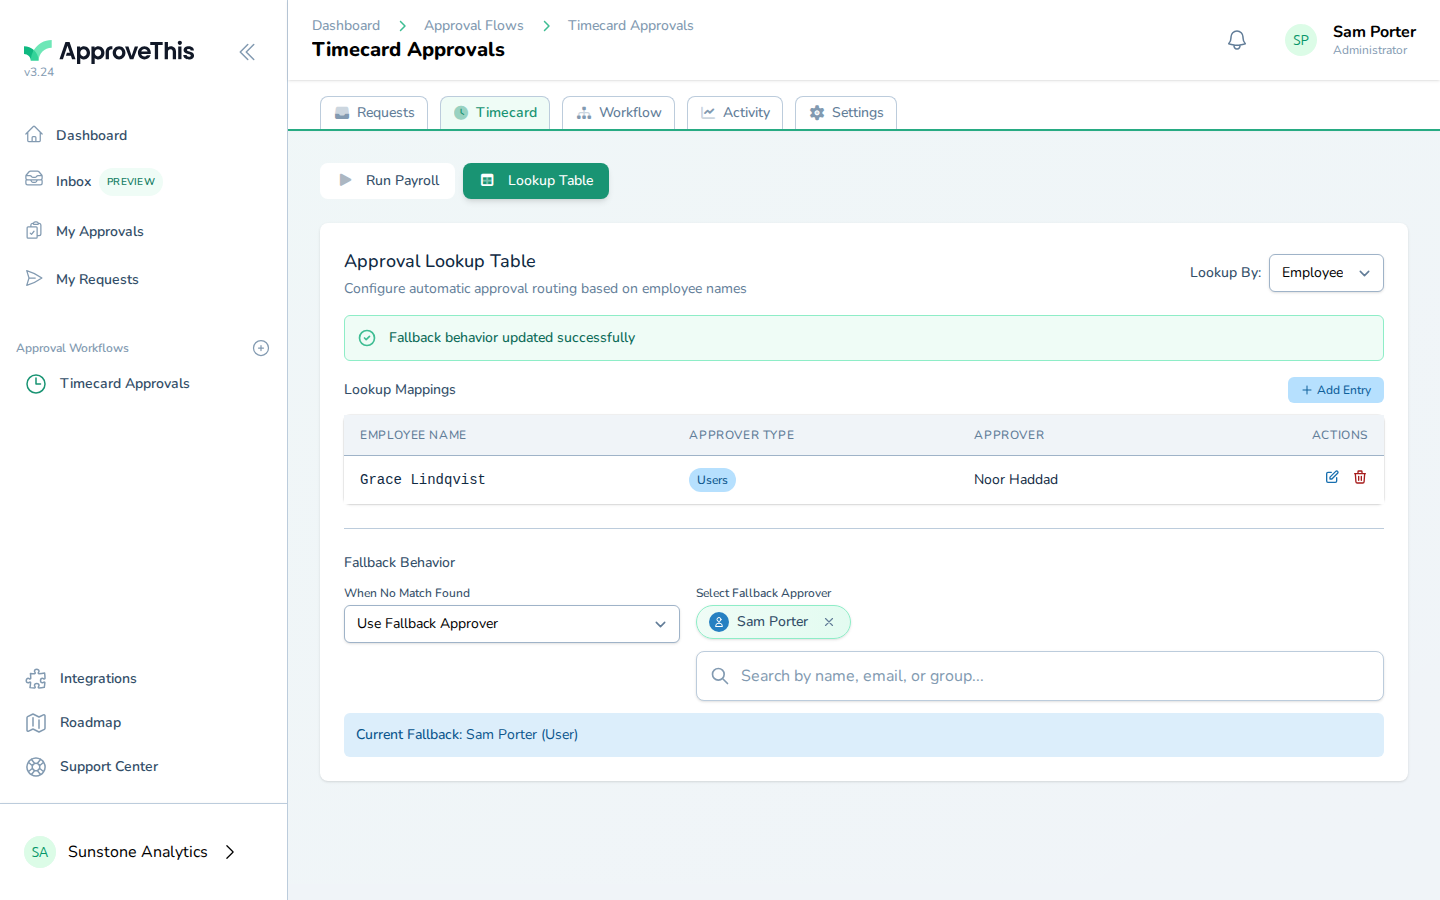
Click the person you searched for in the results (the example screenshots show Sam Porter (you)…