Dynamic Request Naming
Title every request from its own form answers — vendor, amount, requester — so approvers can tell requests apart at a glance in dashboards and notifications.
Updated
A dashboard full of rows all reading "New Request" tells an approver nothing. On a workflow's Settings tab, the Request Name section stores a formula that builds each request's title from the answers submitted on its own form — vendor, amount, requester — and that title then appears everywhere the request does, including notifications. This guide is for Administrators working on a published workflow that already has form fields to reference. Note that a formula change applies only to requests submitted after you save; requests already in flight keep the names they have.
Who this is for: an Administrator.
Open the 'Request Name' settings and edit the formula so request titles combine two identifying fields from the form, then test and save the formula
Combining two identifying answers — say a vendor and an amount — into the title gives approvers enough context to triage without opening each request. The editor validates as you type and lets you dry-run the formula against a real past submission before you commit it.
-
Sign in as an Administrator.
-
Click Request Name to open the section that defines how individual requests are titled in dashboards and notifications.
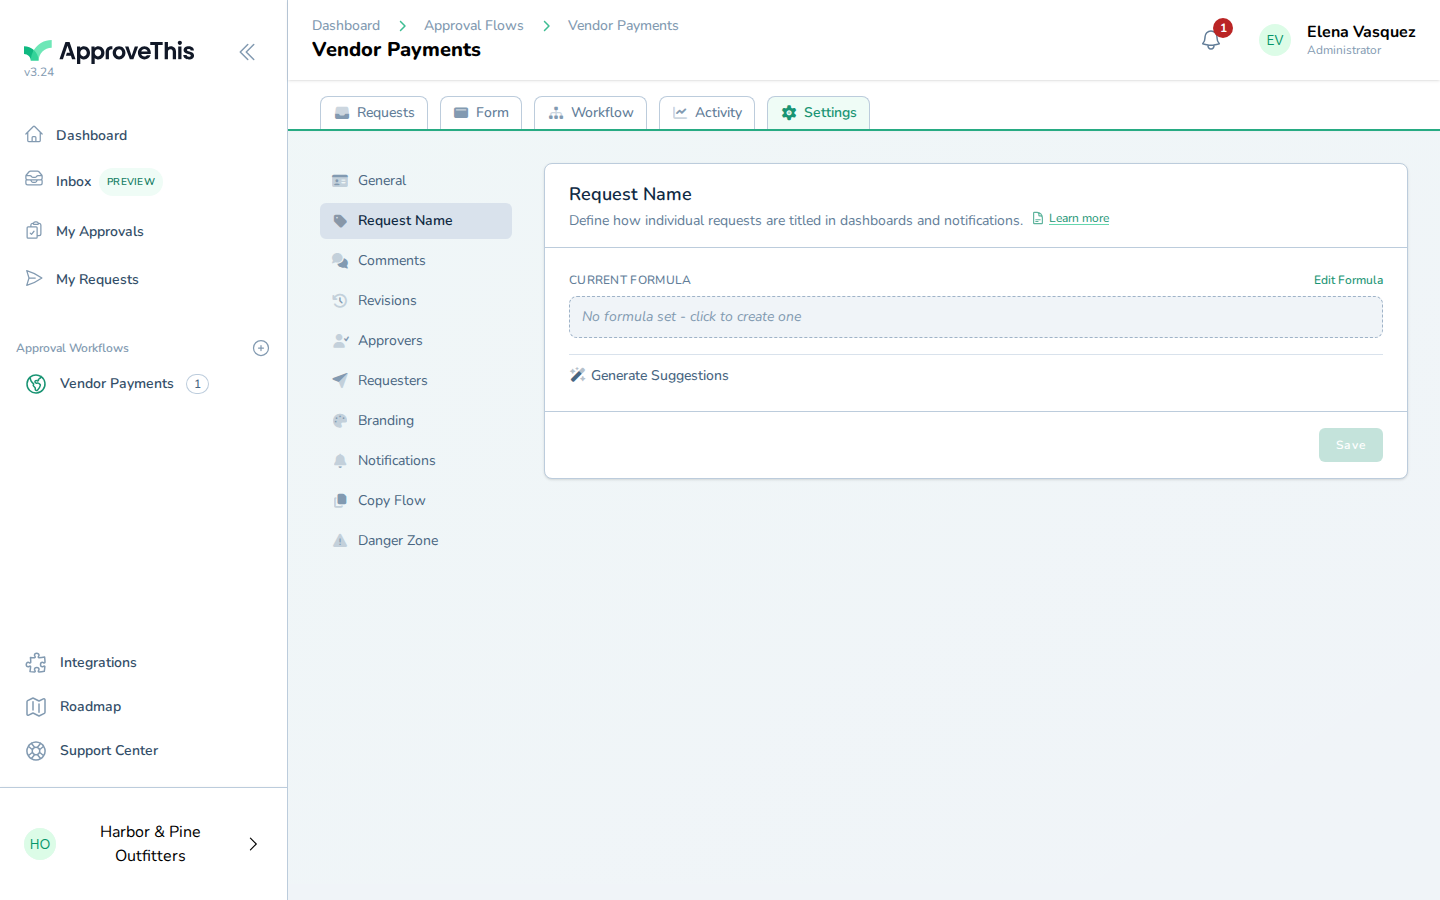
Click Request Name to open the section that defines how individual requests are titled in dashboards and notifications. -
Click Edit Formula to open the formula editor.
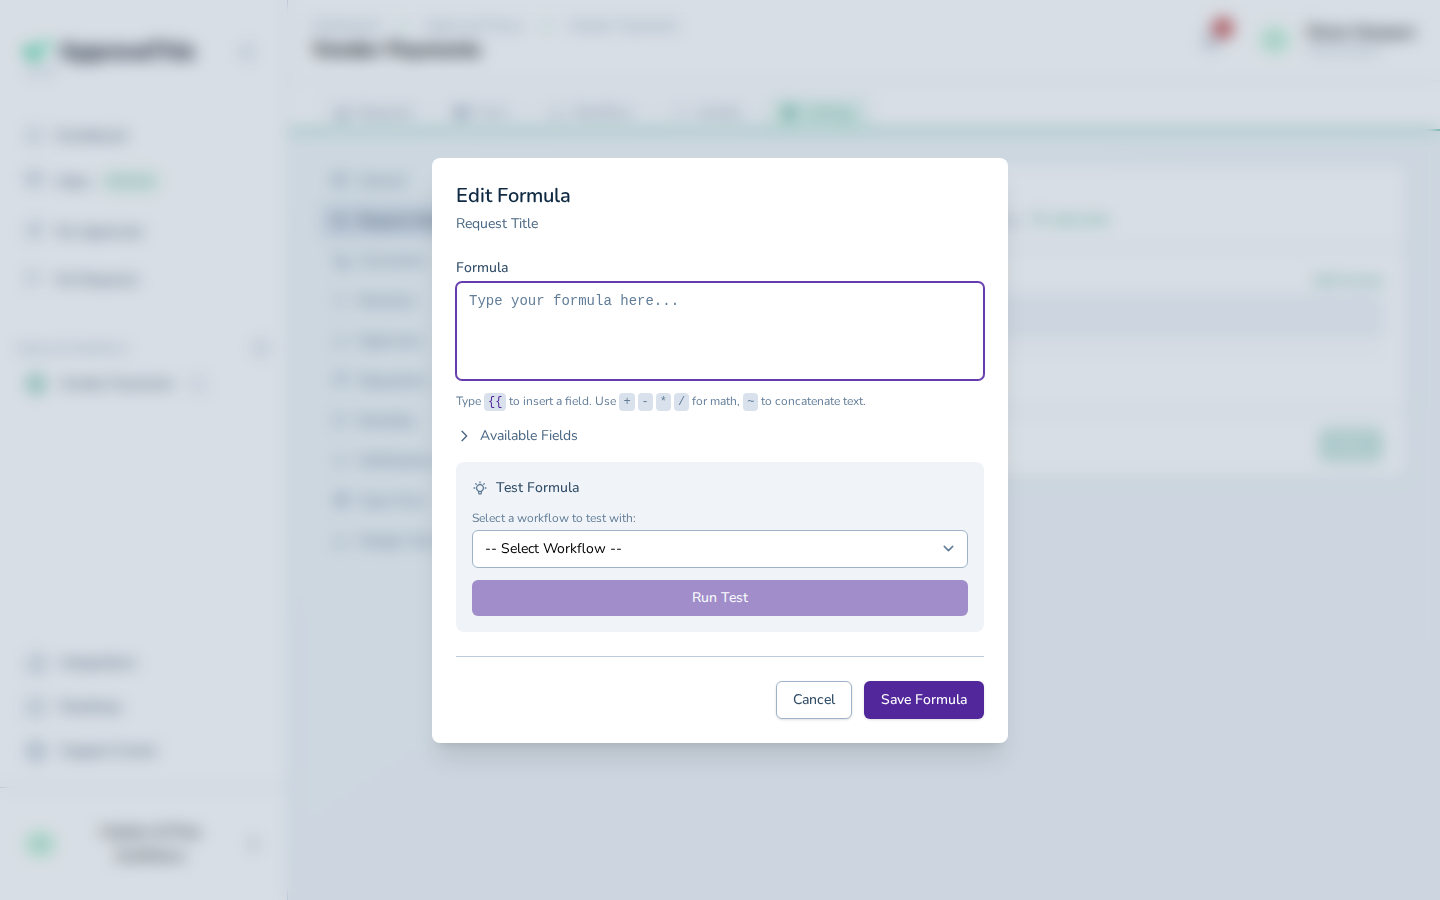
Click Edit Formula to open the formula editor. -
Type your formula into Type your formula here..., referencing the form fields that identify a request; typing
{{pops up an autocomplete of the workflow's fields, and quoted text placed beside a field is joined automatically. The example uses{{vendor_name}} ~ " - " ~ {{amount}}. File upload fields and hidden fields cannot be referenced.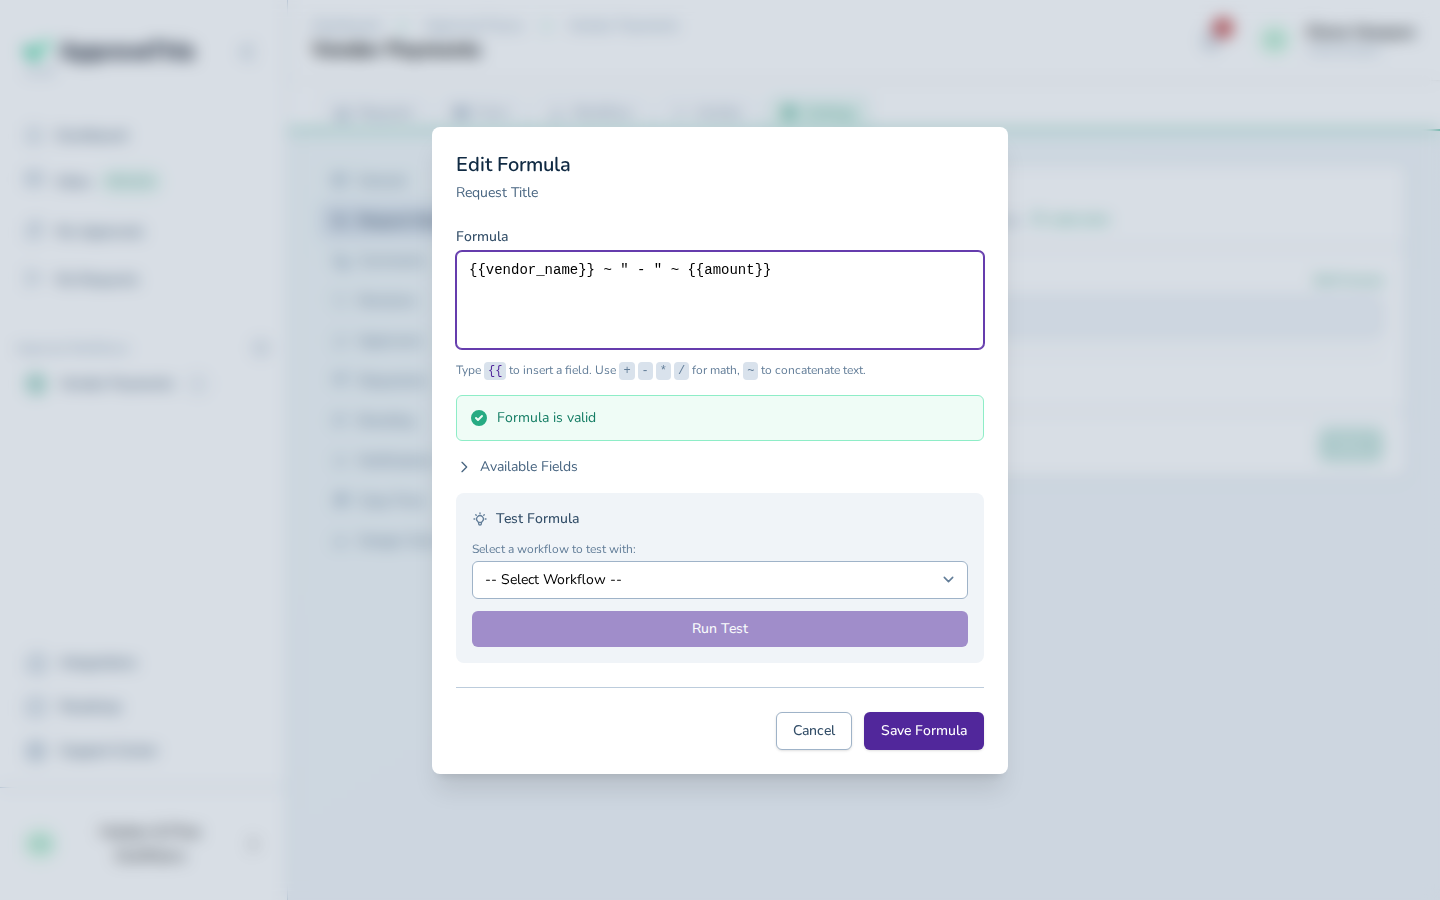
Type your formula into Type your formula here..., referencing the form fields that identify a request; typing {{ pops up an autocomplete of the workflow's… -
In Select a workflow to test with:, choose one of the workflow's recent requests to test against — the example screenshots show
New Request (Aug 21, 2026).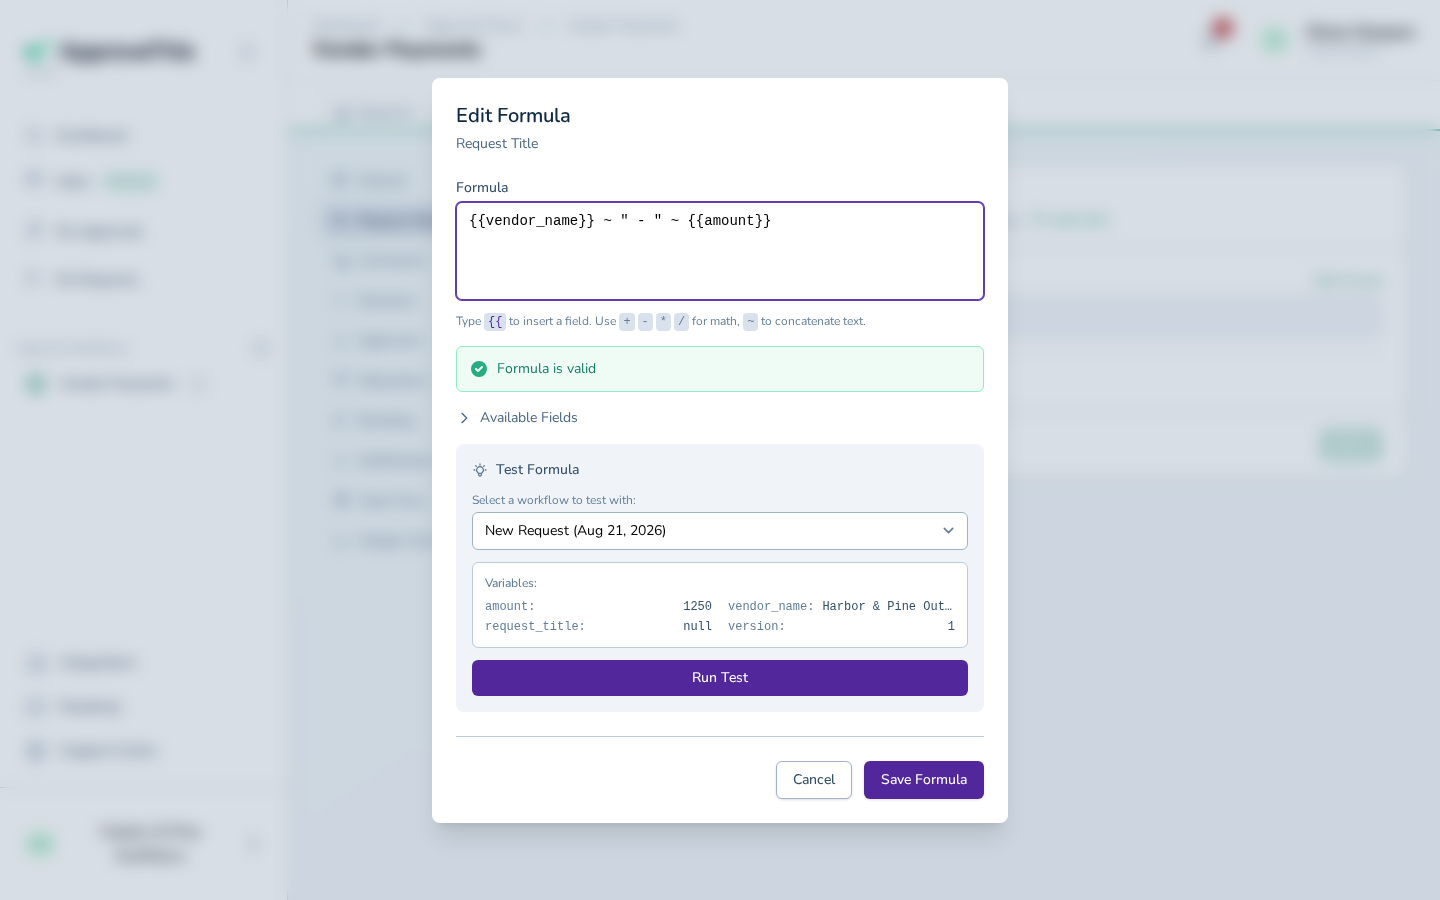
In Select a workflow to test with:, choose one of the workflow's recent requests to test against — the example screenshots show New Request (Aug 21, 2026). -
Click Run Test to see the exact title that request's real answers produce.
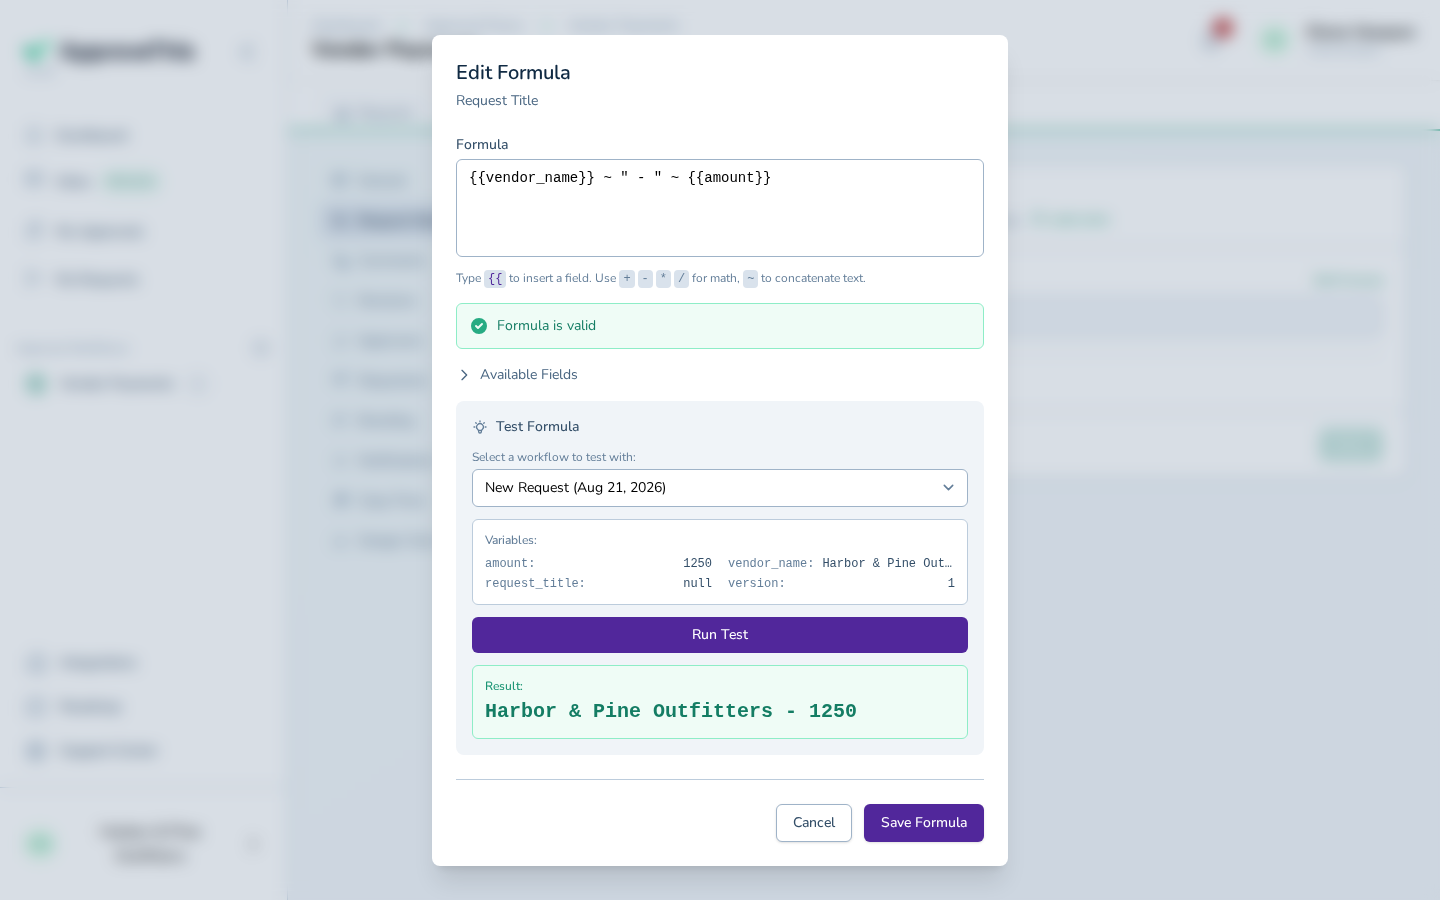
Click Run Test to see the exact title that request's real answers produce. -
Click Save Formula to store the formula on the workflow.
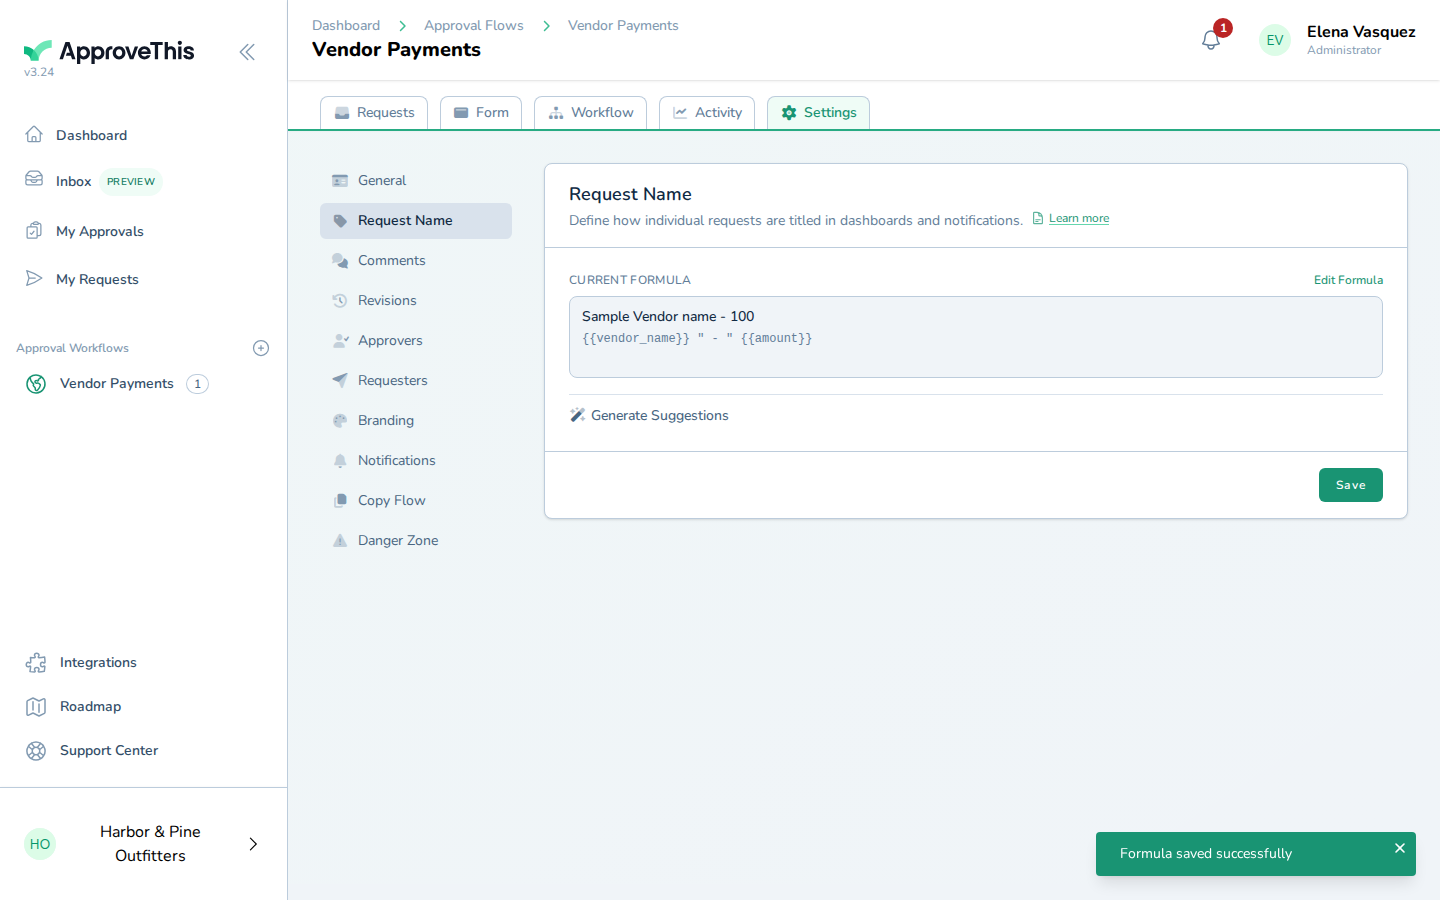
Click Save Formula to store the formula on the workflow.